
Design Process: Thanking The Donors
by Tom Peterson, Mackey Mitchell Architects
One day, I received an email from Andrew Weil asking me if I could recommend someone to design and produce a donor recognition system. The question wasn’t a surprise to me, because I knew from past conversations with Andrew that Landmarks wanted to recognize the patrons who contributed to the recently completed Hesch House renovation.
Mackey Mitchell Architects has had a long relationship with Landmarks Association – our firm’s founder, Eugene J. Mackey III, served on the Board of Directors for years, we have sponsored the Most Enhanced Awards and Fall Fundraiser, Landmarks hosted our Gene Mackey Exhibition in its former office, and we also provided design and rendering services pro-bono for the renovation of the Hesch House.
In the spirit of continuing the Landmarks + MMA connection, I explained Andrew’s request to Steve Emer, our President, and I asked: “Steve – why don’t WE design a donor board for Landmarks as another pro-bono project?” He thought for a minute, and responded: “I have a better idea: why don’t YOU design it, AND build it?!” (Now, he suggested this knowing that I’m pretty good with this kind of fabrication and I have a fairly large workshop.) I didn’t hesitate to answer: “Sure!”
Developing the Concept
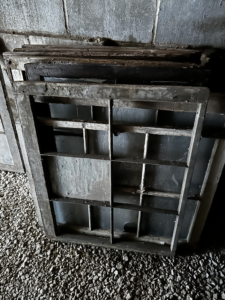
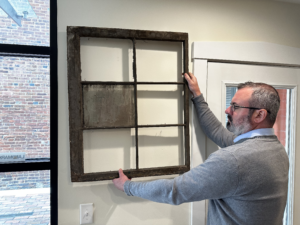
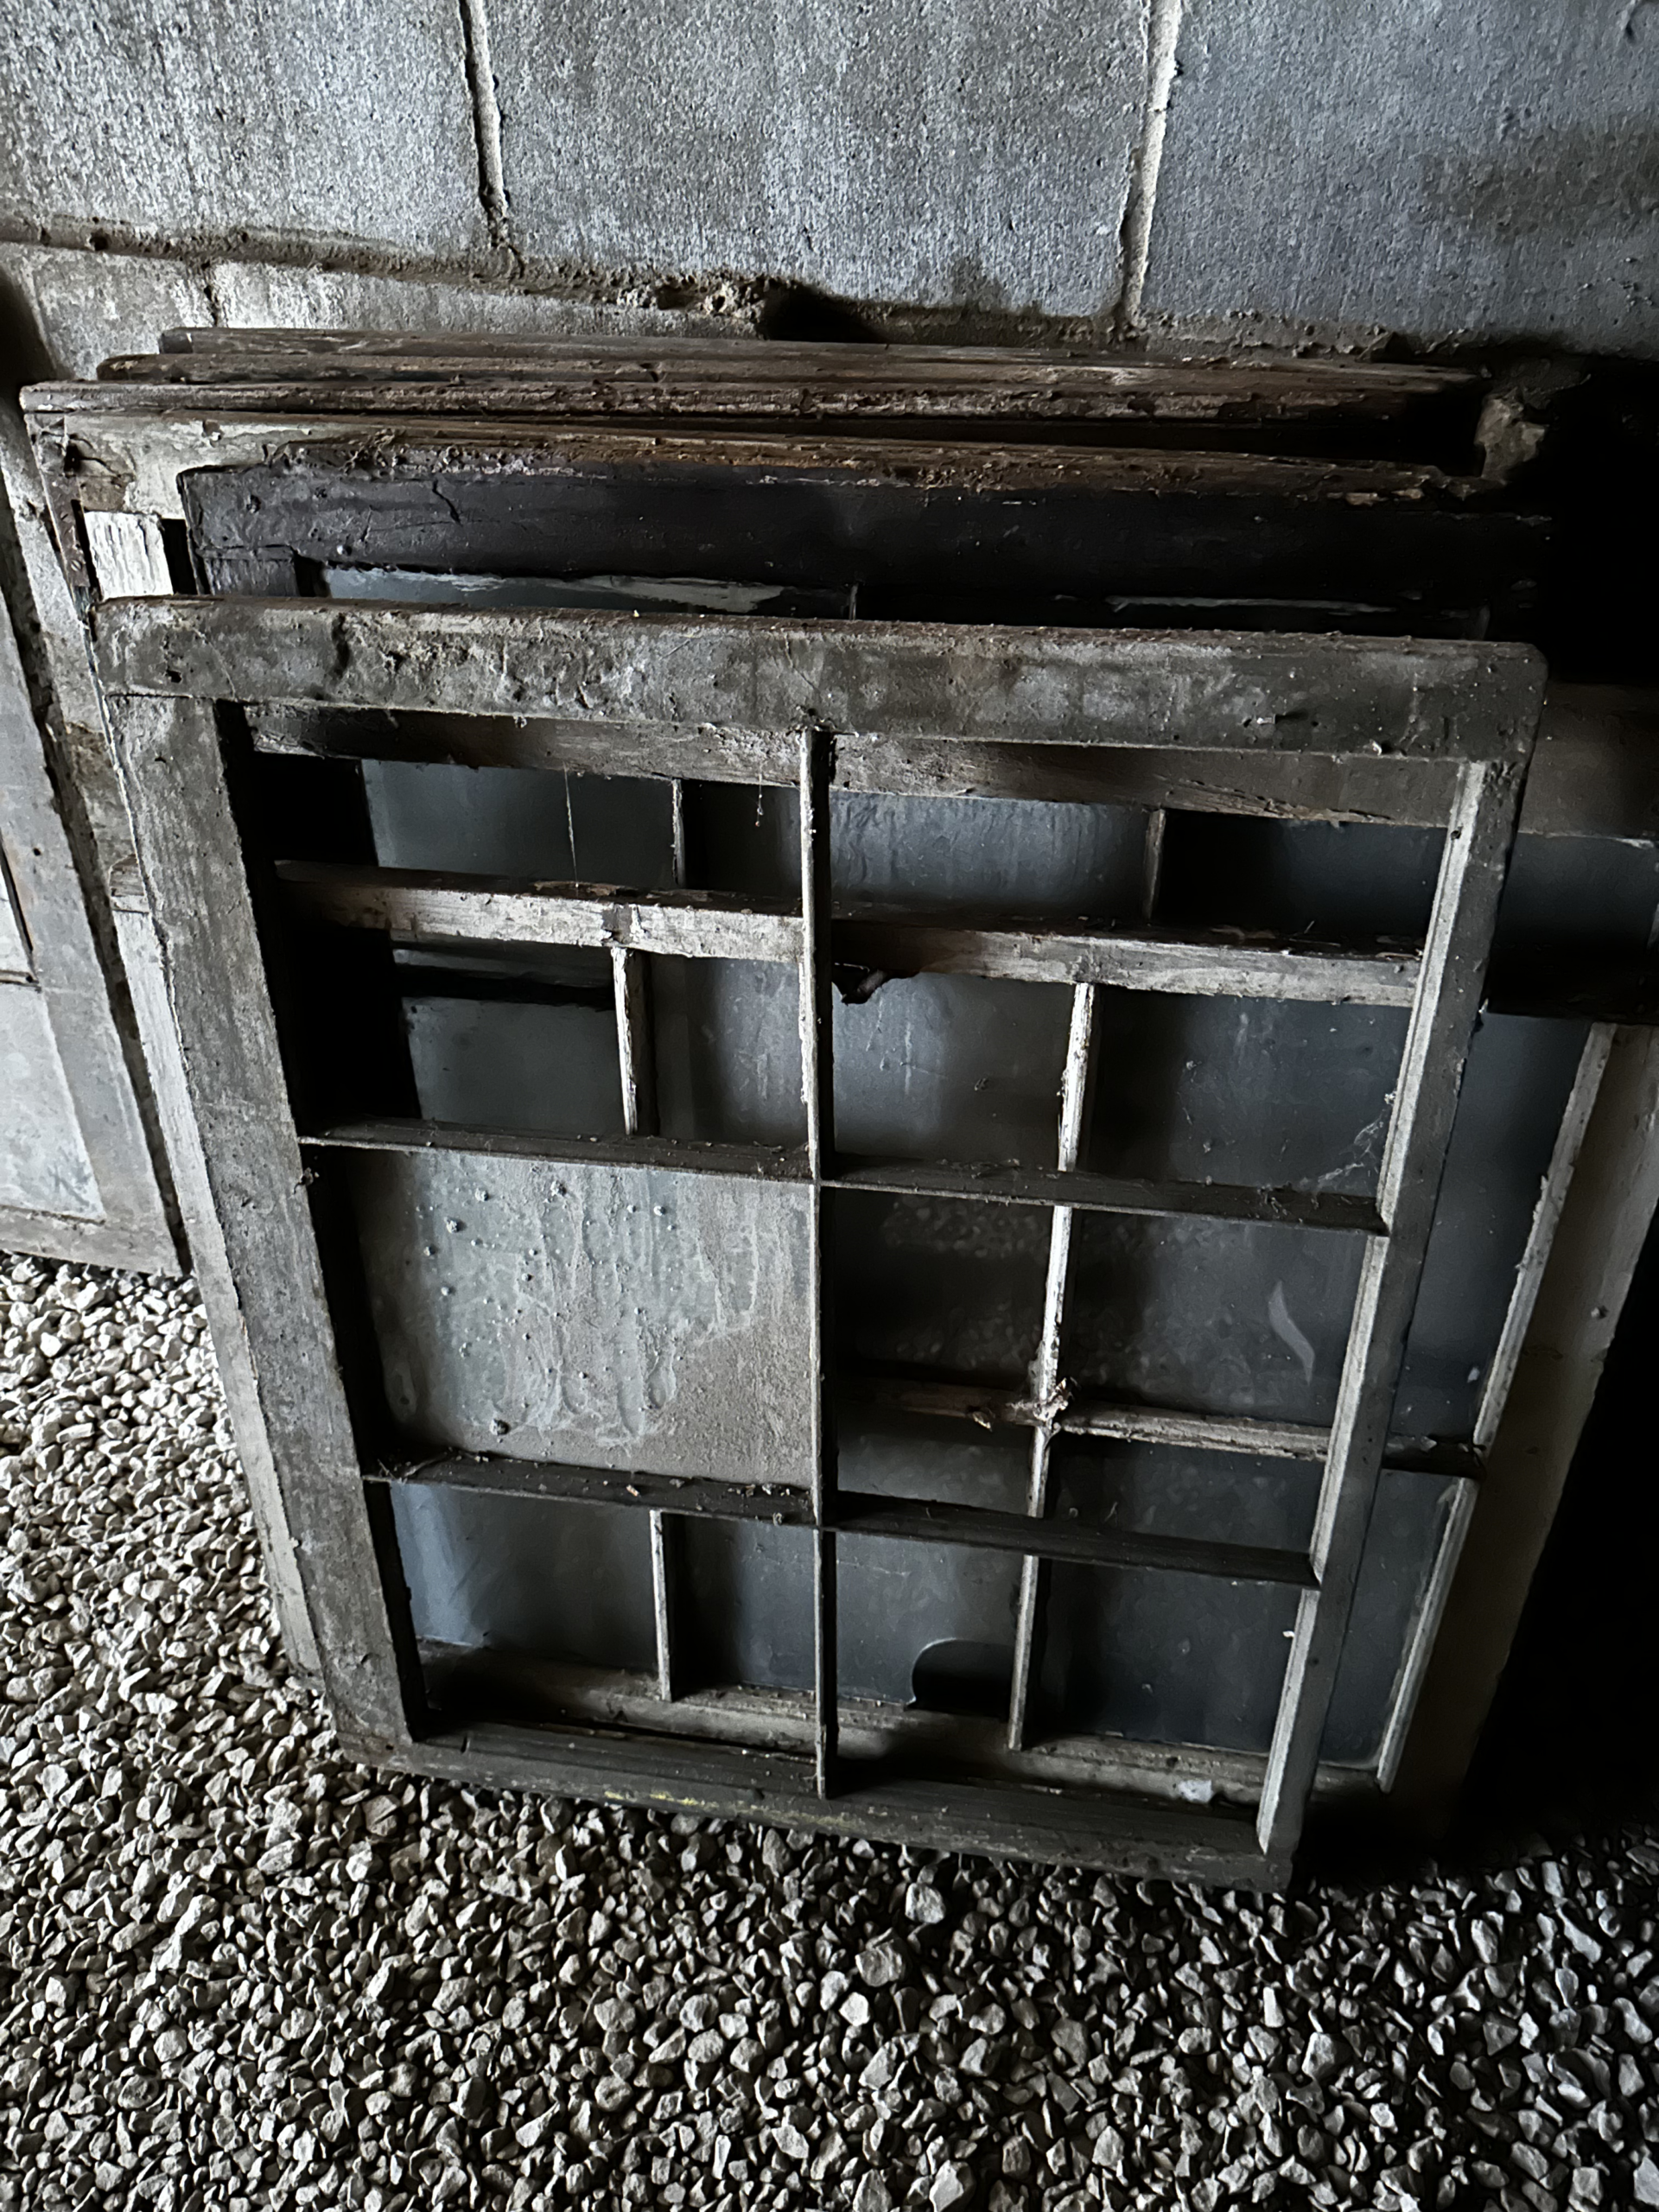
Our first meeting touched briefly on previously proposed solutions, and the group quickly agreed that “off the shelf” donor signage components were not conducive to the ethos of Landmarks, and that a custom solution, hopefully incorporating materials of the Hesch House itself, would better support Landmarks’ mission. After discussing various materials, we selected an original window sash (with one pane of glass still in it) from the basement storage, and it was just the right size for the desired location in the office if it were rotated 90 degrees.
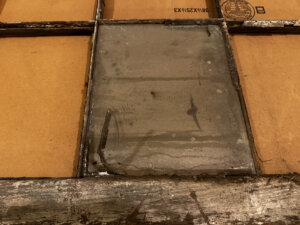
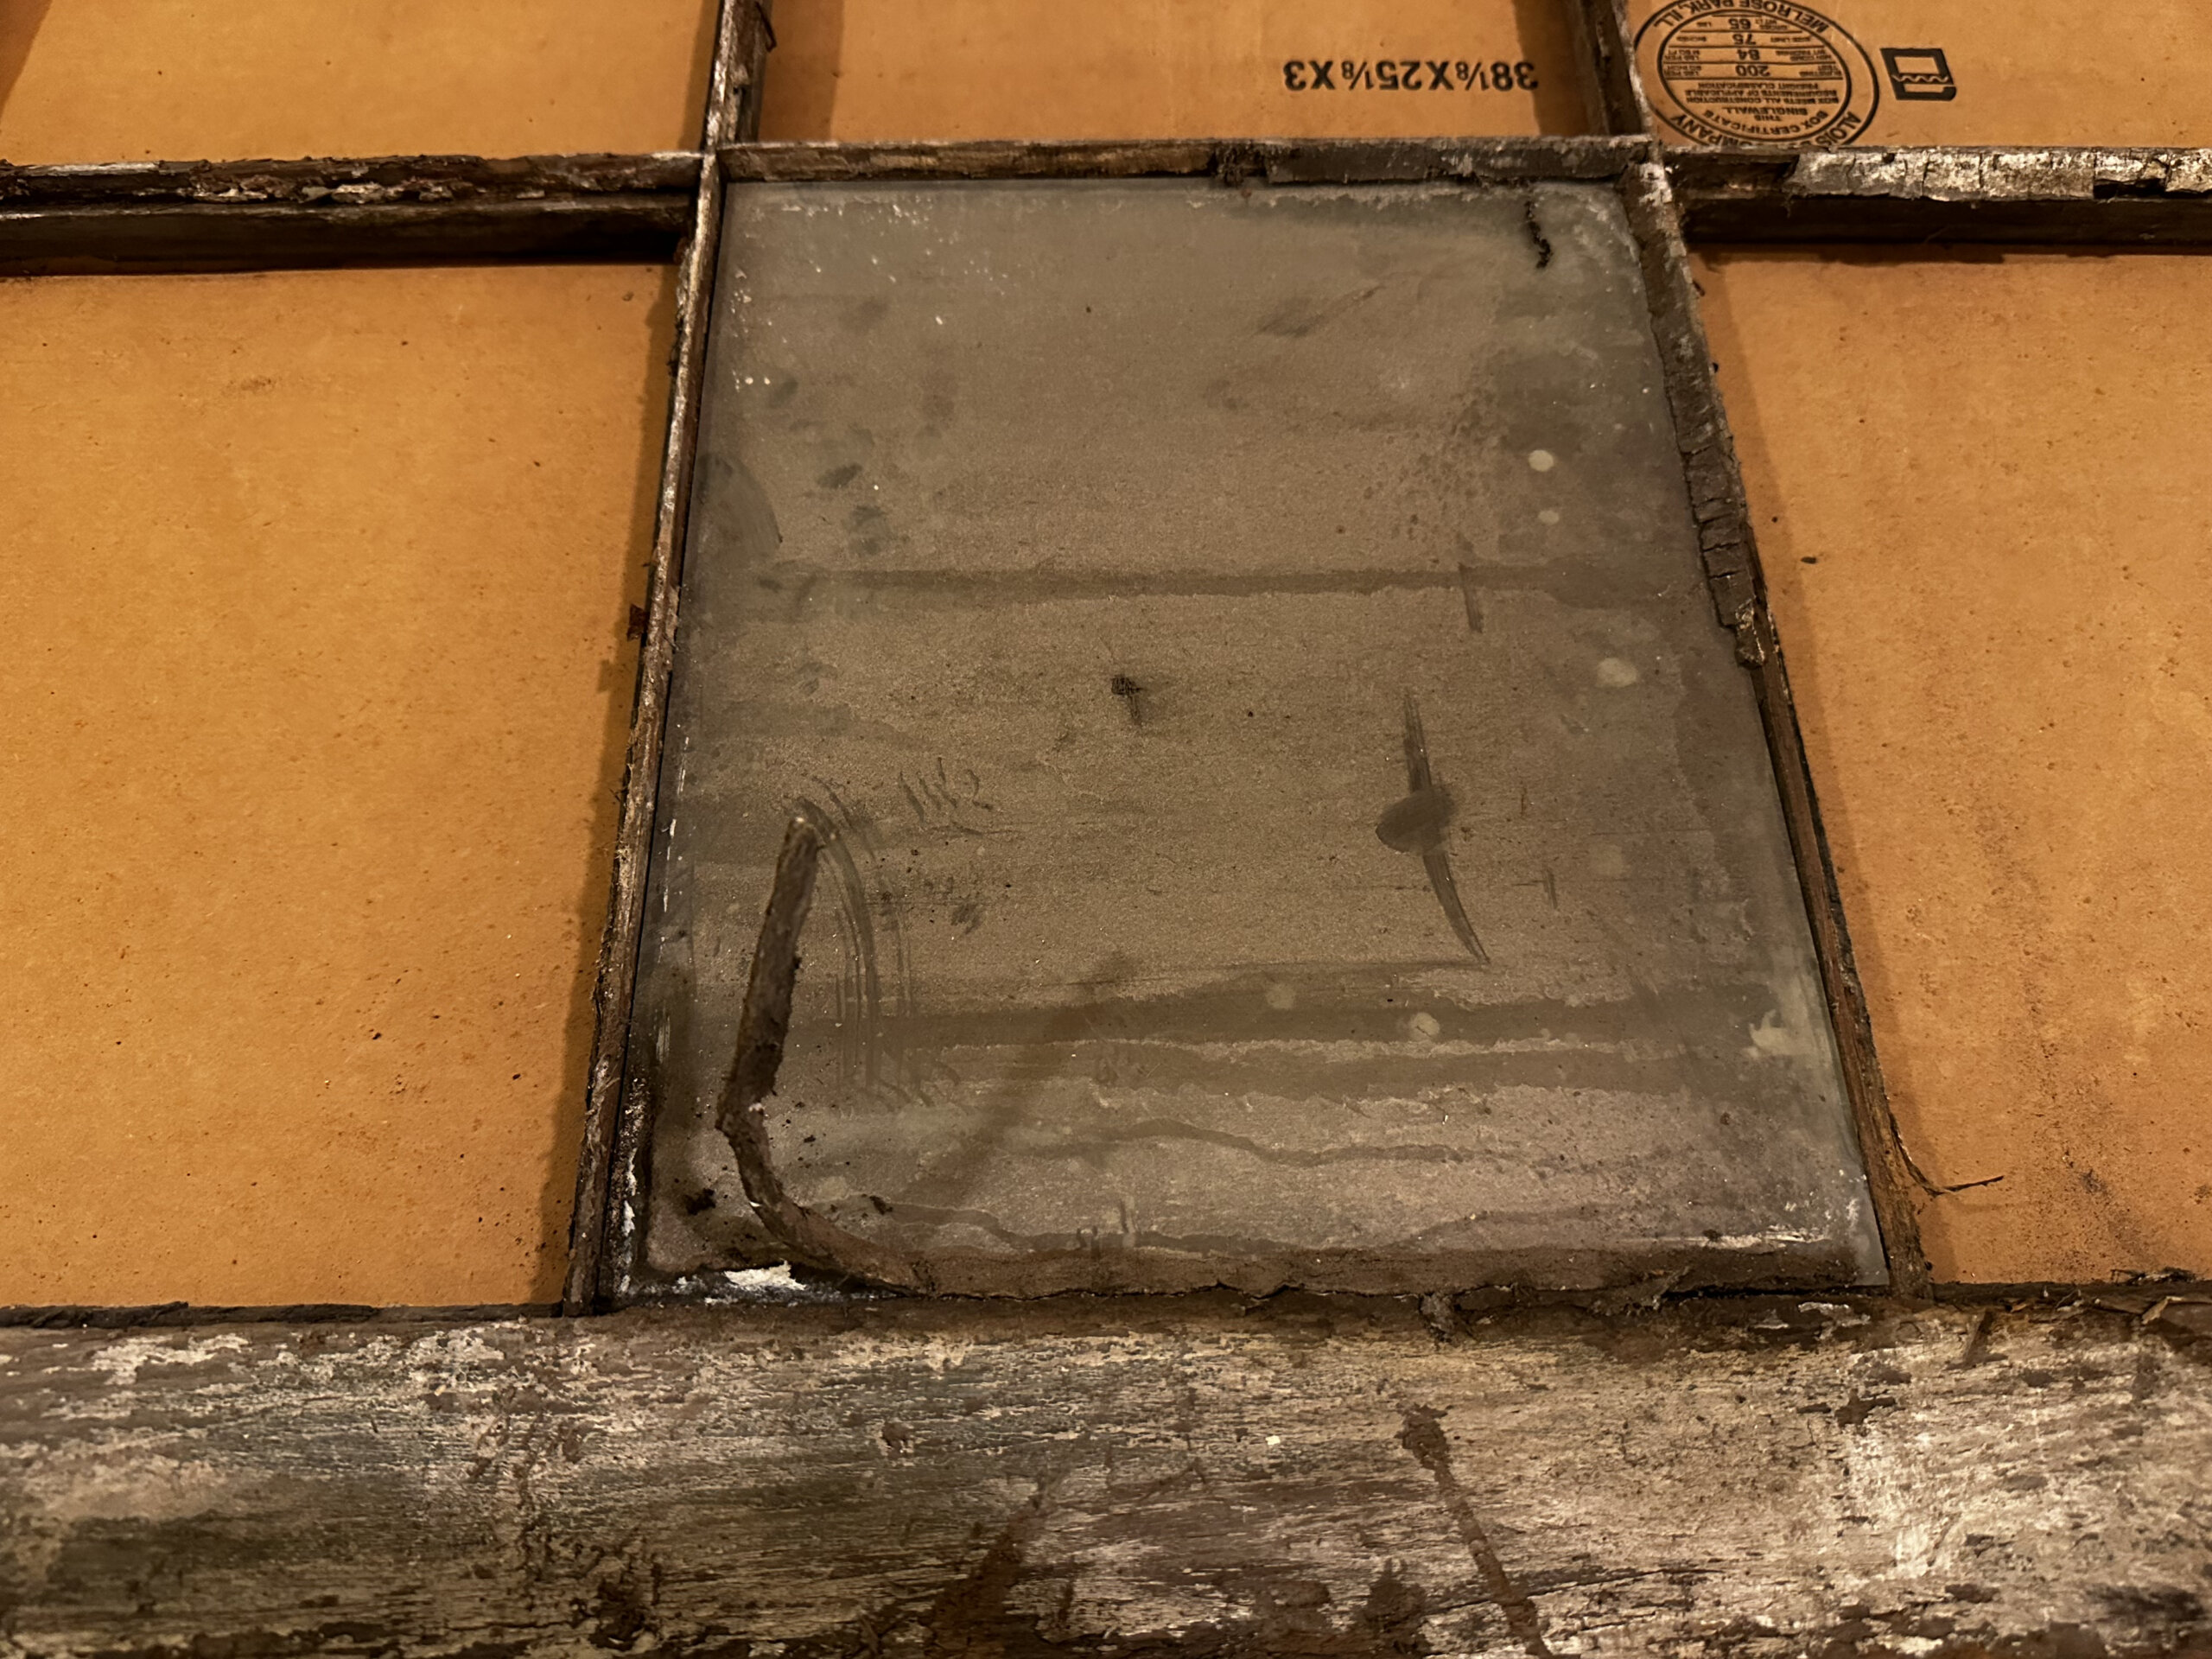
At that point, we switched from the familiar term “Donor Wall” to the unique “Donor Window” – who else had one of those? From there, we studied many options – would we light this from the ceiling, or would there be internal illumination? Would this sash be mounted directly to the wall or “floated” in front of the wall? Would we want to build a frame around the sash, or behind the sash? Should we keep the dirty old pane? Each of these decisions affected other aspects, for example: we decided a larger frame around the perimeter of the sash would give me better options for hiding lights, wiring, etc. And with a preliminary layout of all of the text in InDesign, we found we could group the text into 5 new panes, allowing us to just clean the original pane and remount it in its original location.
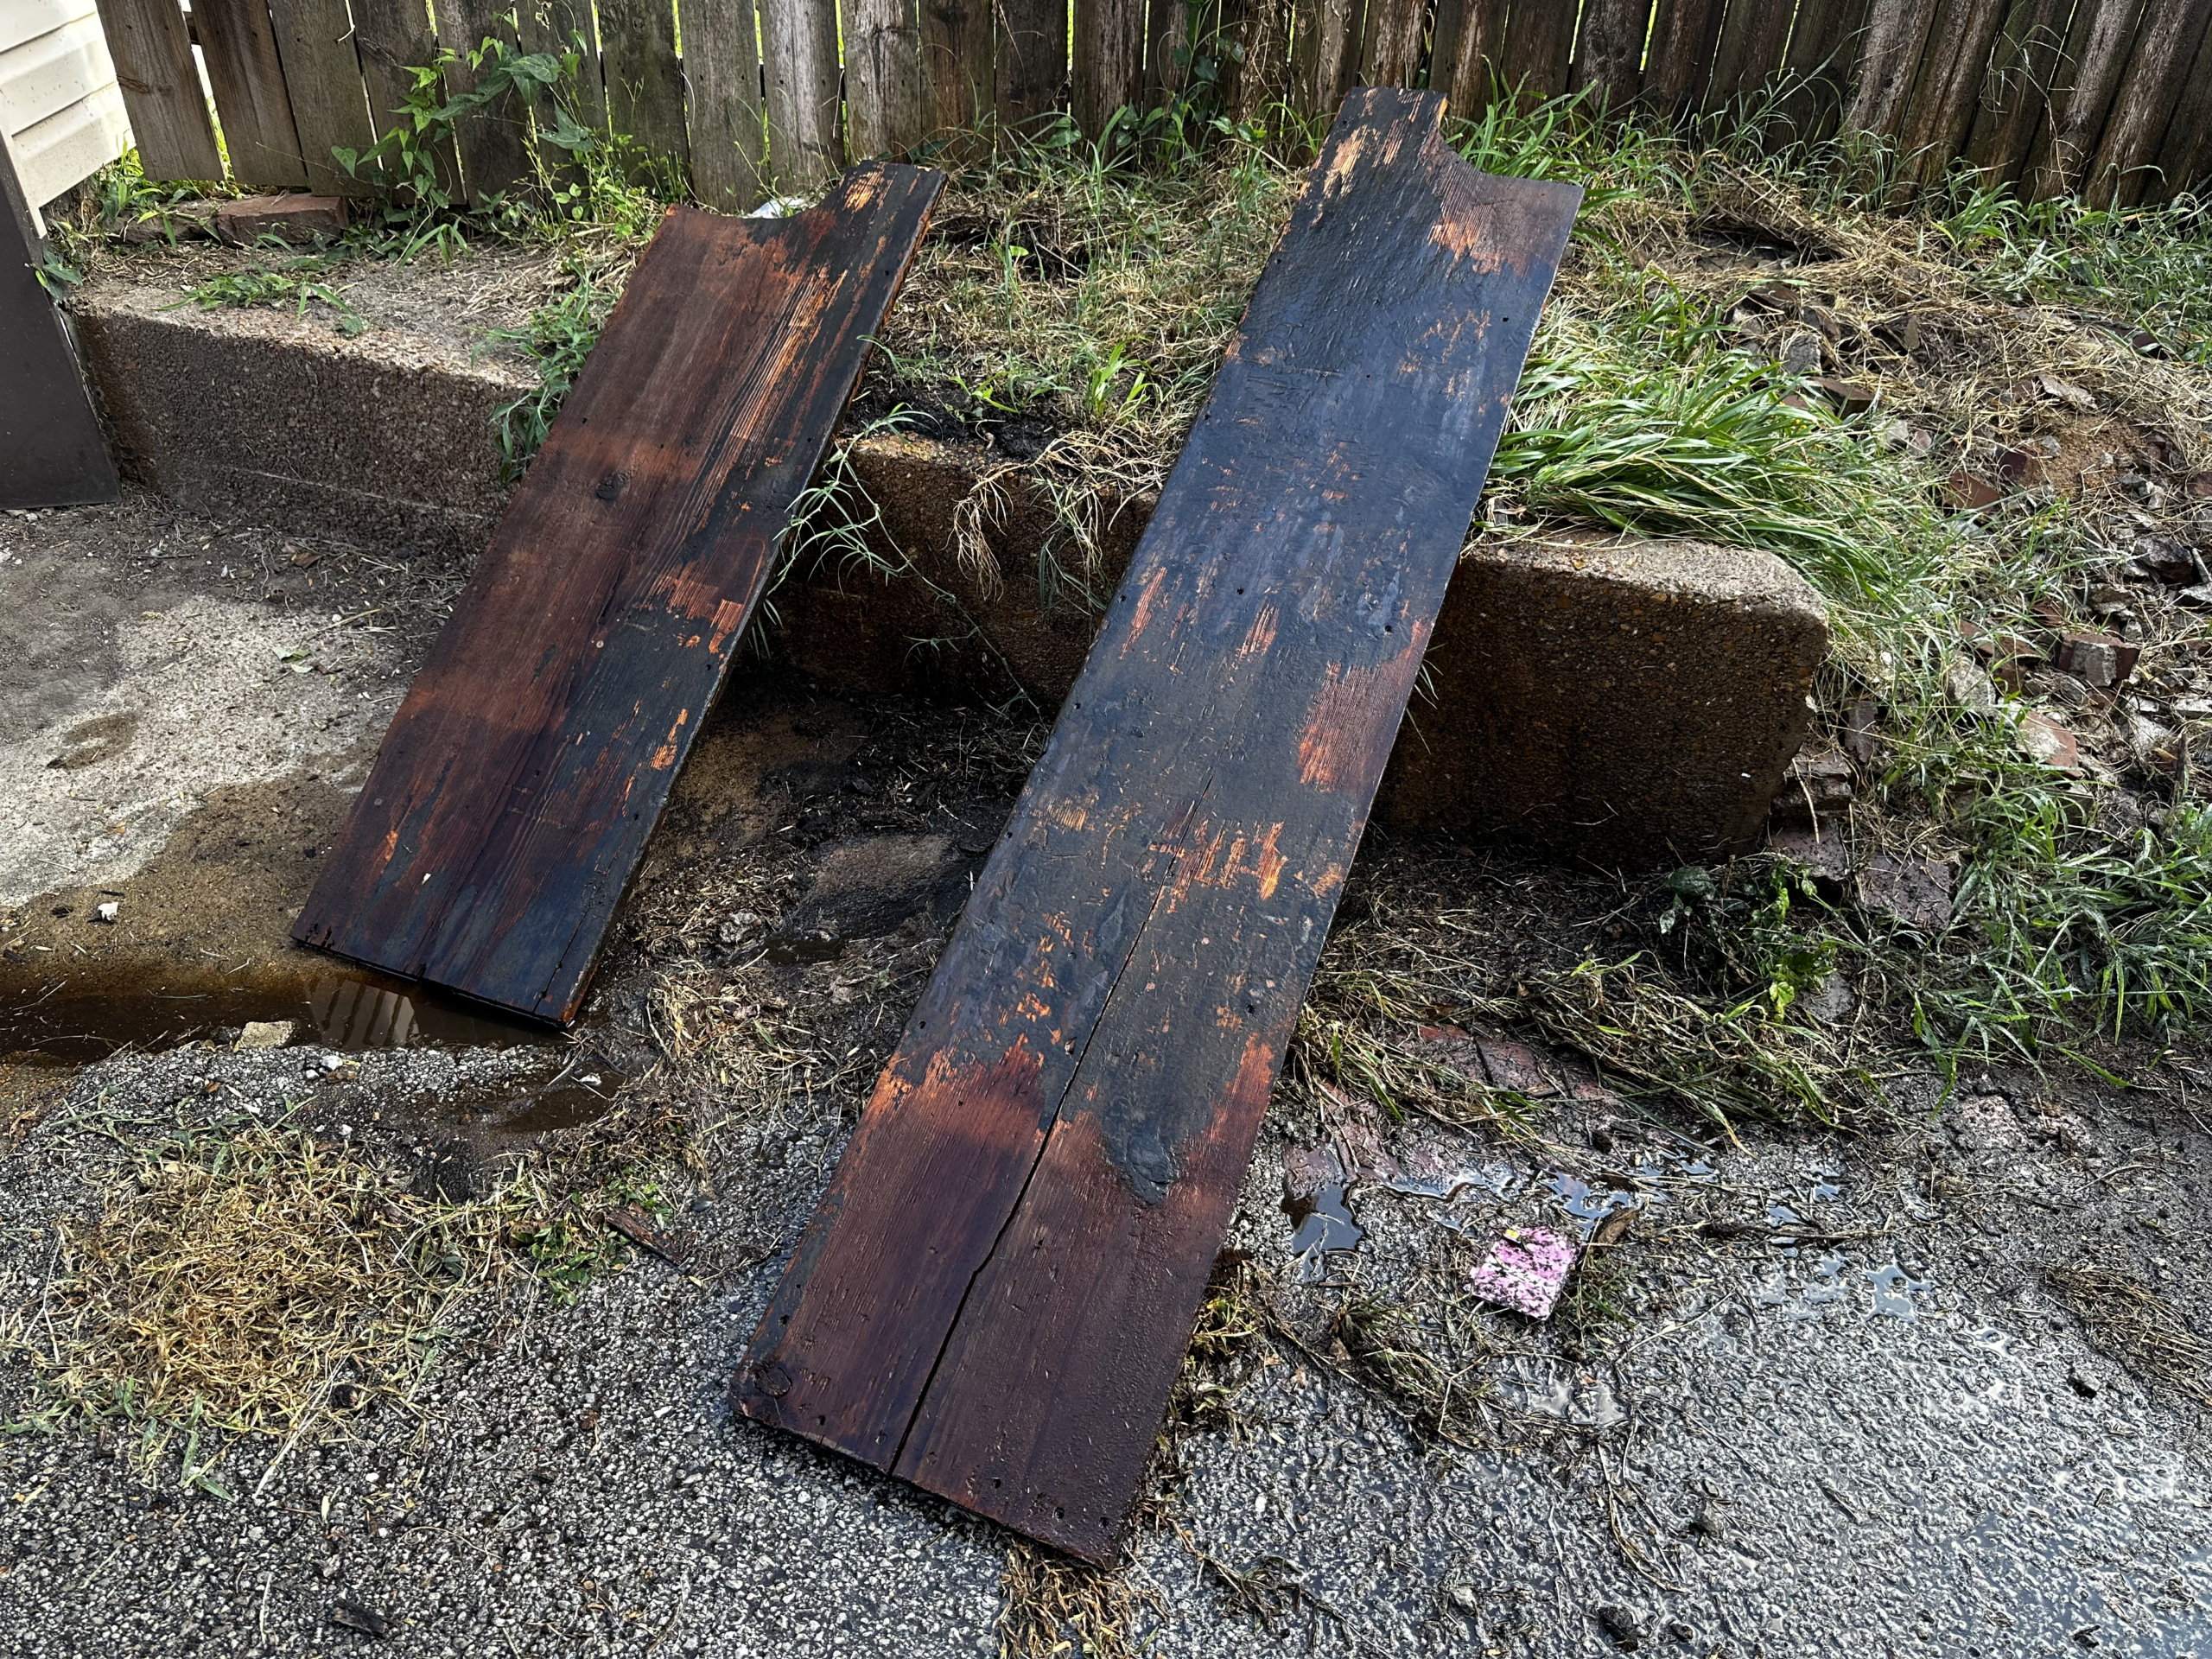
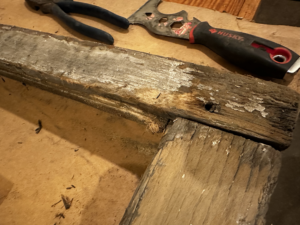
One of the easiest decisions was regarding the frame – I proposed wood, which could be painted or clear-coated, and I even volunteered as an option some of my own vintage copper flashing that I could wrap around the wood frame. But Hesch House offered up a better idea: I could create the frame from one of the original attic floorboards, which were thick and wide planks, and I selected one that had recently been altered for HVAC modifications. Another appropriate utilization of repurposed materials. With the design concept in place, it was time to focus on fabrication in my workshop.

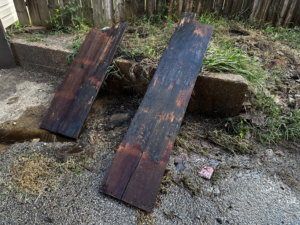
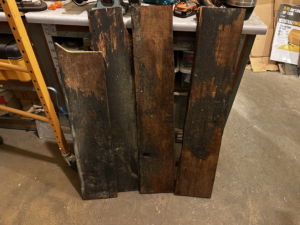
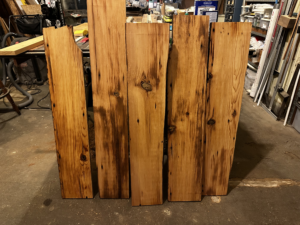
Floorboard for Frame
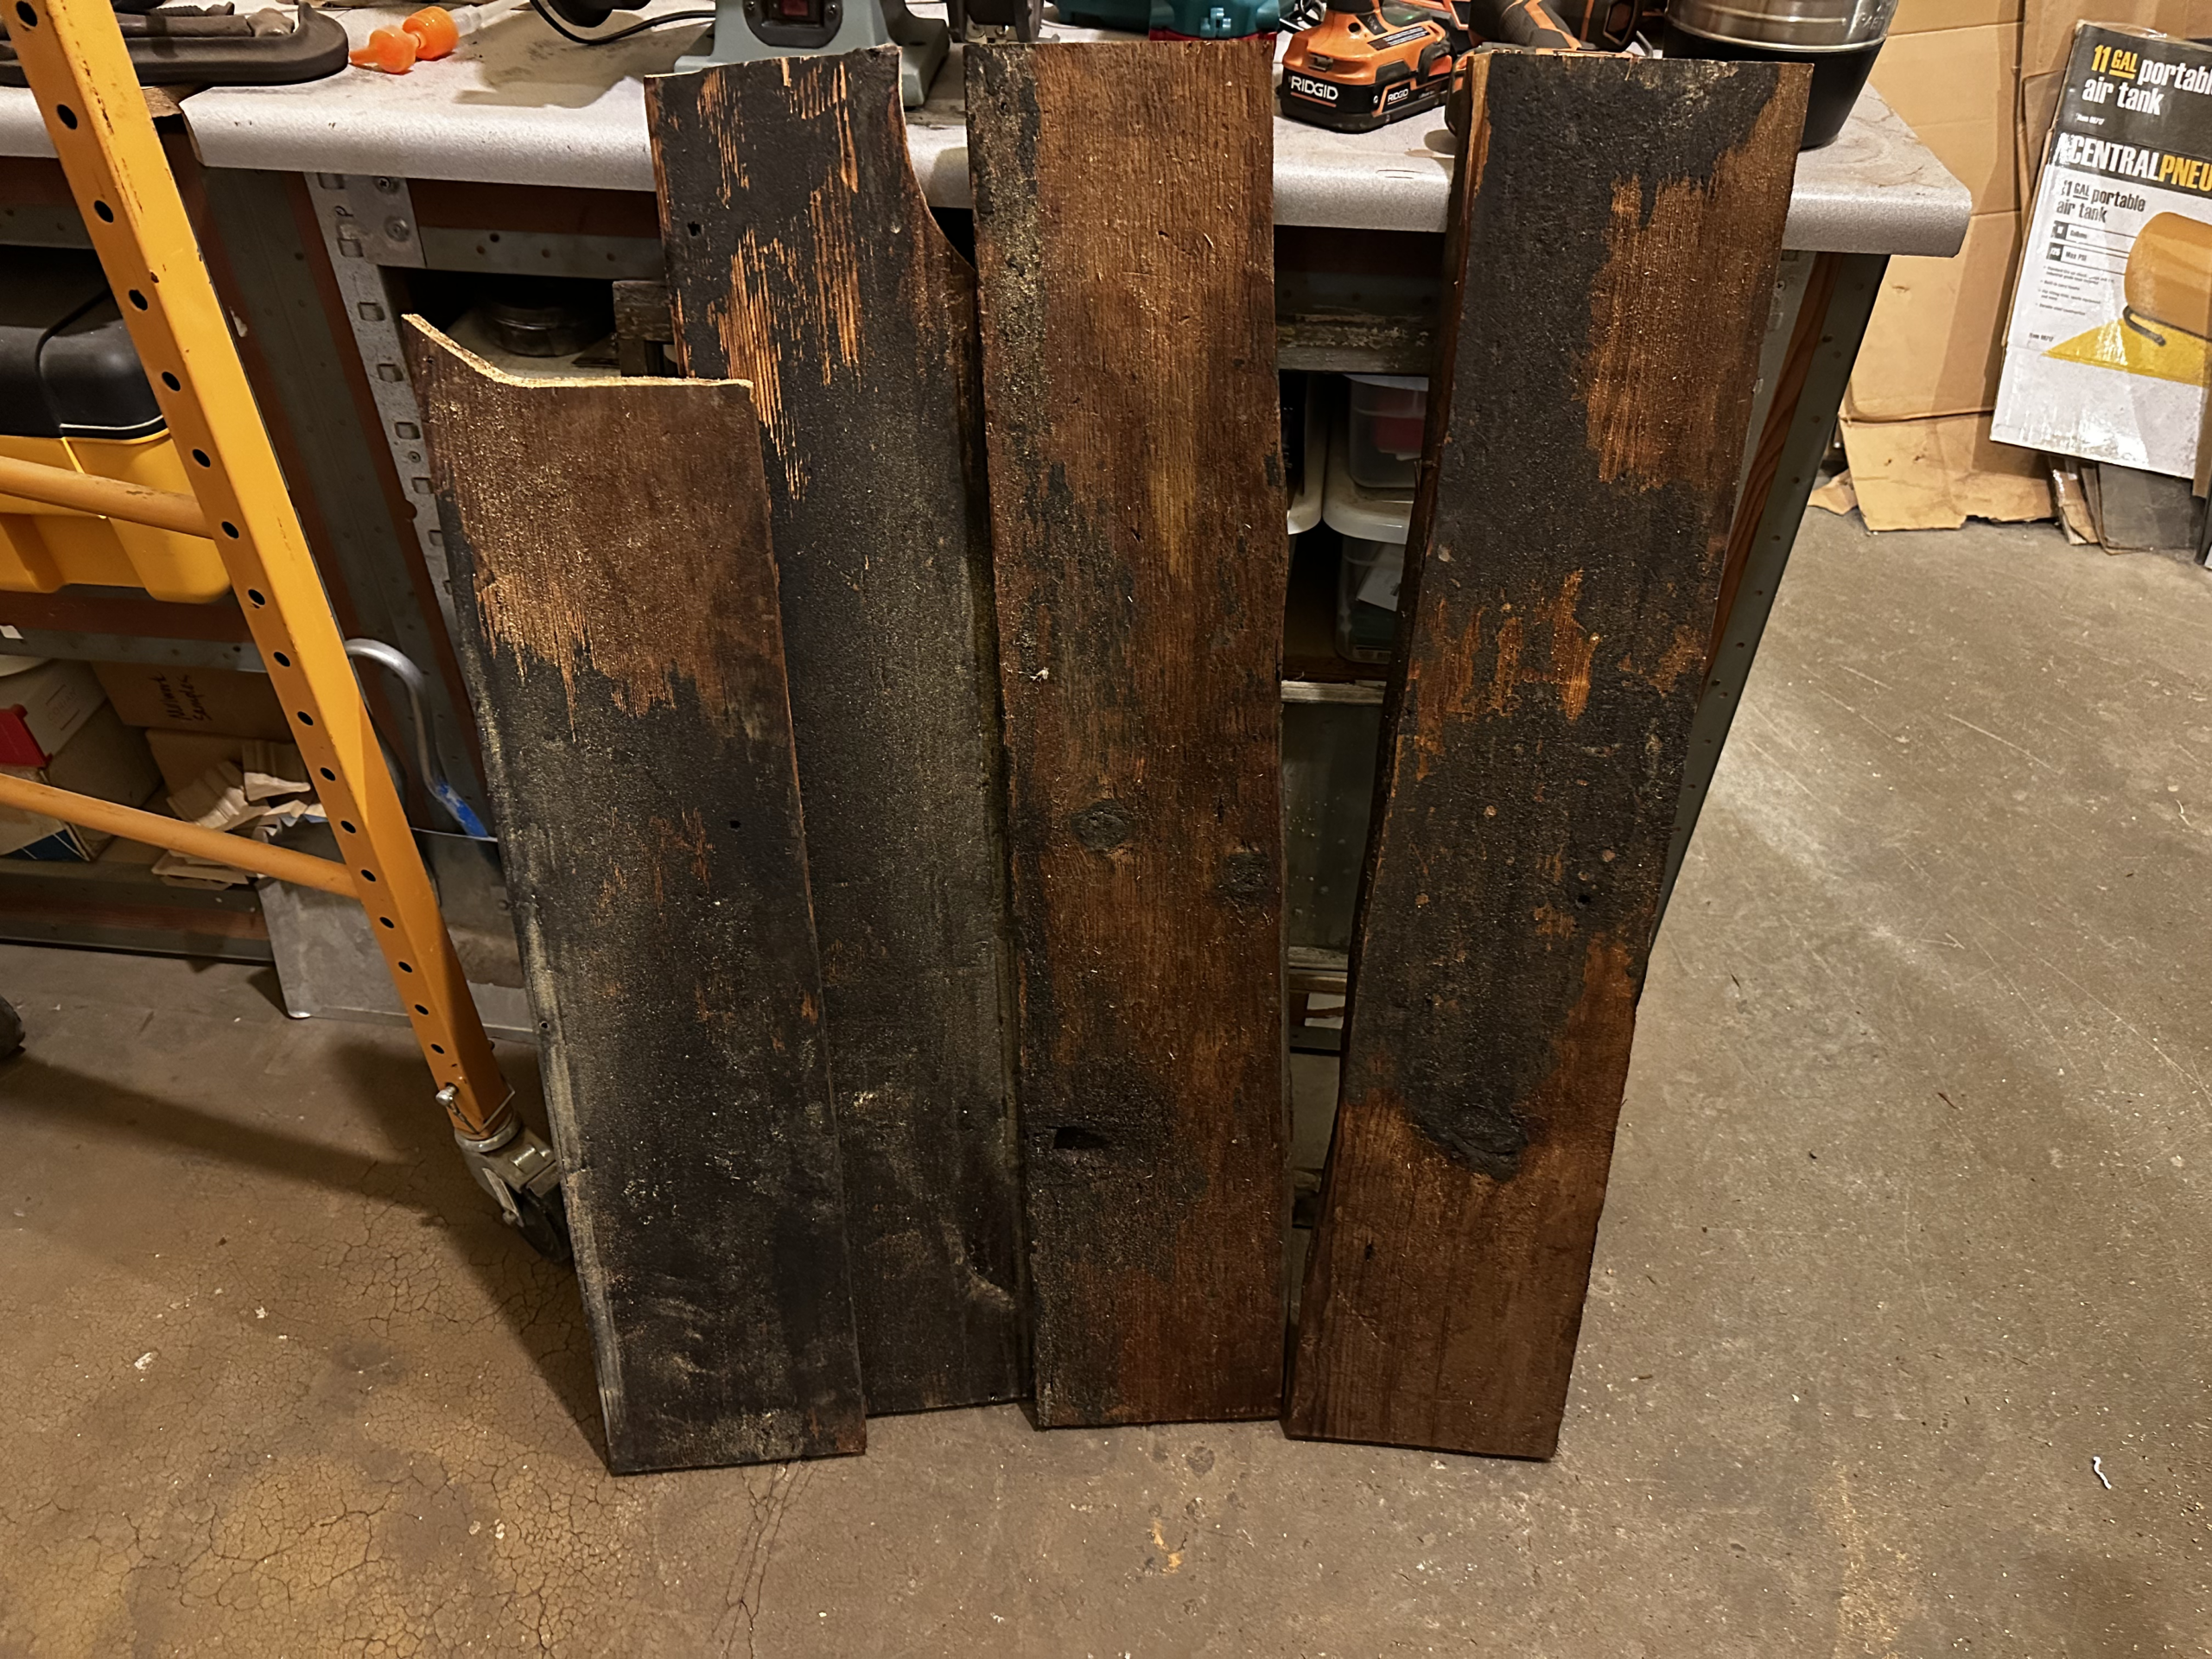
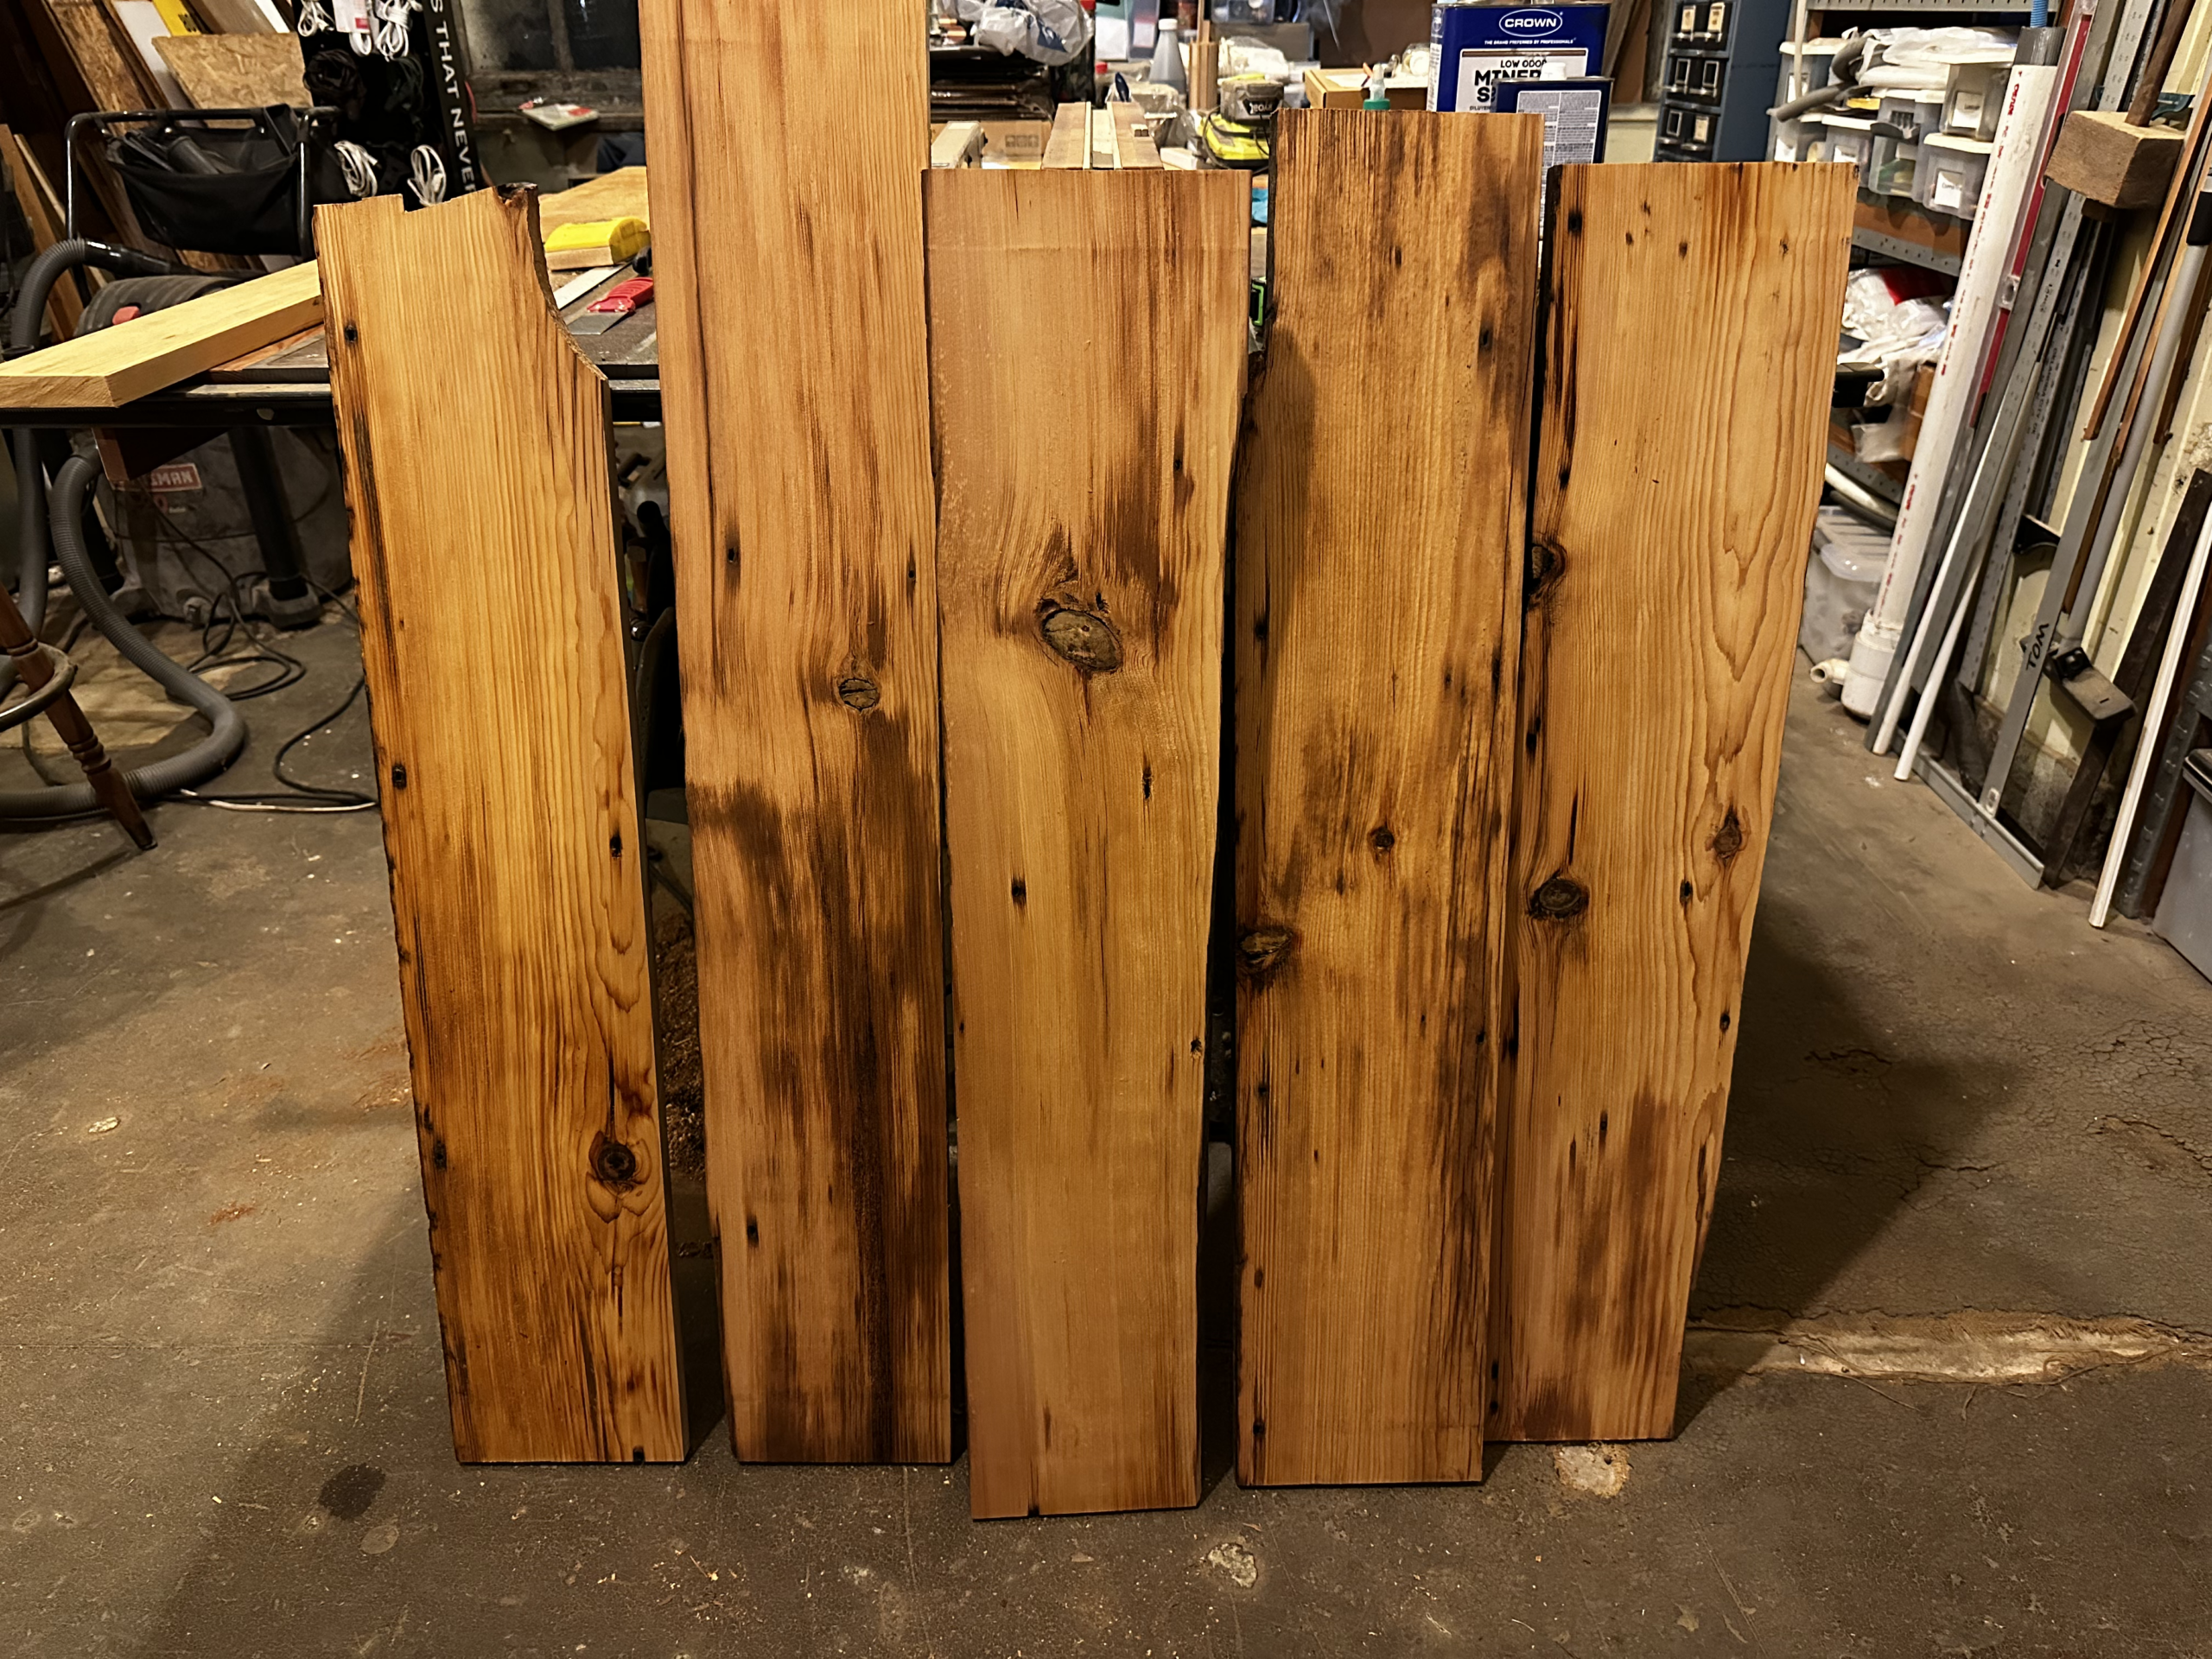
I thought turning the floorboard into frame members would be pretty straightforward. While pulling it out of the attic, the floorboard appeared to be simply very dirty. But on closer inspection in my shop, there was a thick tarry coating, beneath the dirt, that was still pliable. After planing, another issue was revealed – that tarry material had soaked into the wood, leaving patchy discolorations. We all agreed that it was best to plane the wood to the desirable thickness, and let whatever stains remain be part of the story.
That statement evolved into a mantra for the whole project: this would not be a true restoration project – more of a preservation effort, and one that could appear to be purposely stopped partially through the process.
The Sash
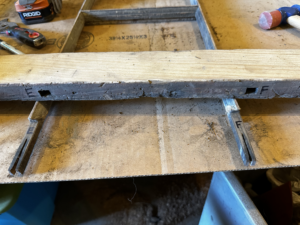
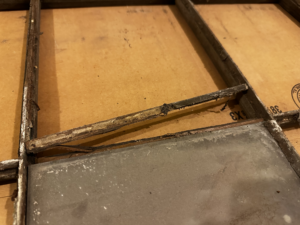
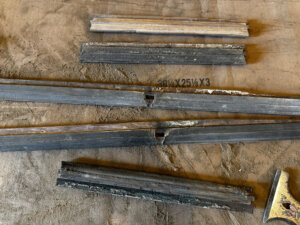
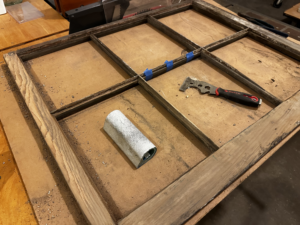
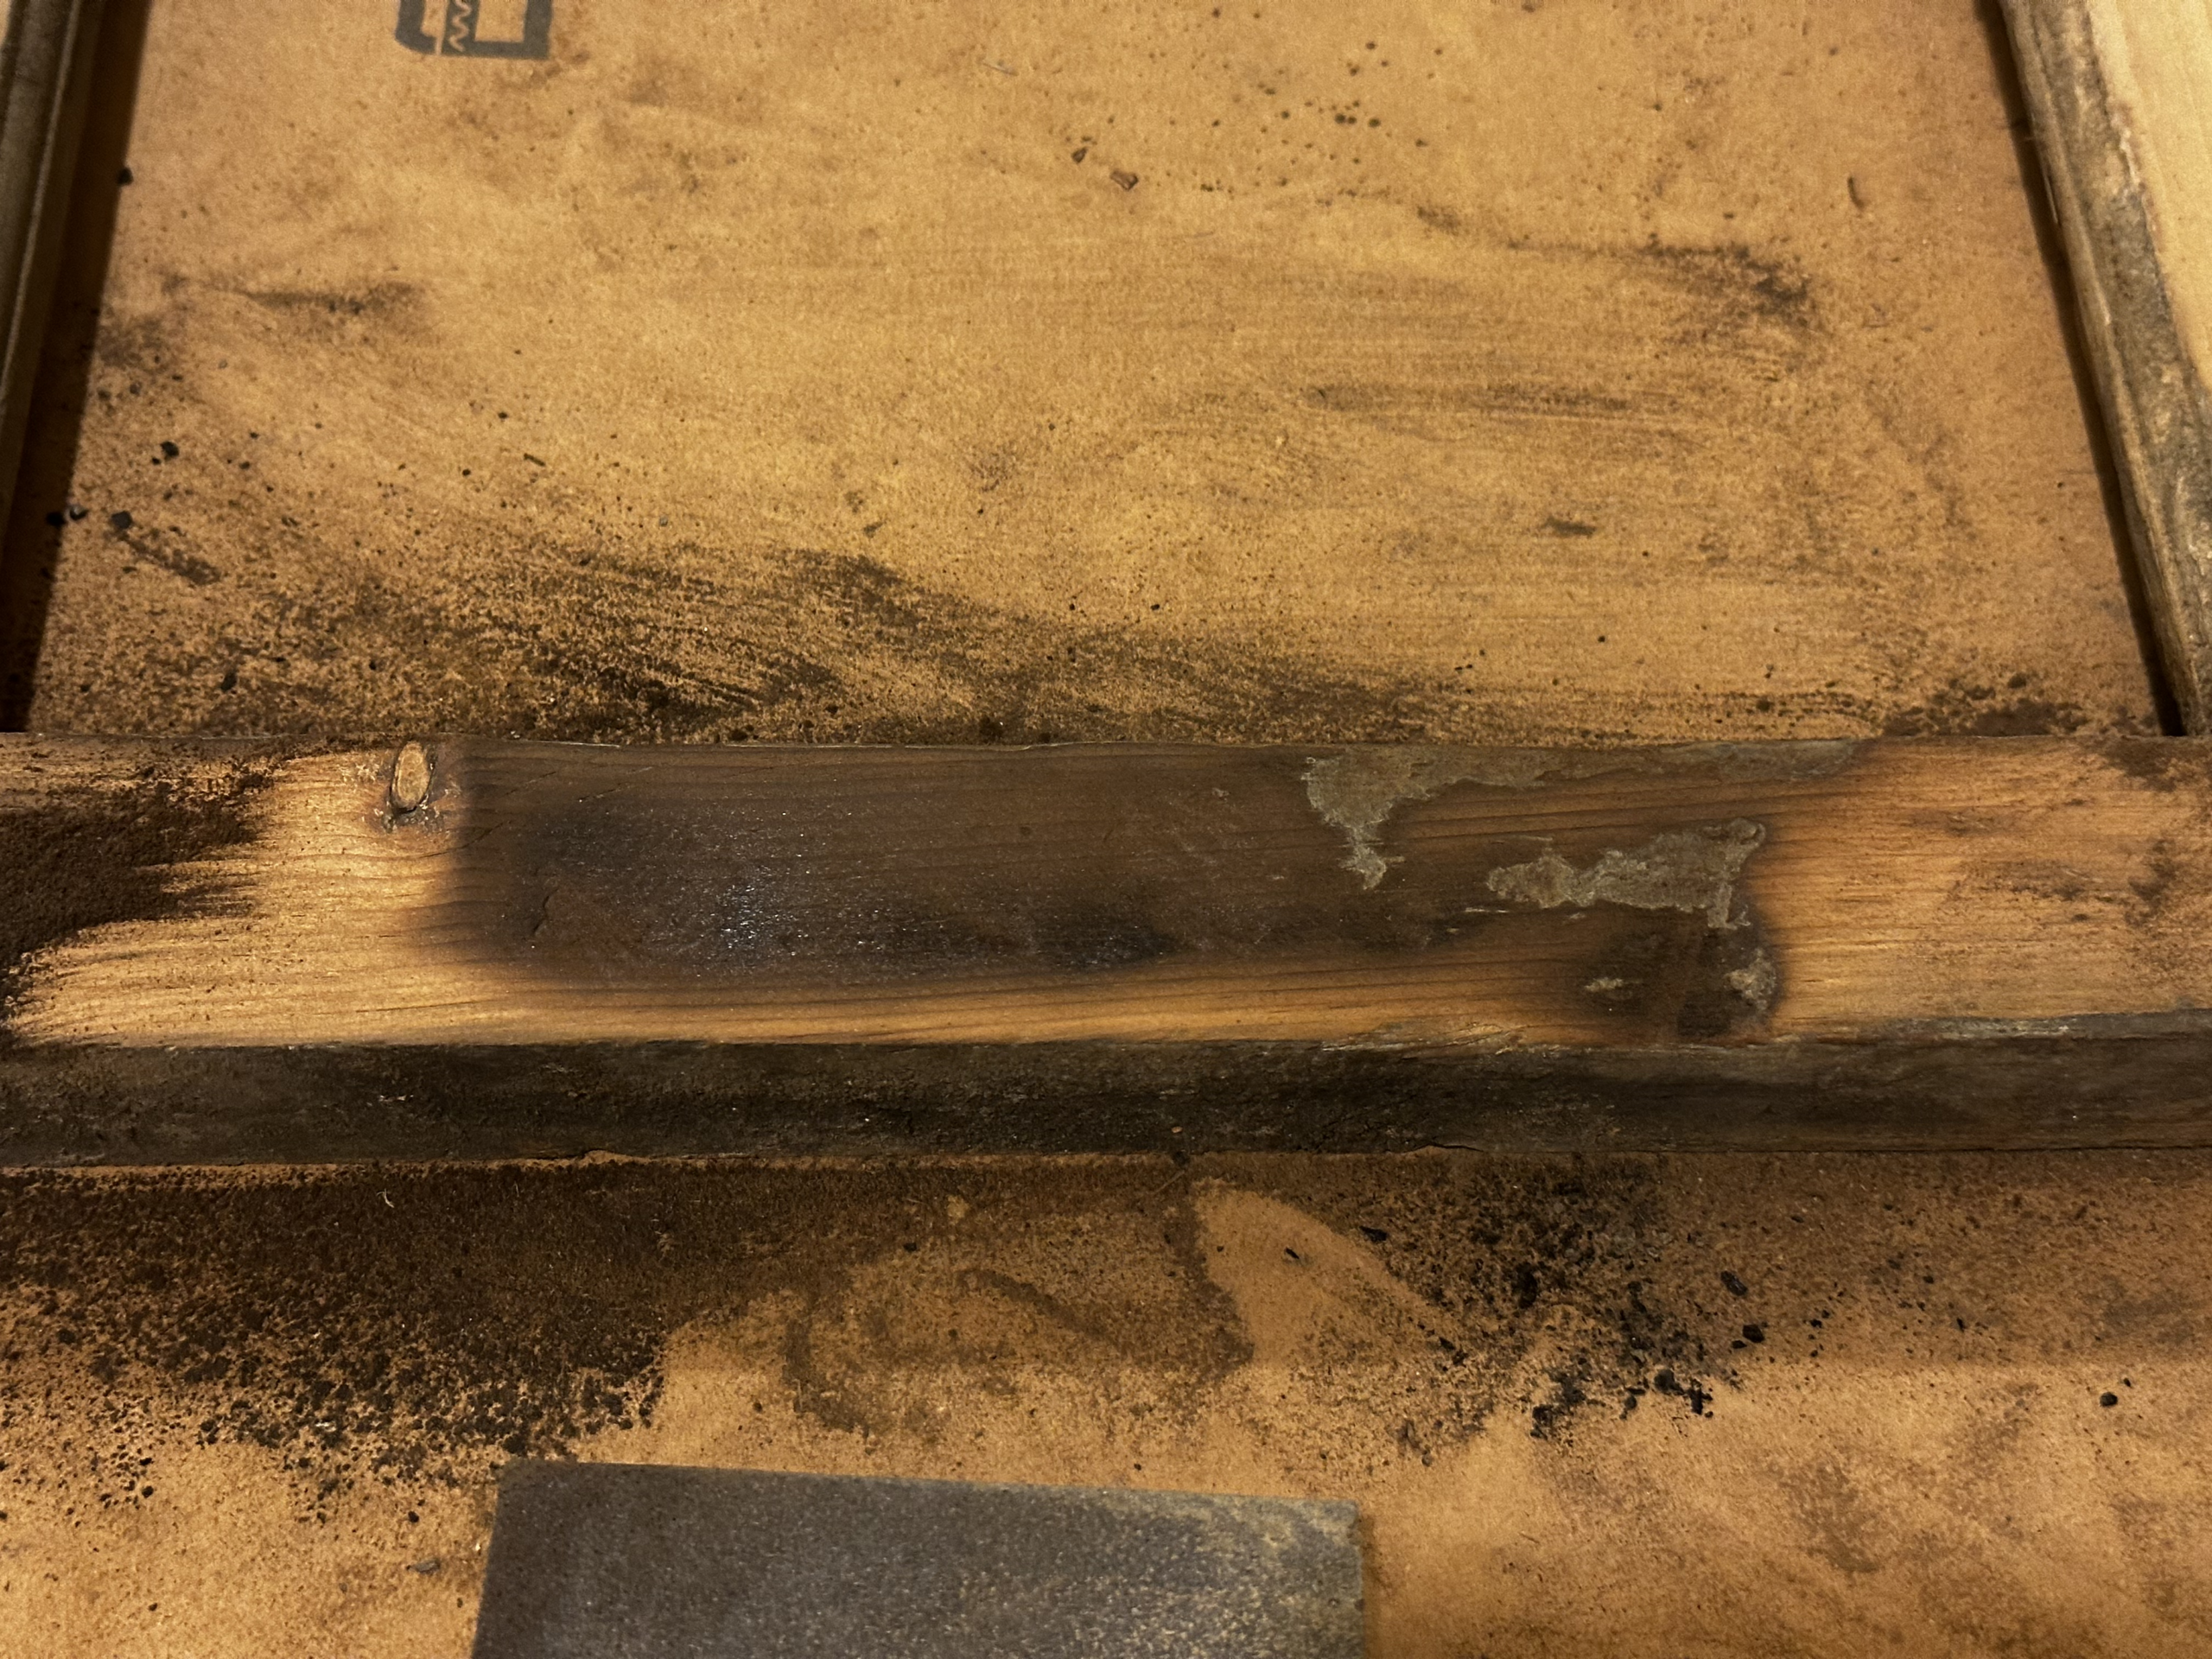
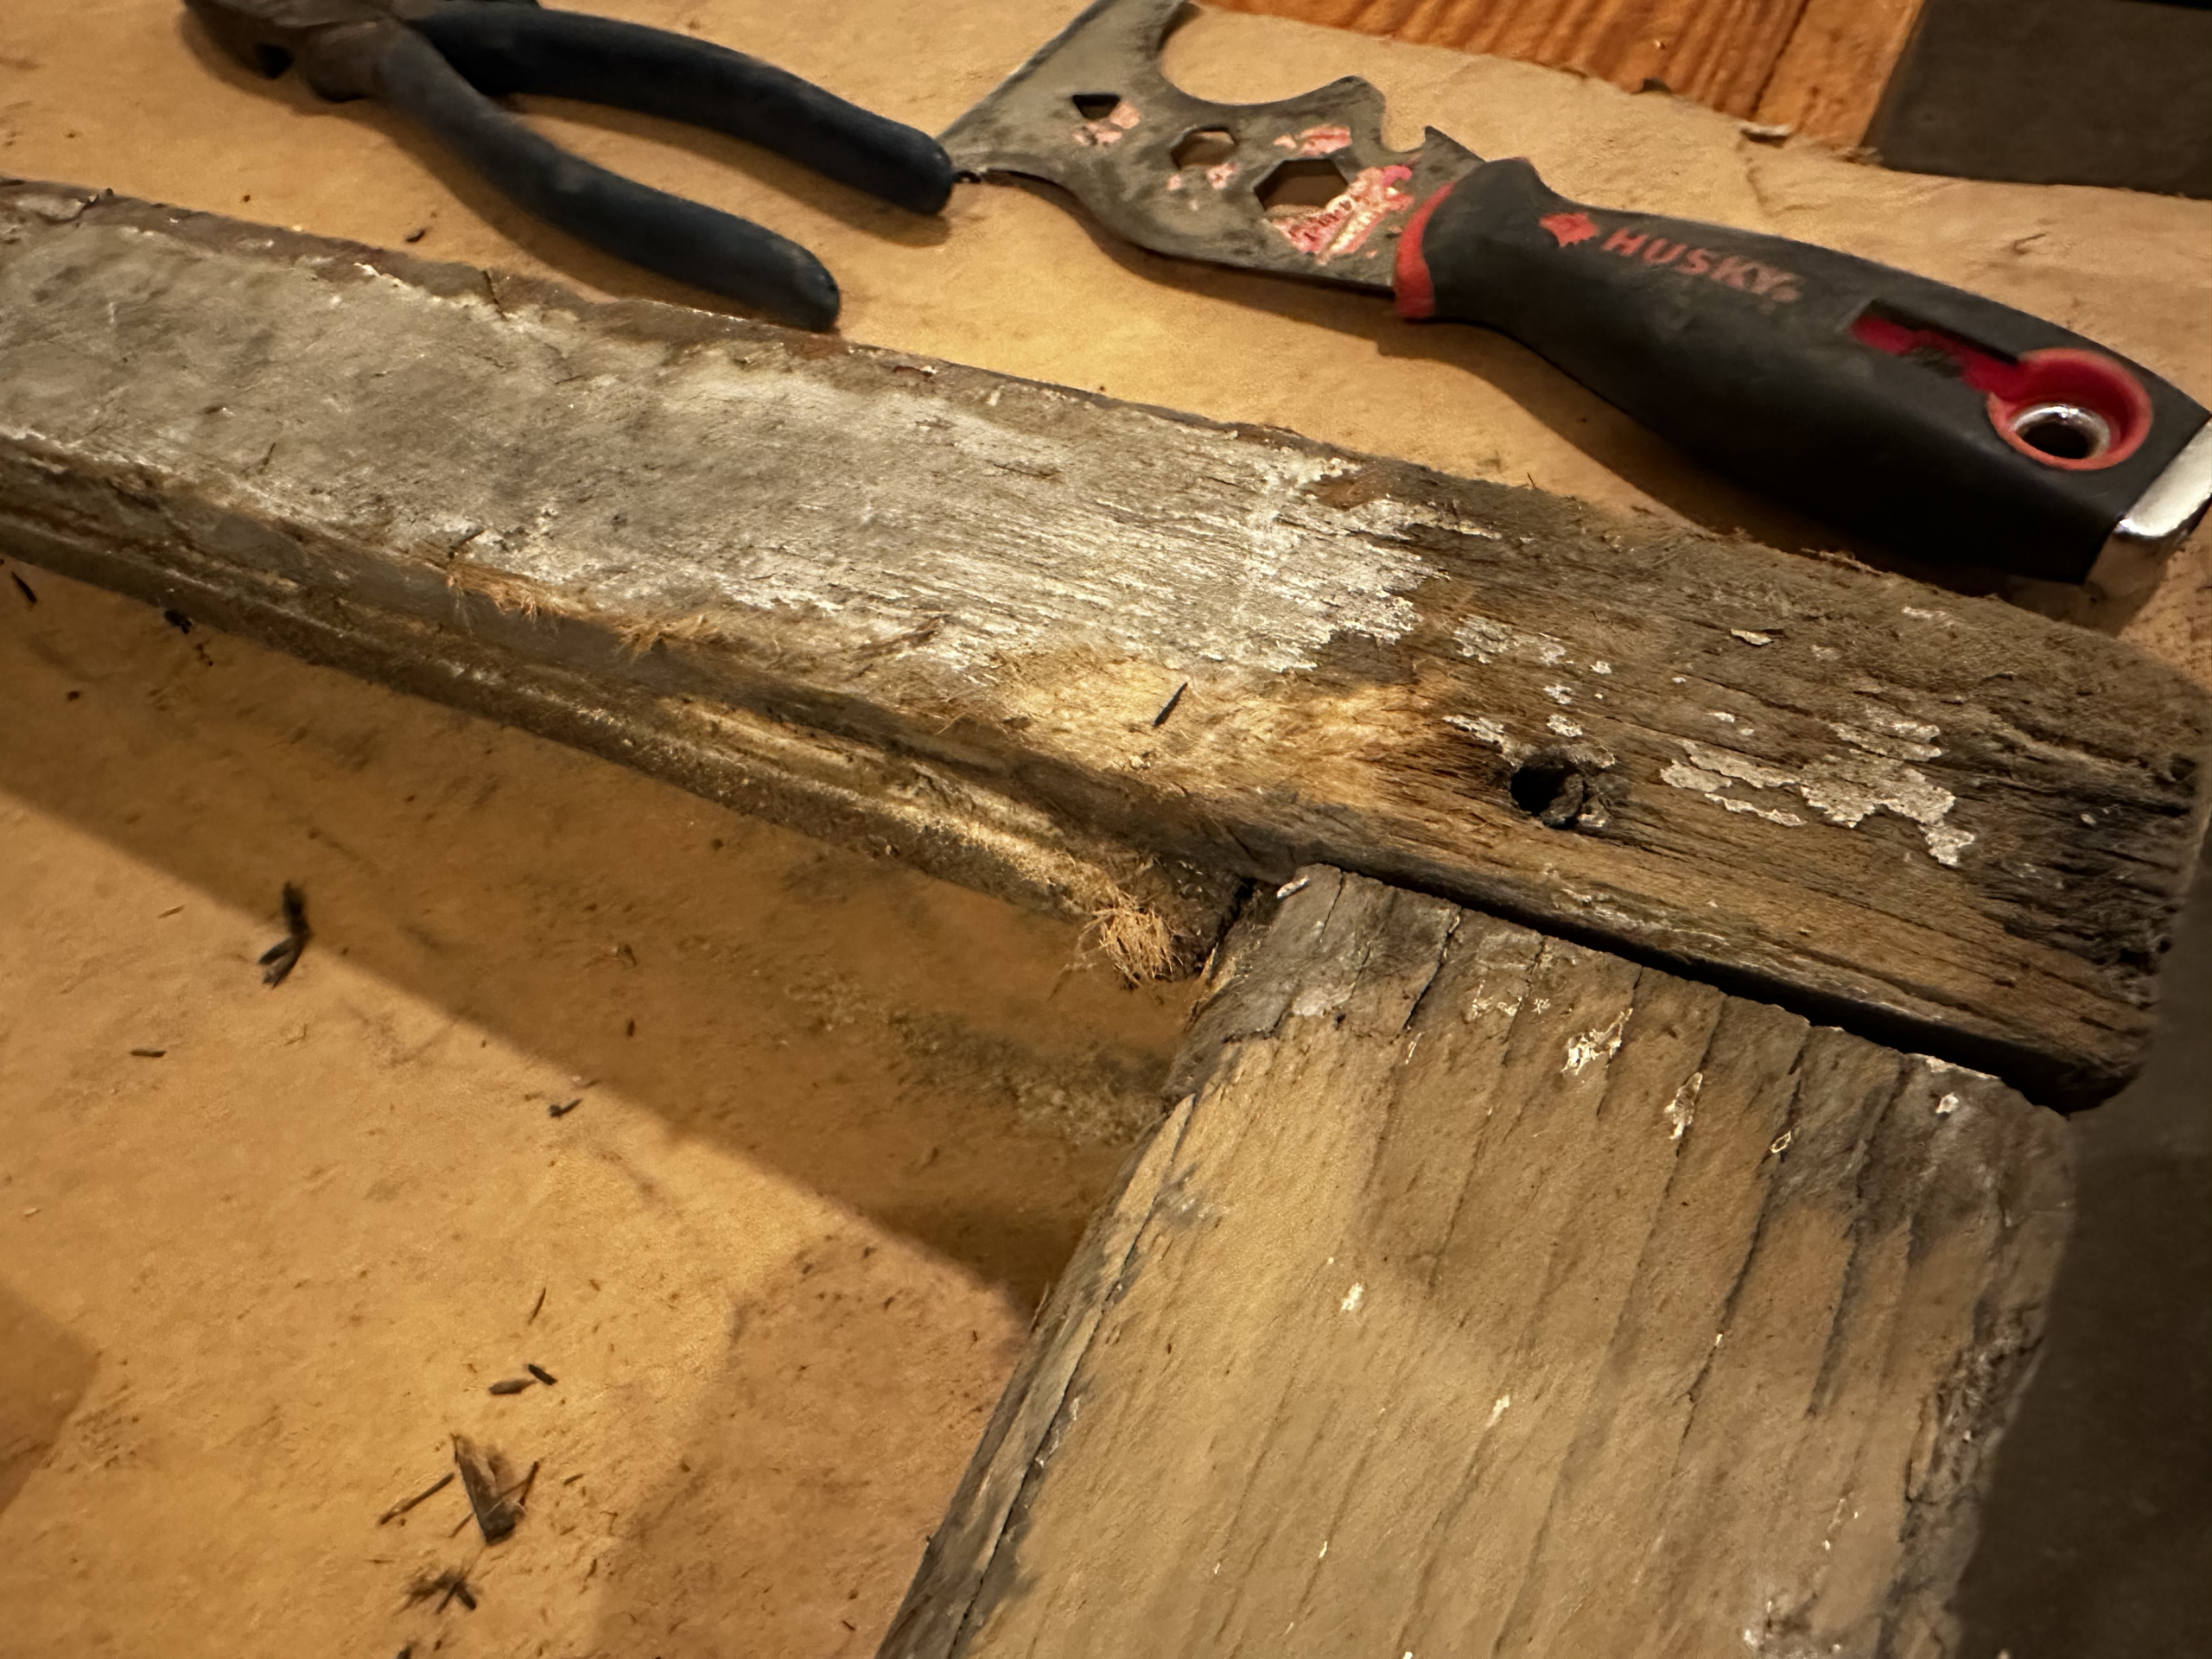
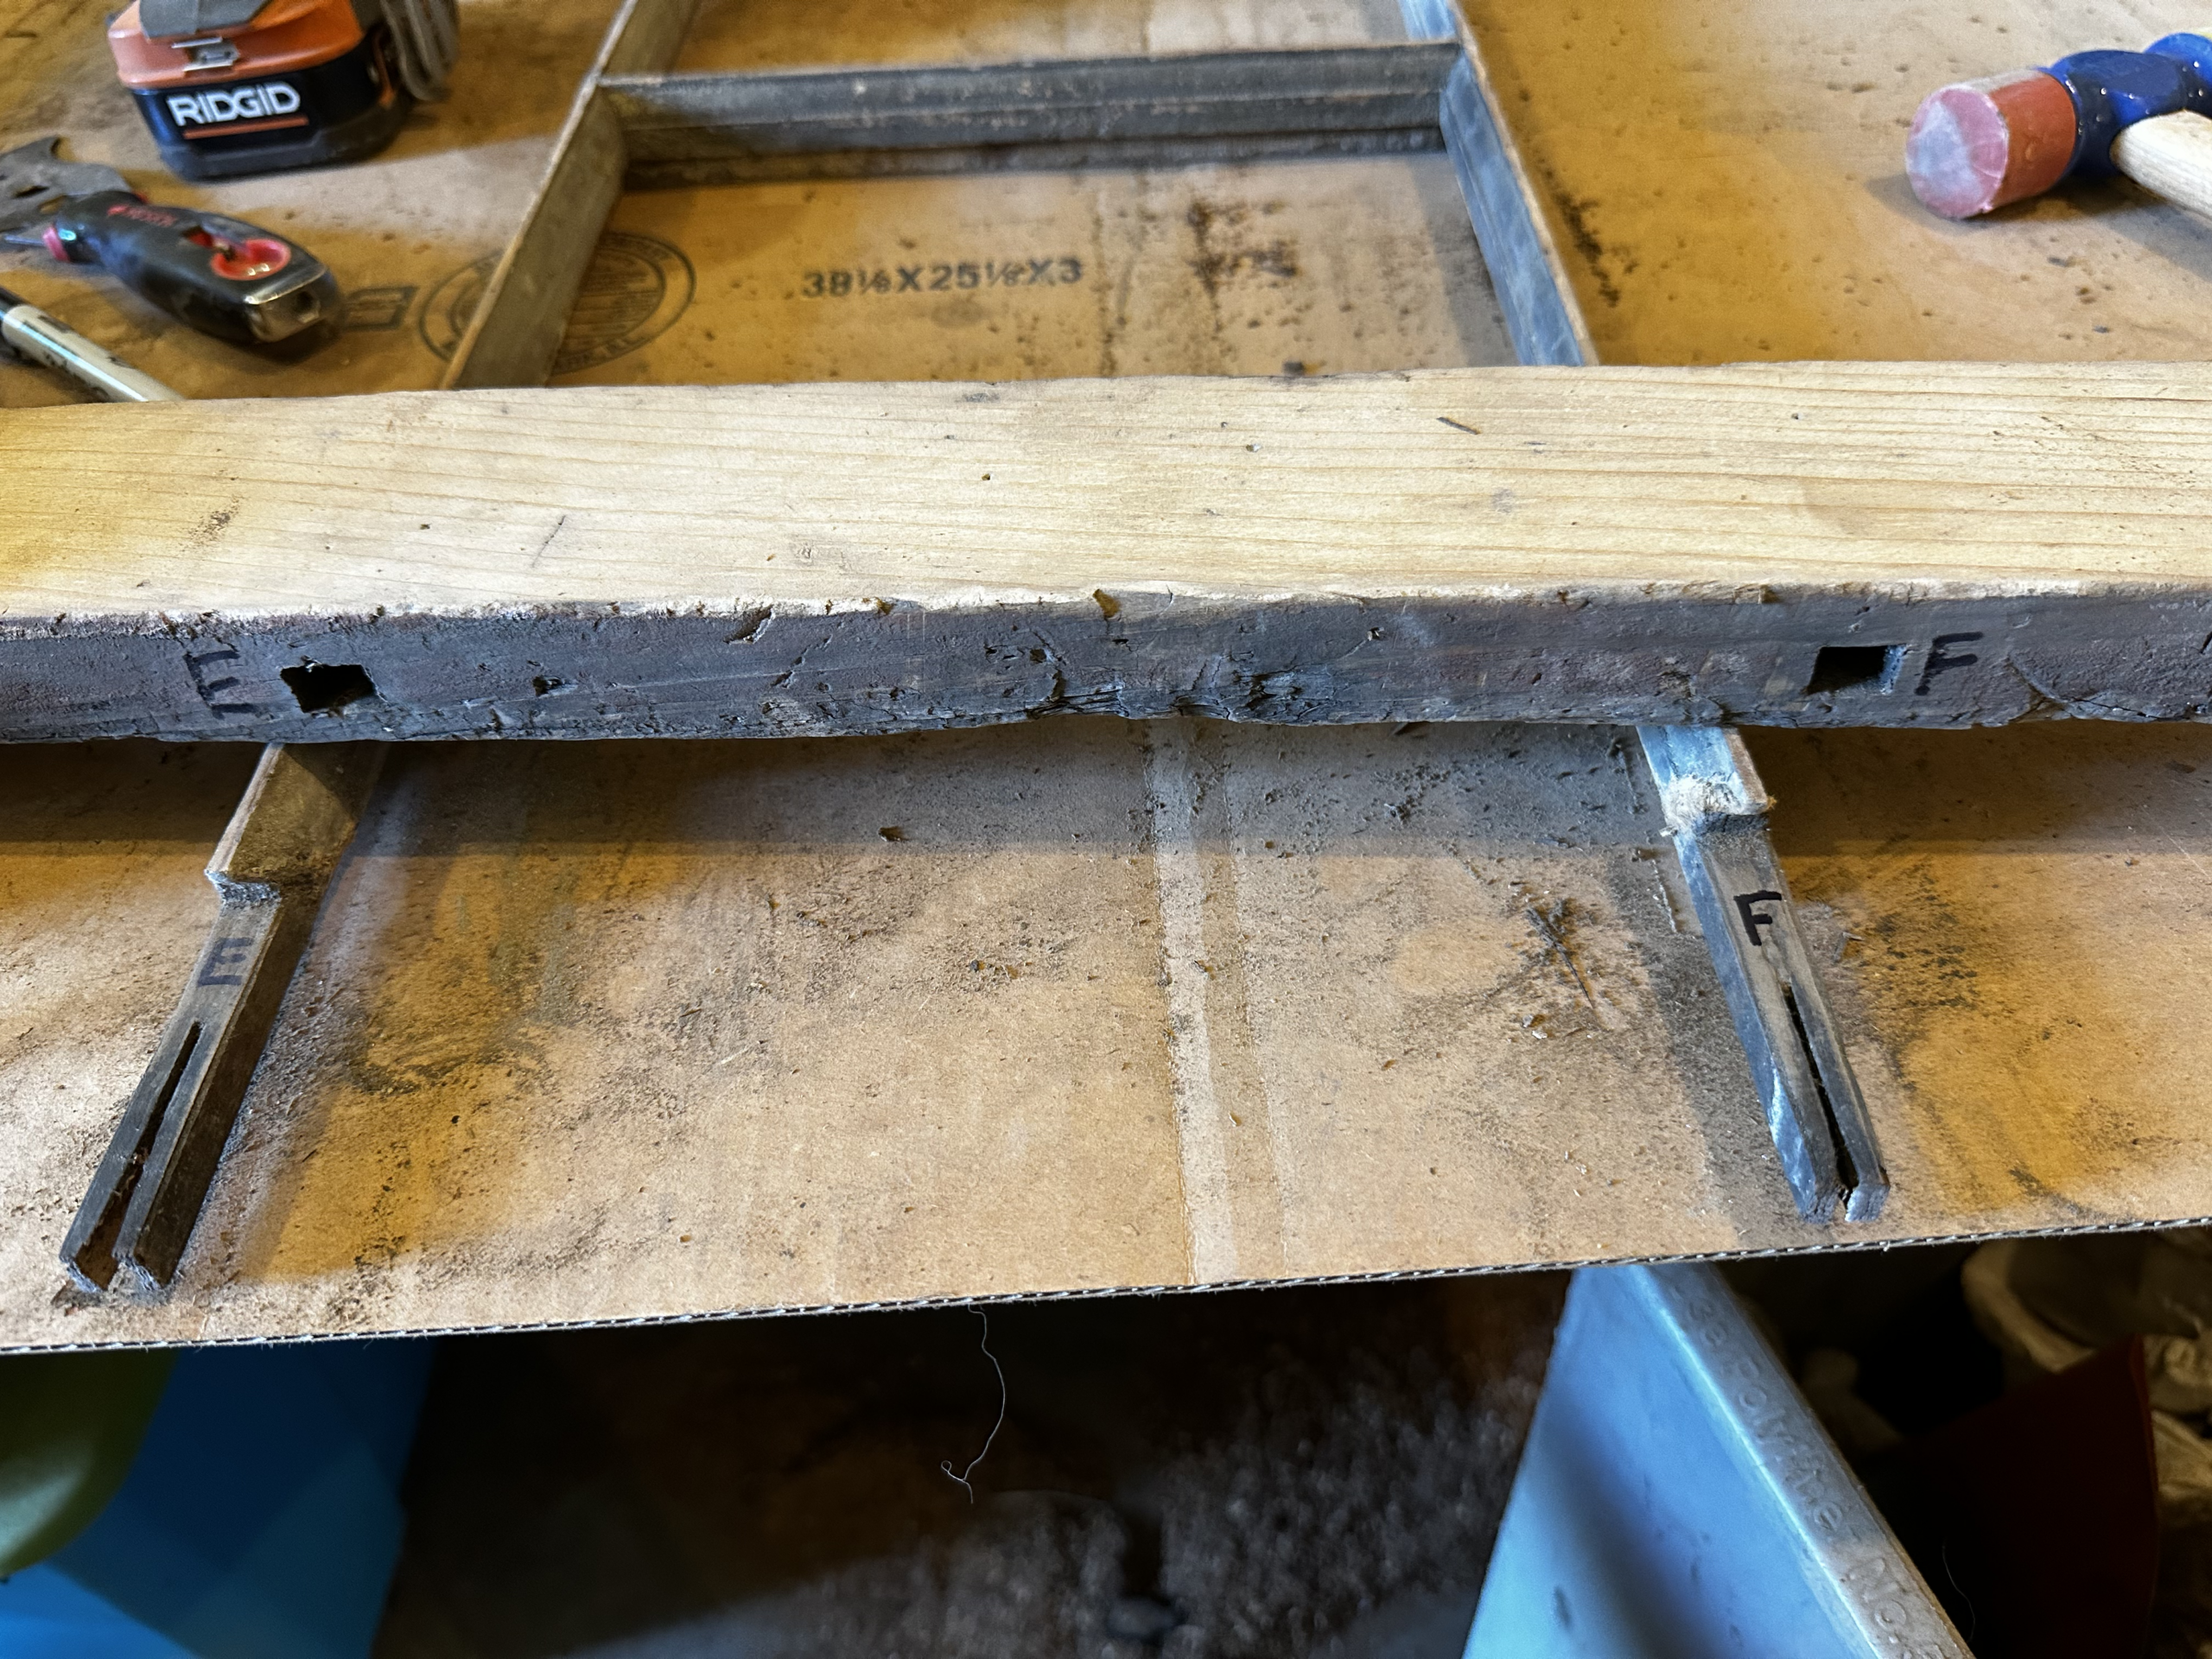
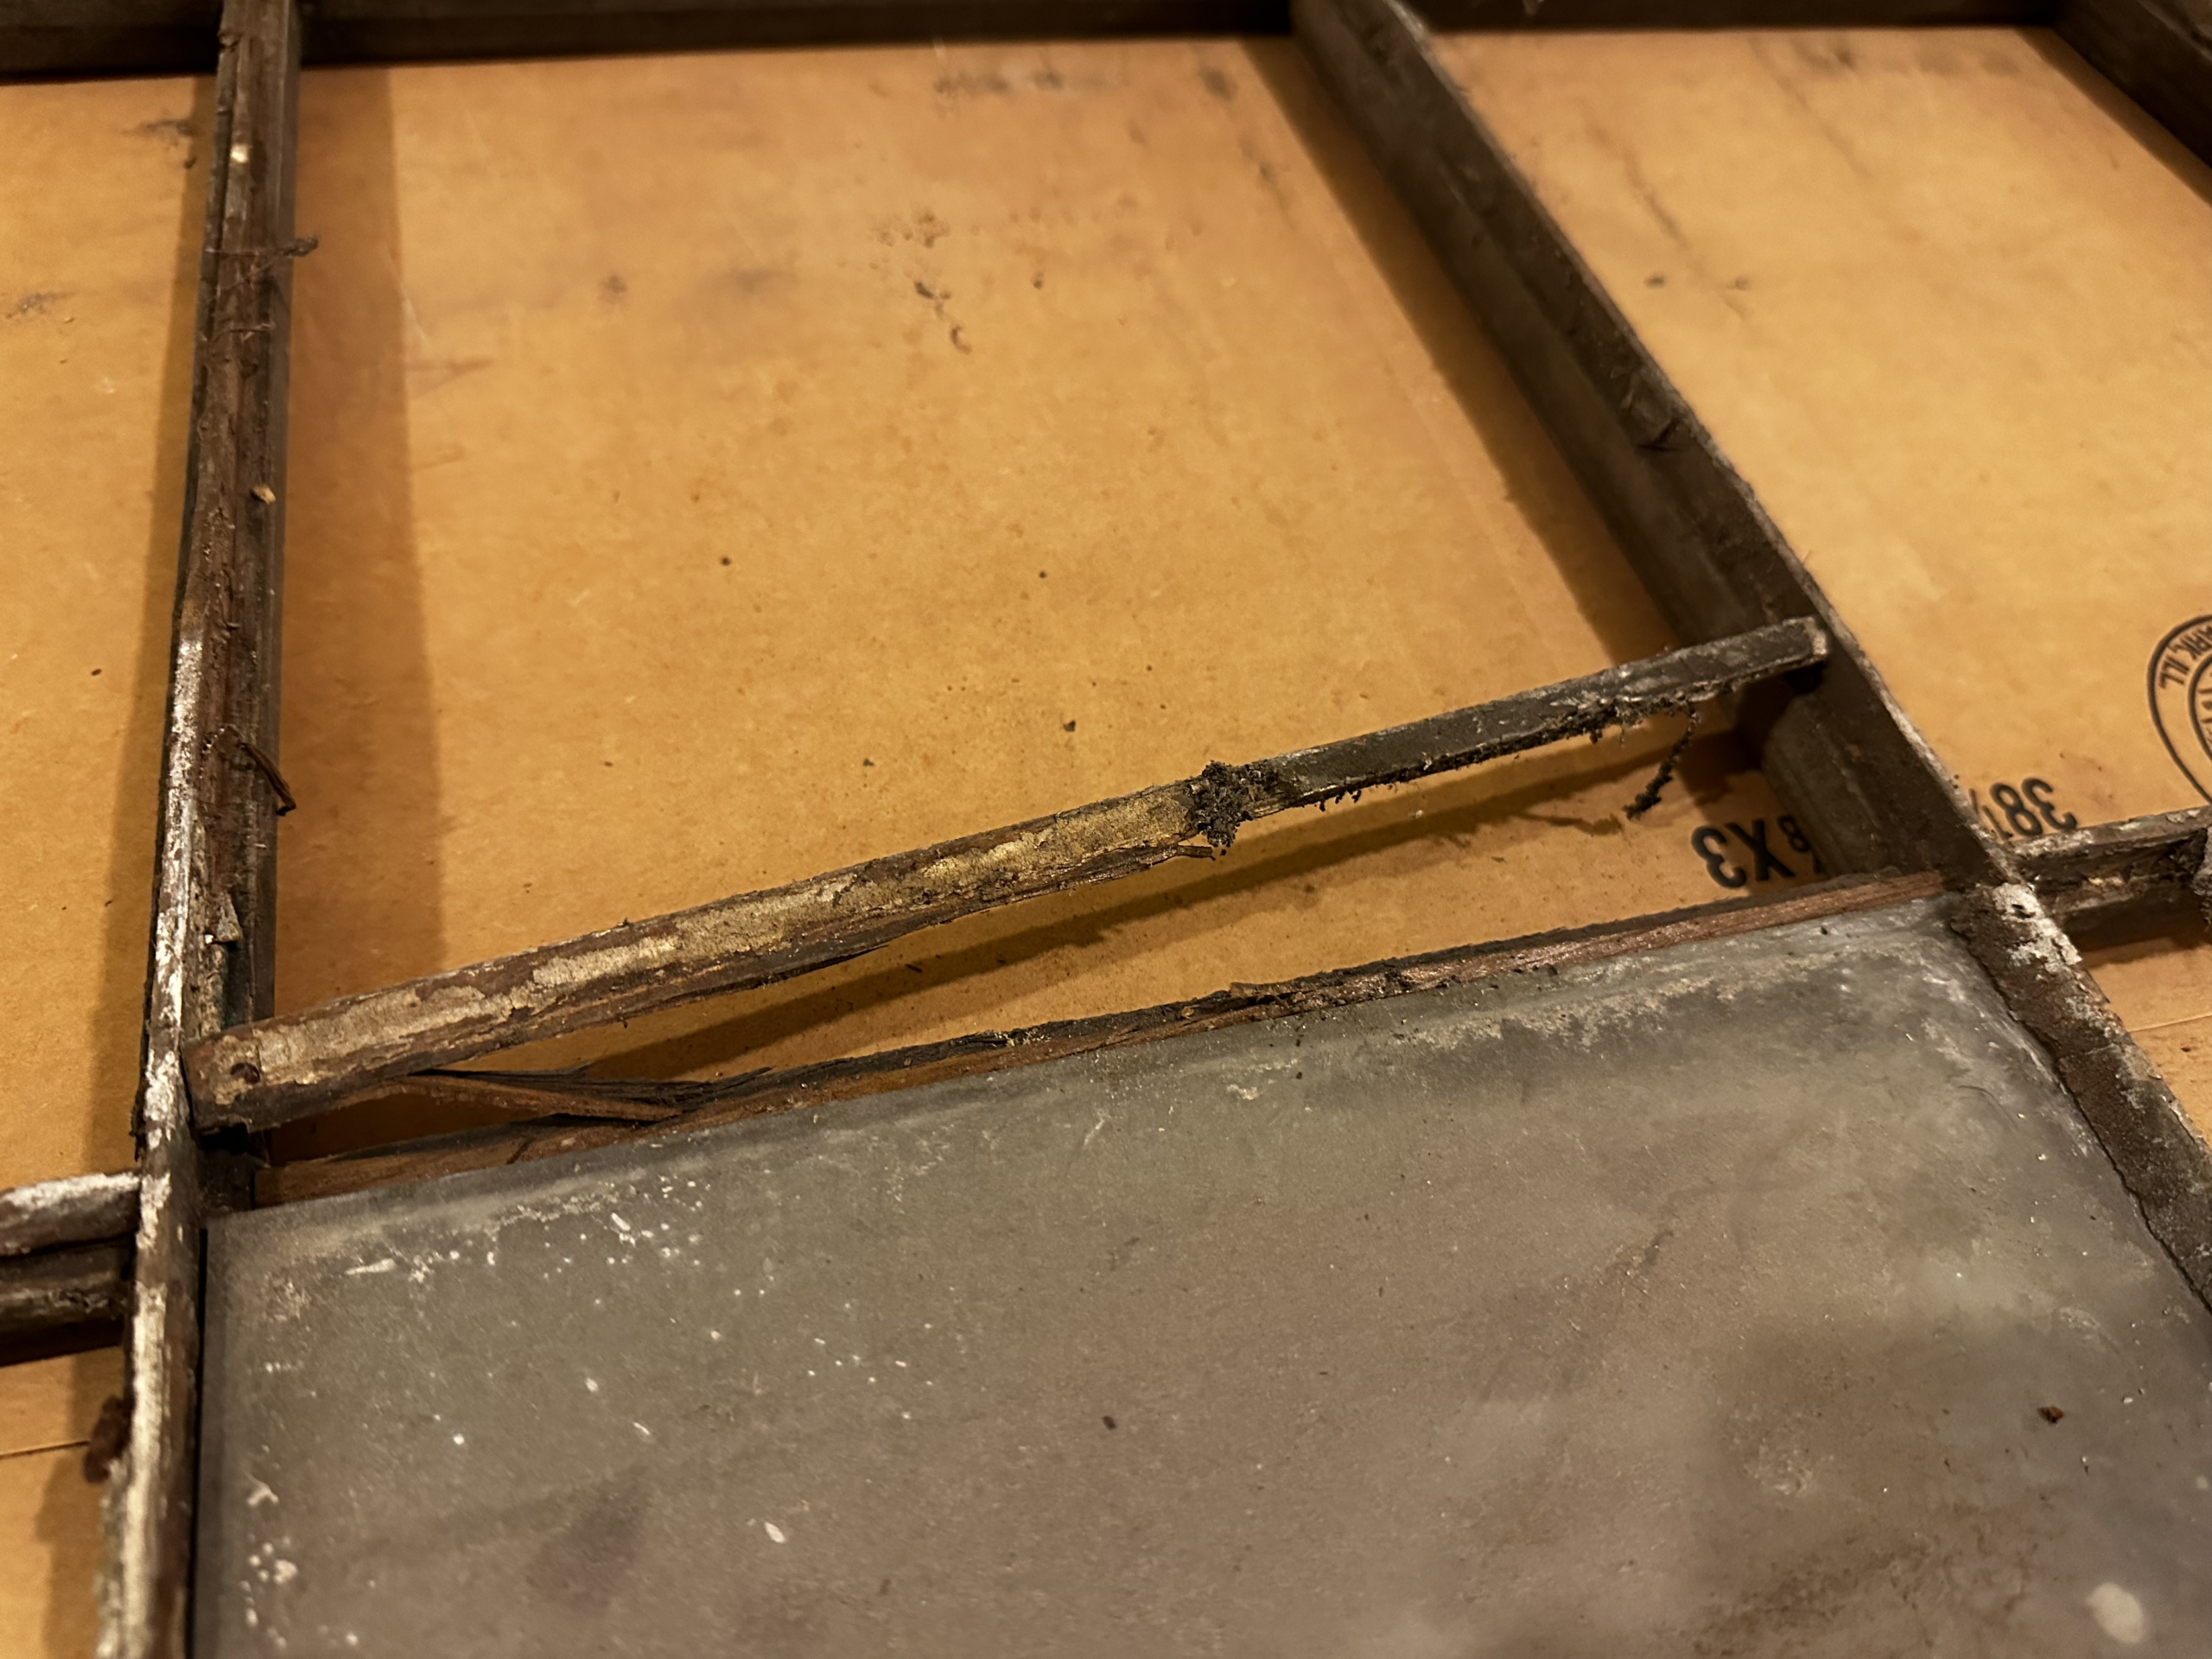
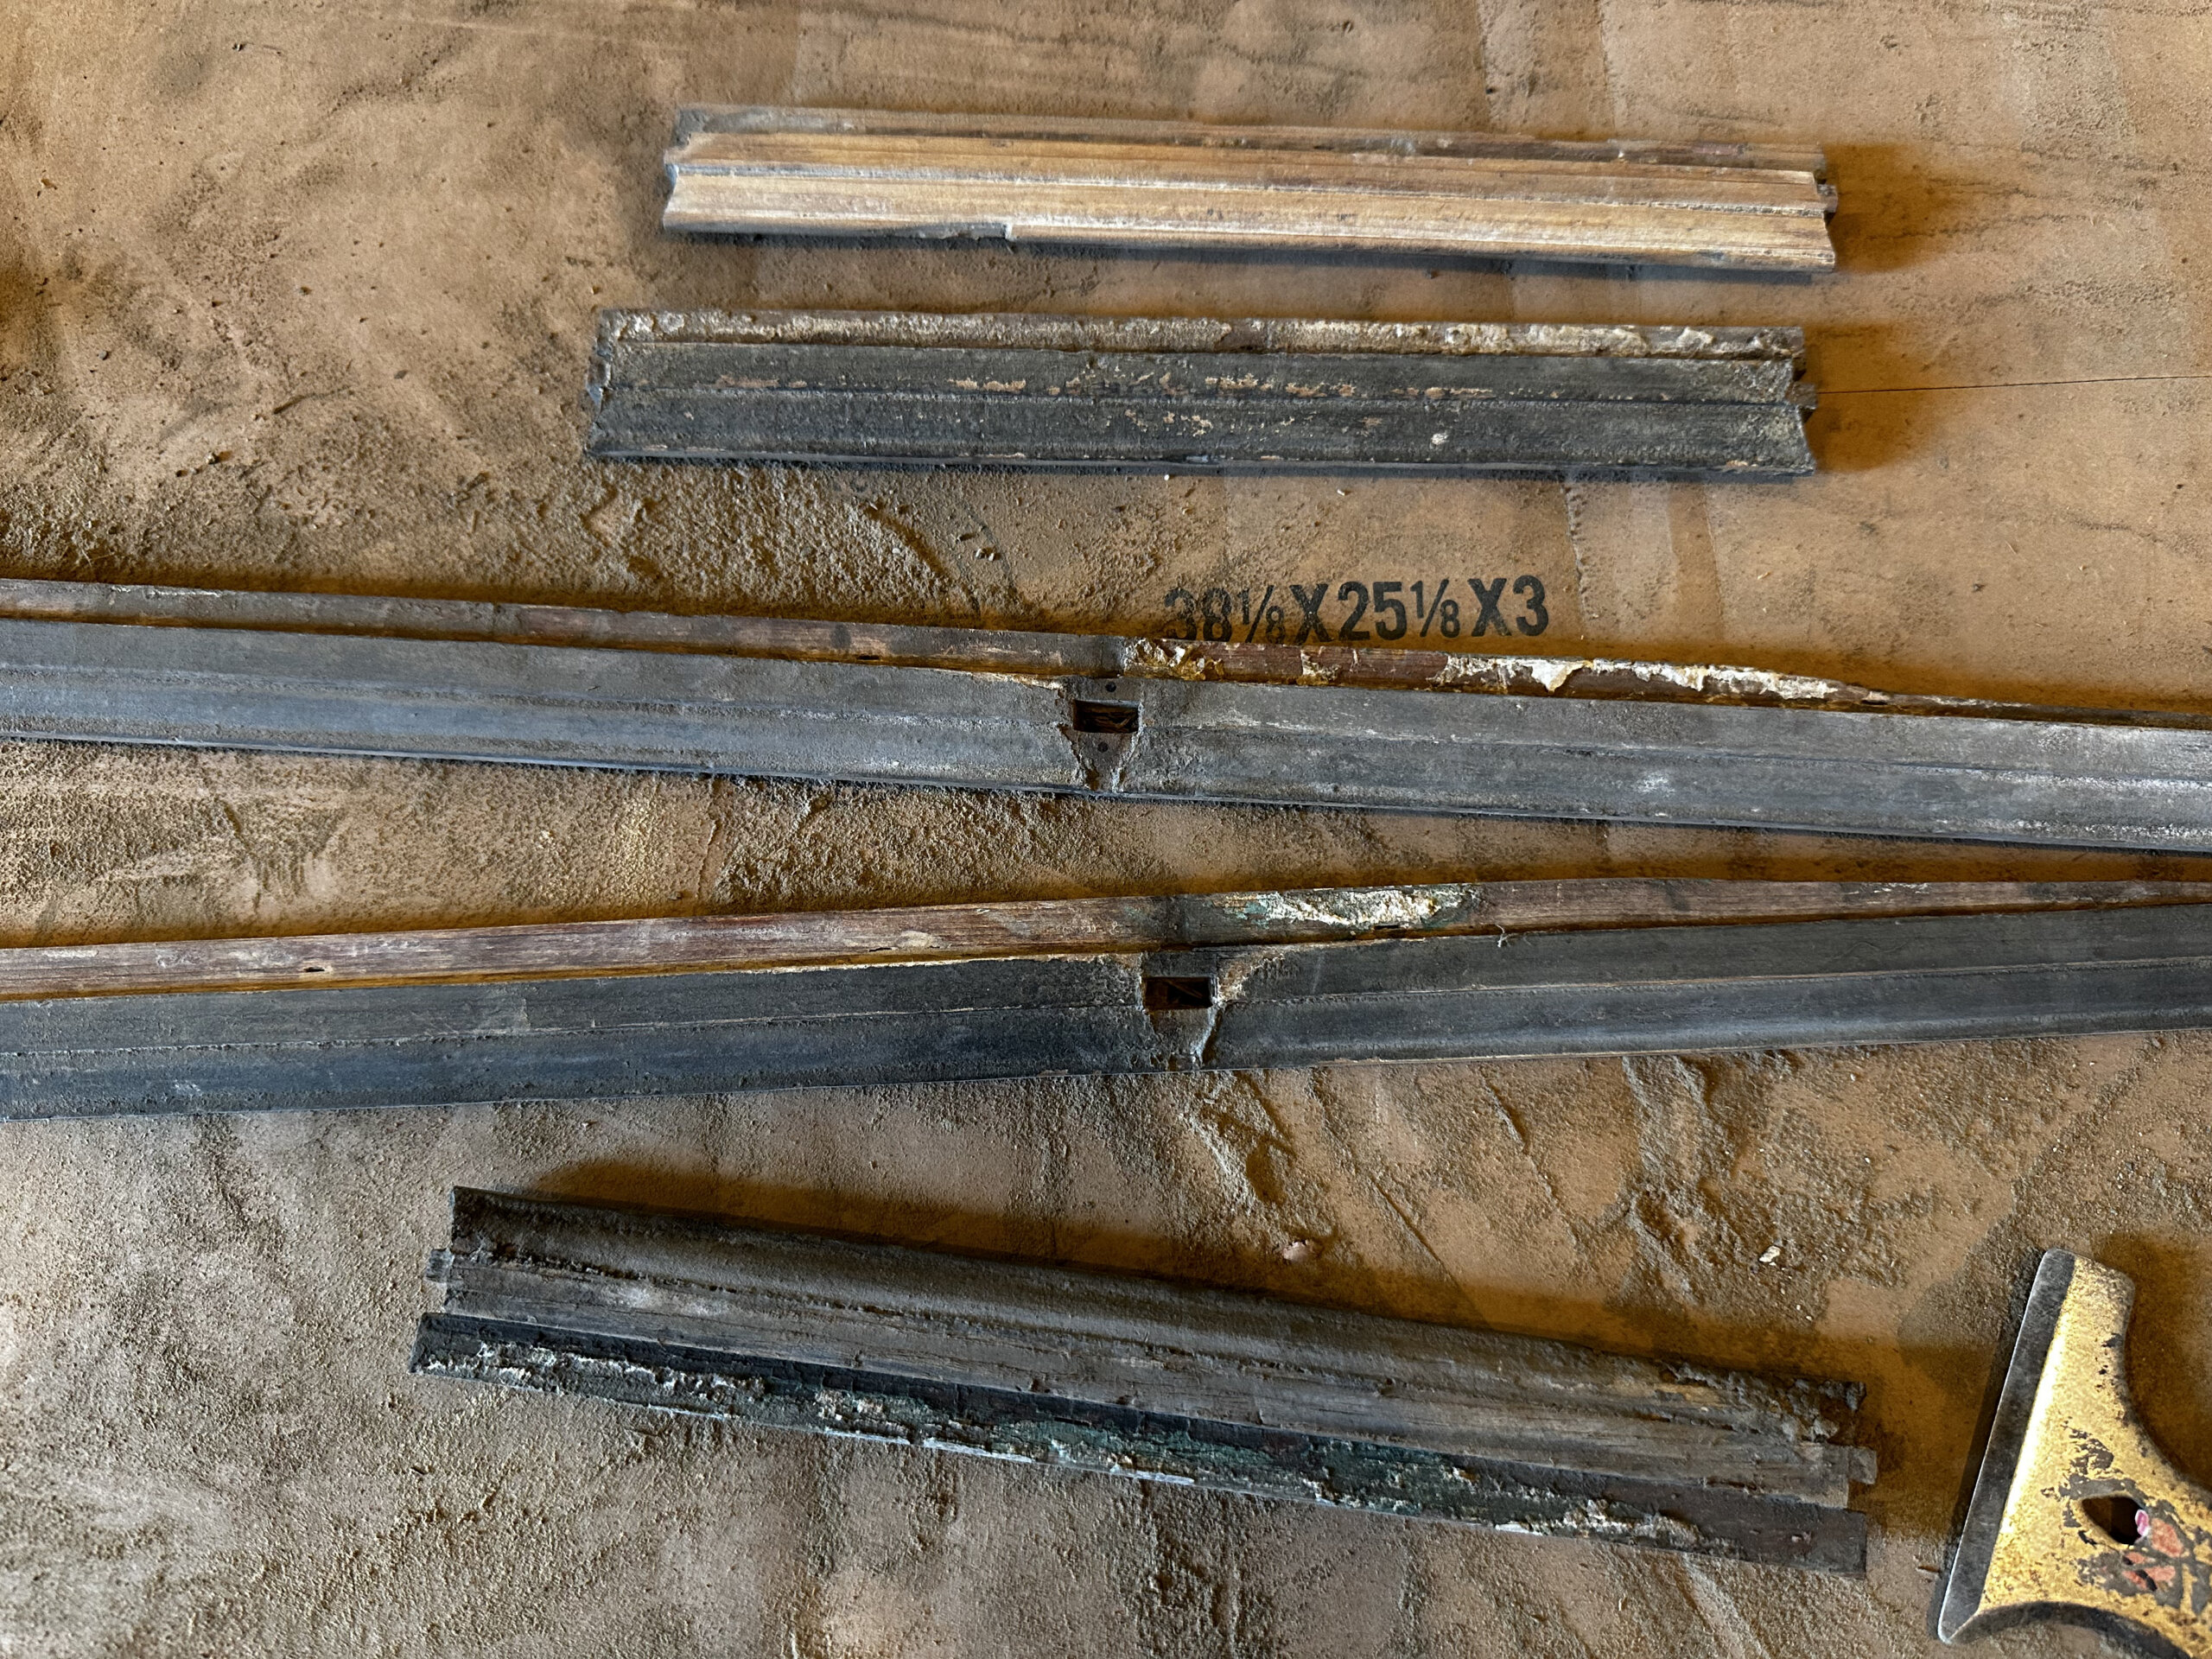
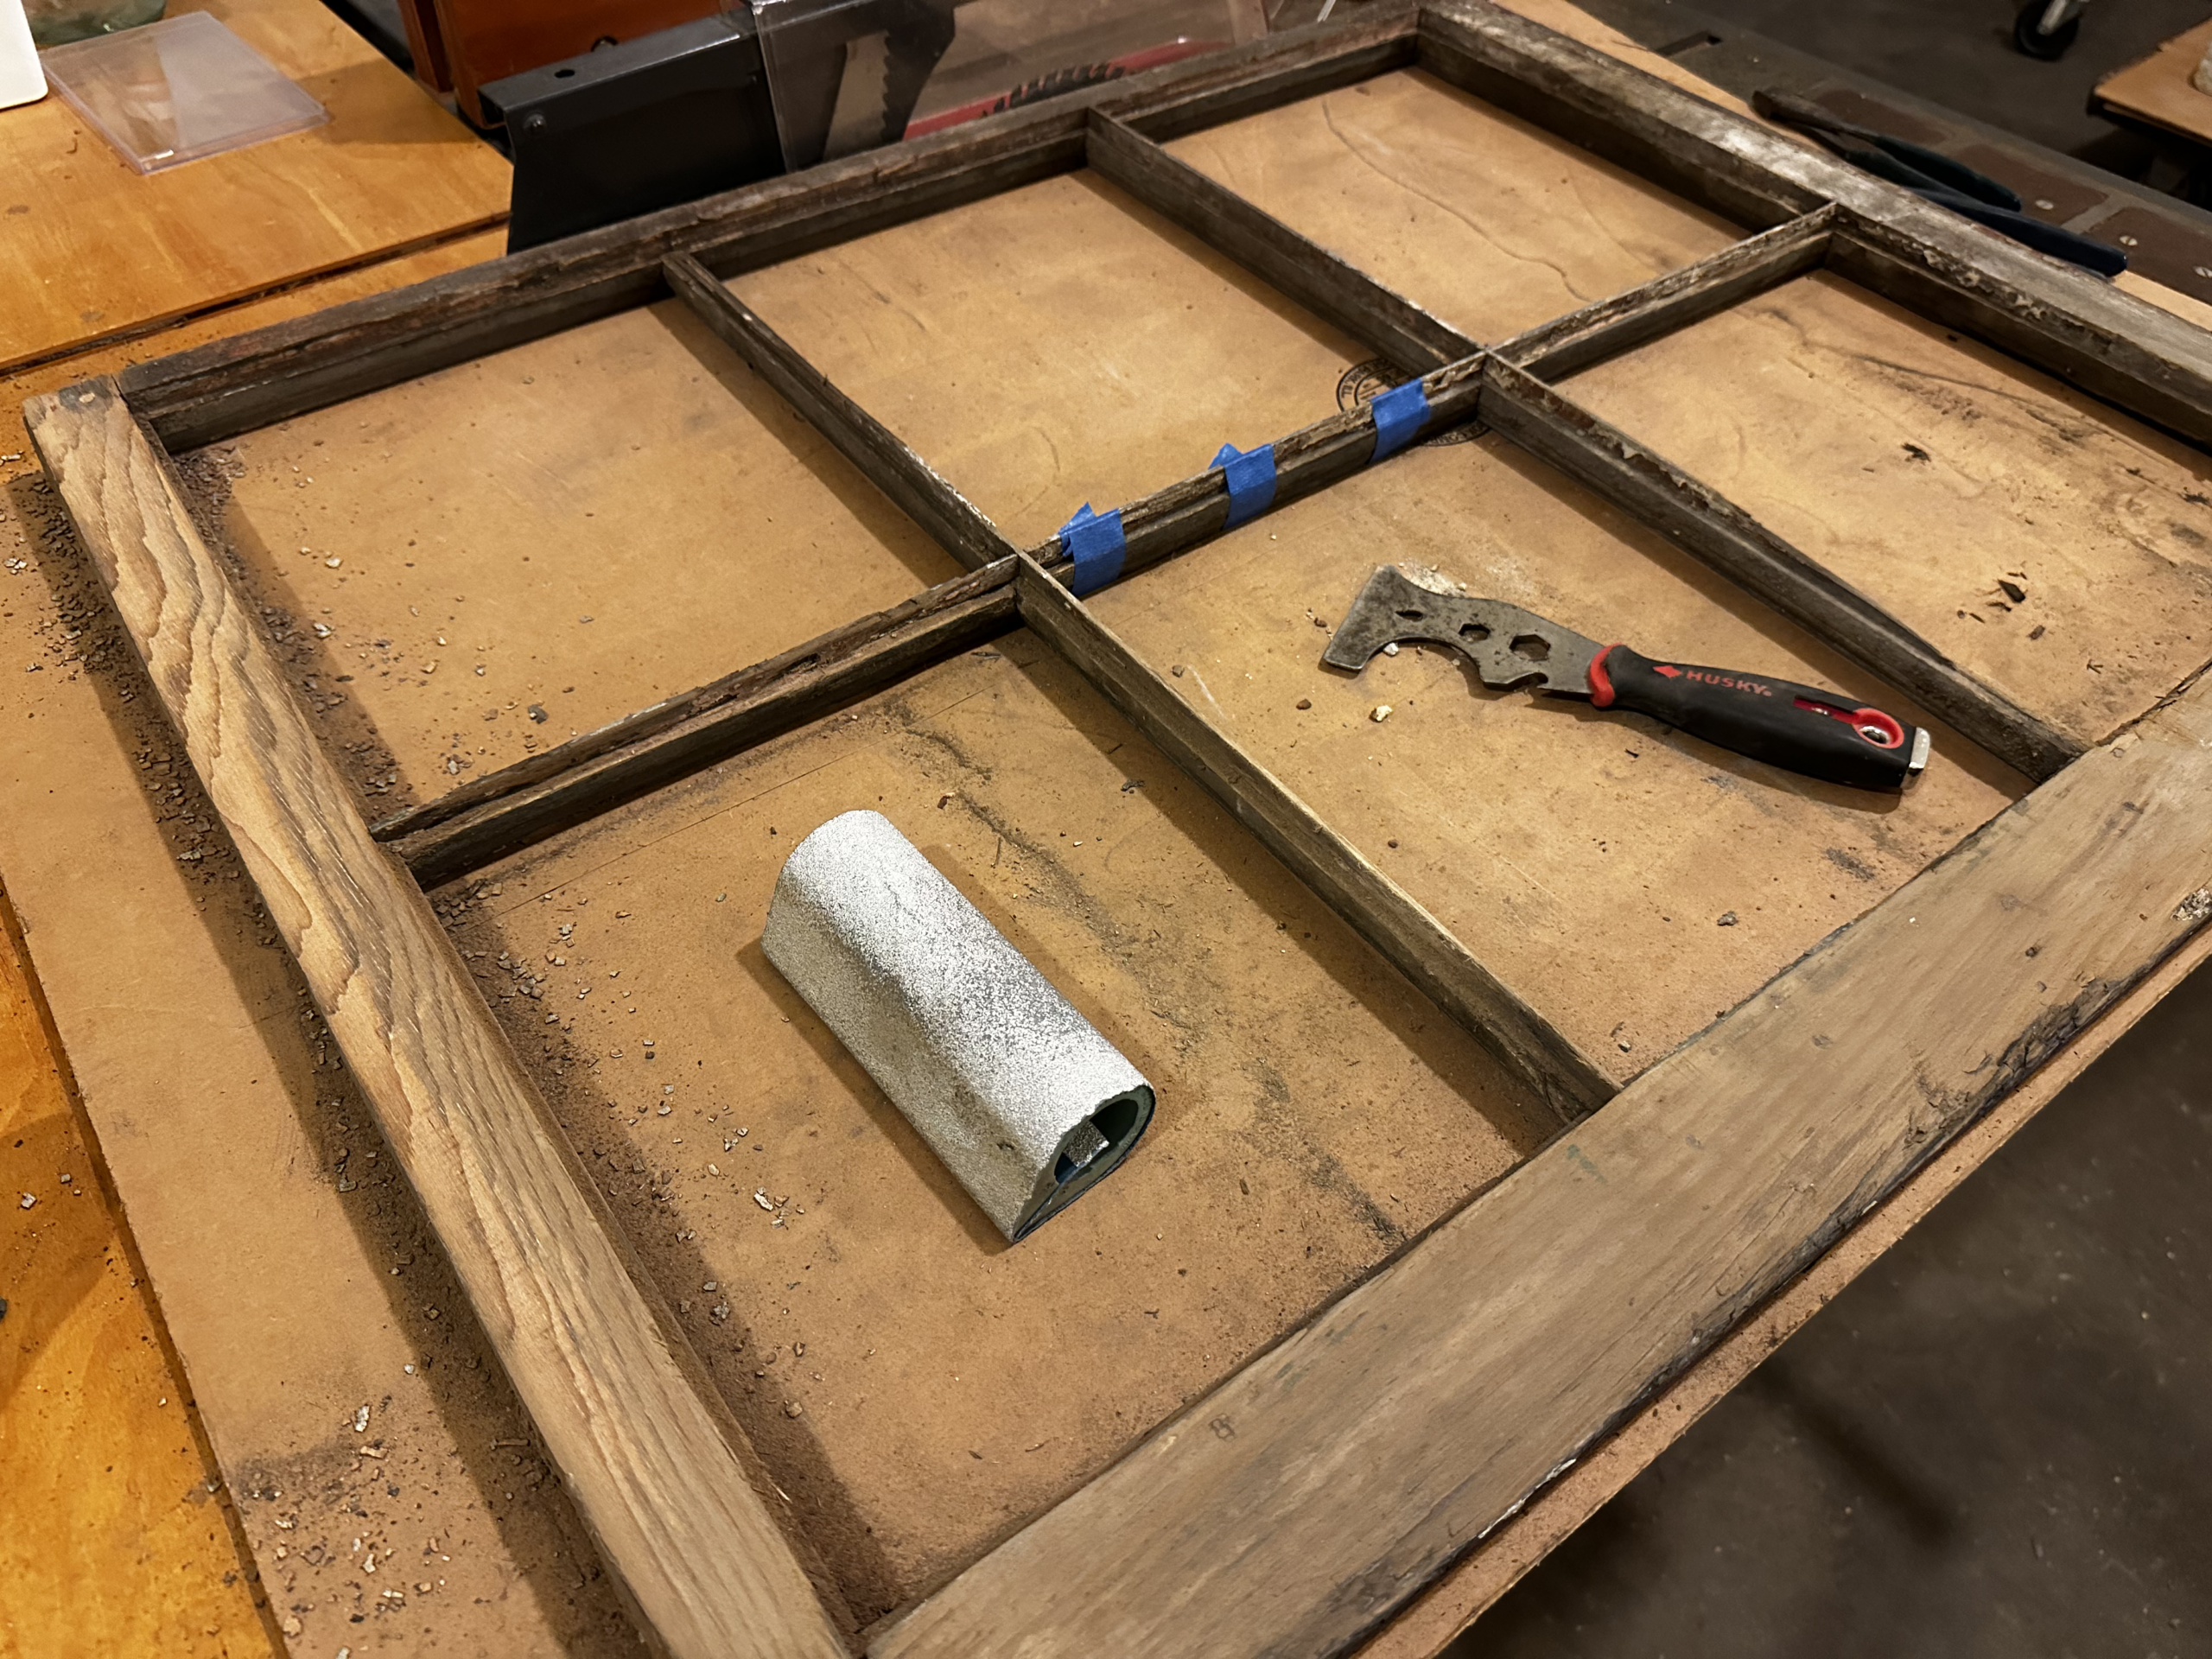
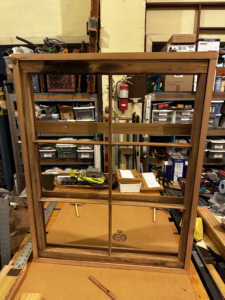
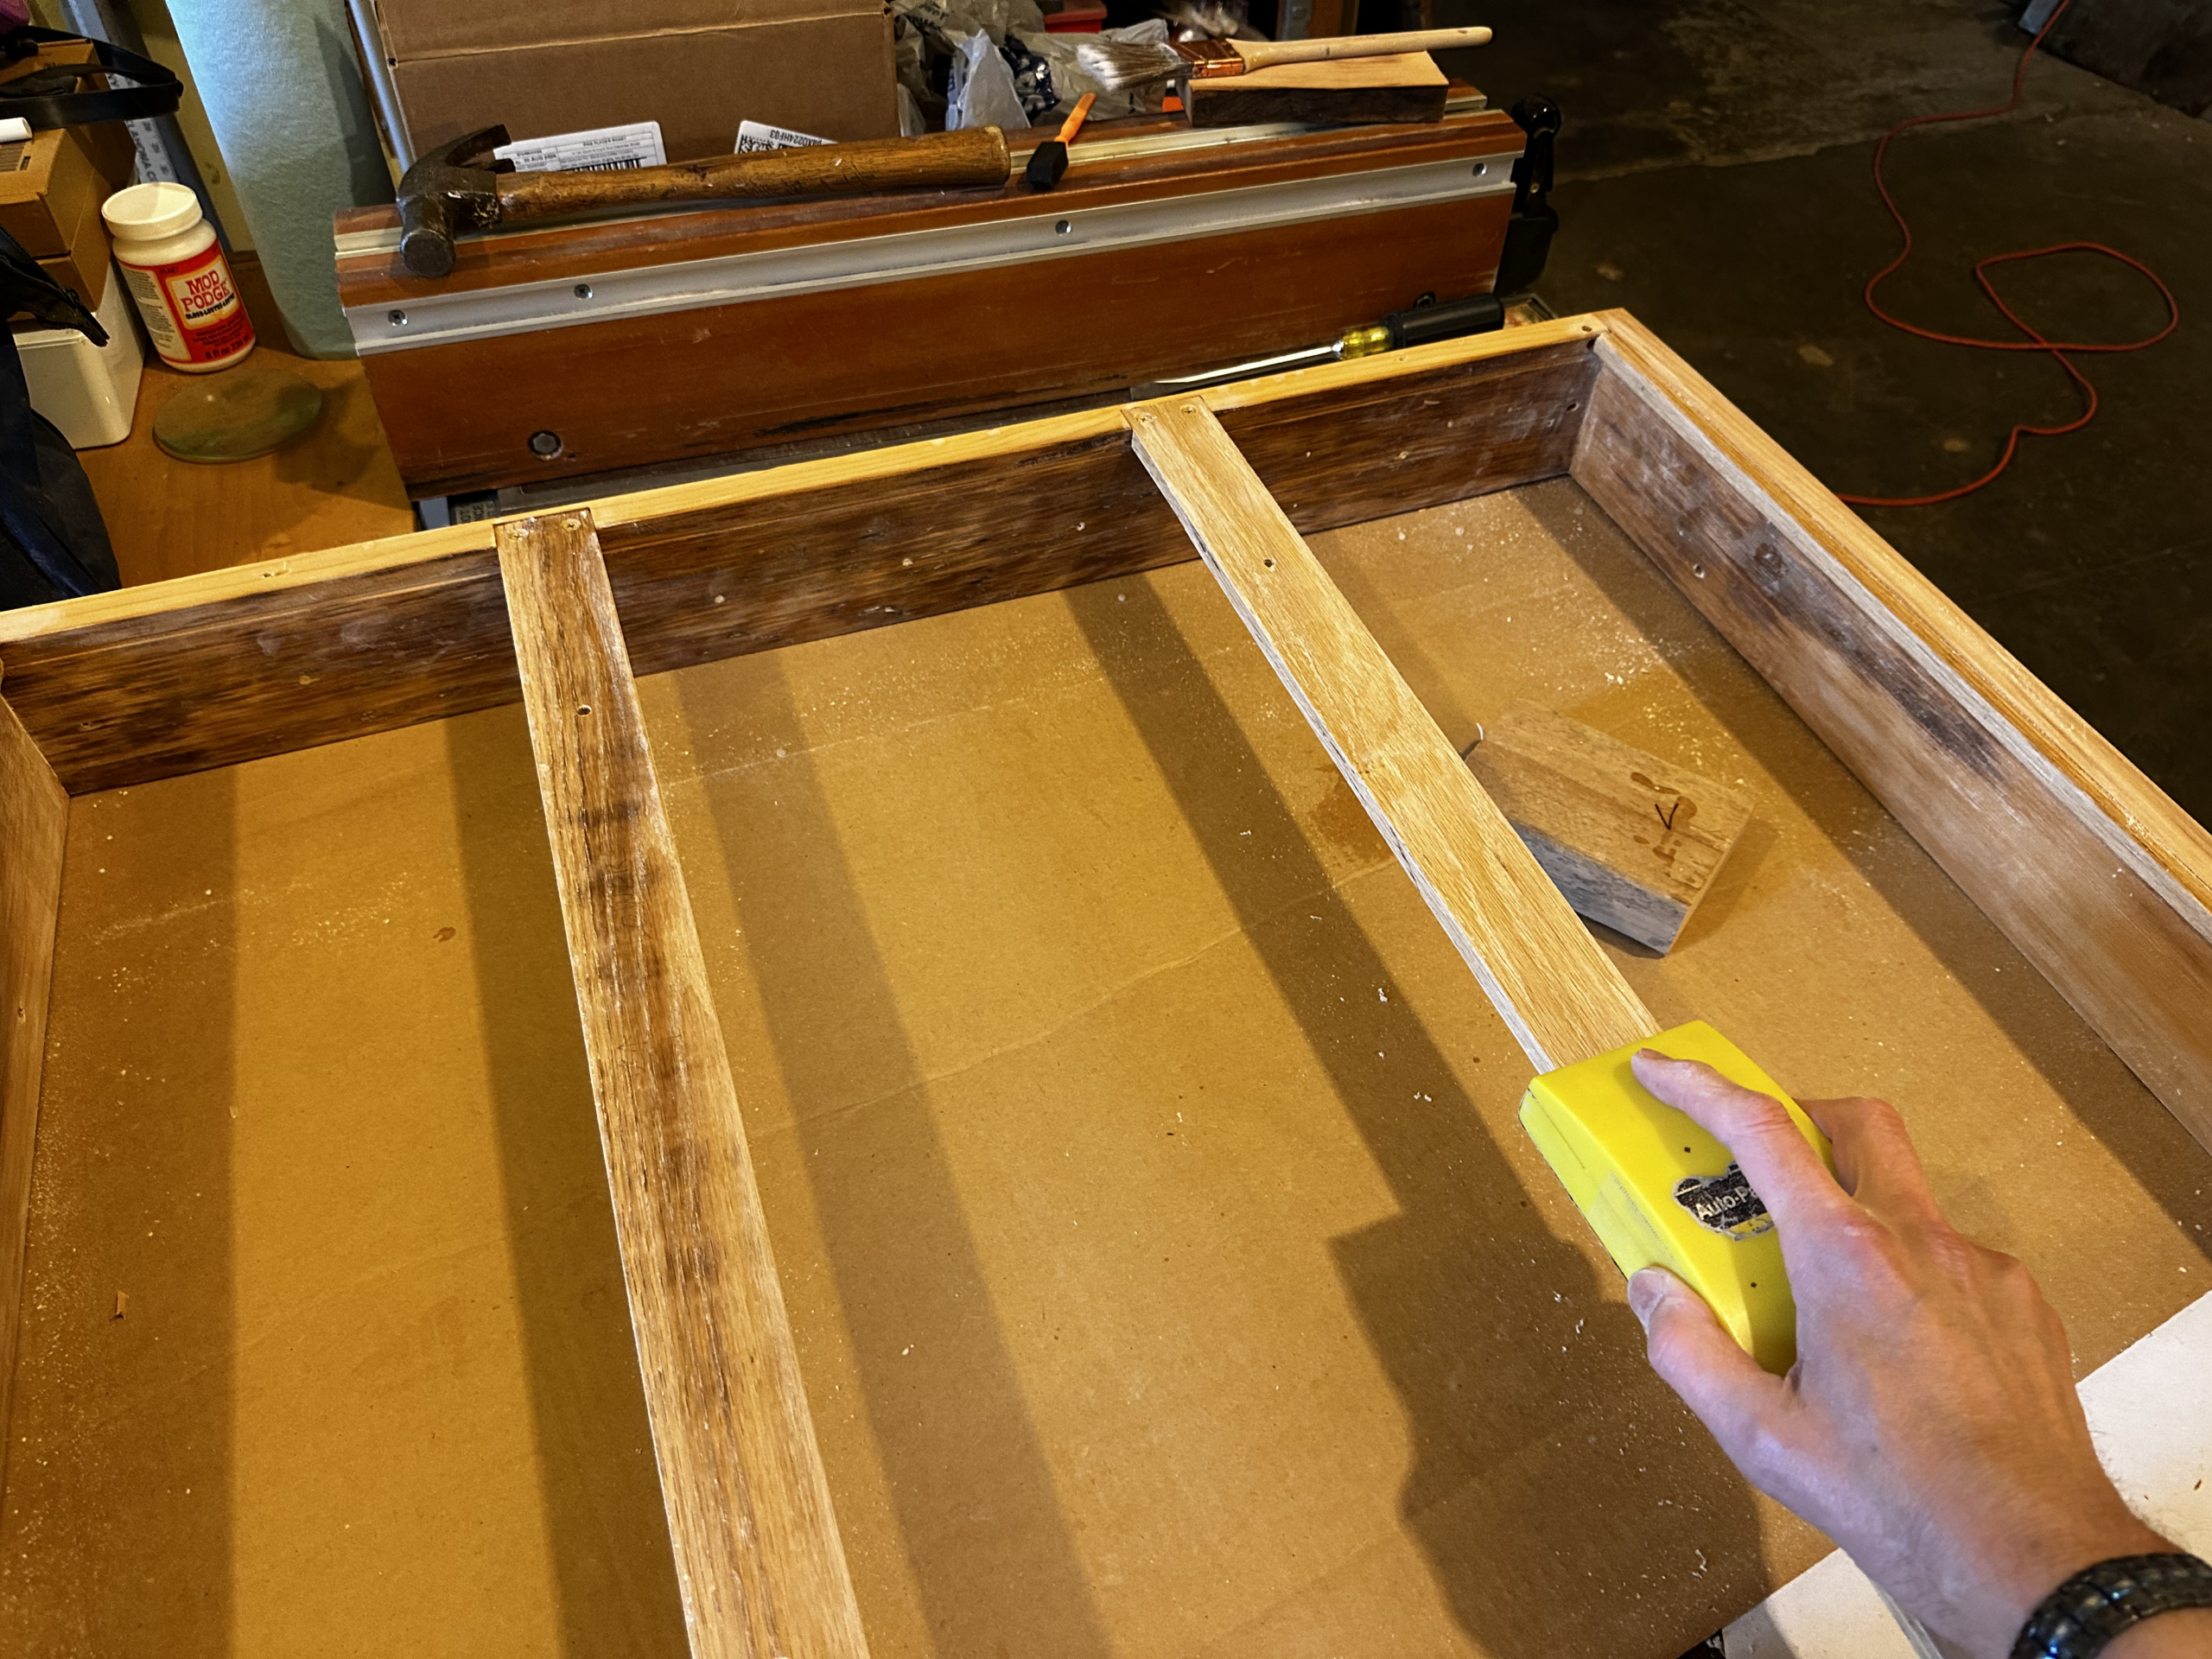
The sash work turned out to be a larger task than I expected. Paint strippers would not soften the old paint, and selective manual paint removal revealed rotted wood, cracked and split muntins, and even a burned section of the sash’s rail that had been covered by many layers of paint. So, I made the decision to completely disassemble the sash and its components. While more time-consuming, I was able to sand every piece individually to remove the paint and thoroughly glue every joint, making the entire sash structurally sound.
The Frame Construction
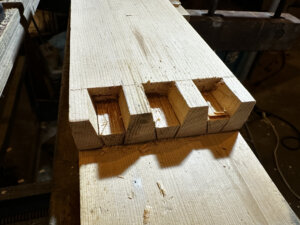
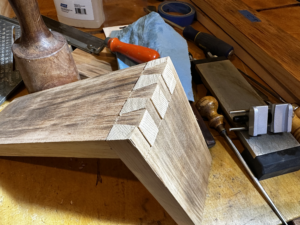
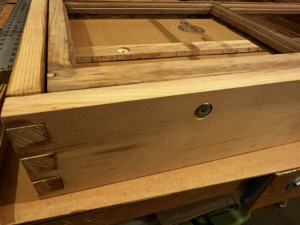
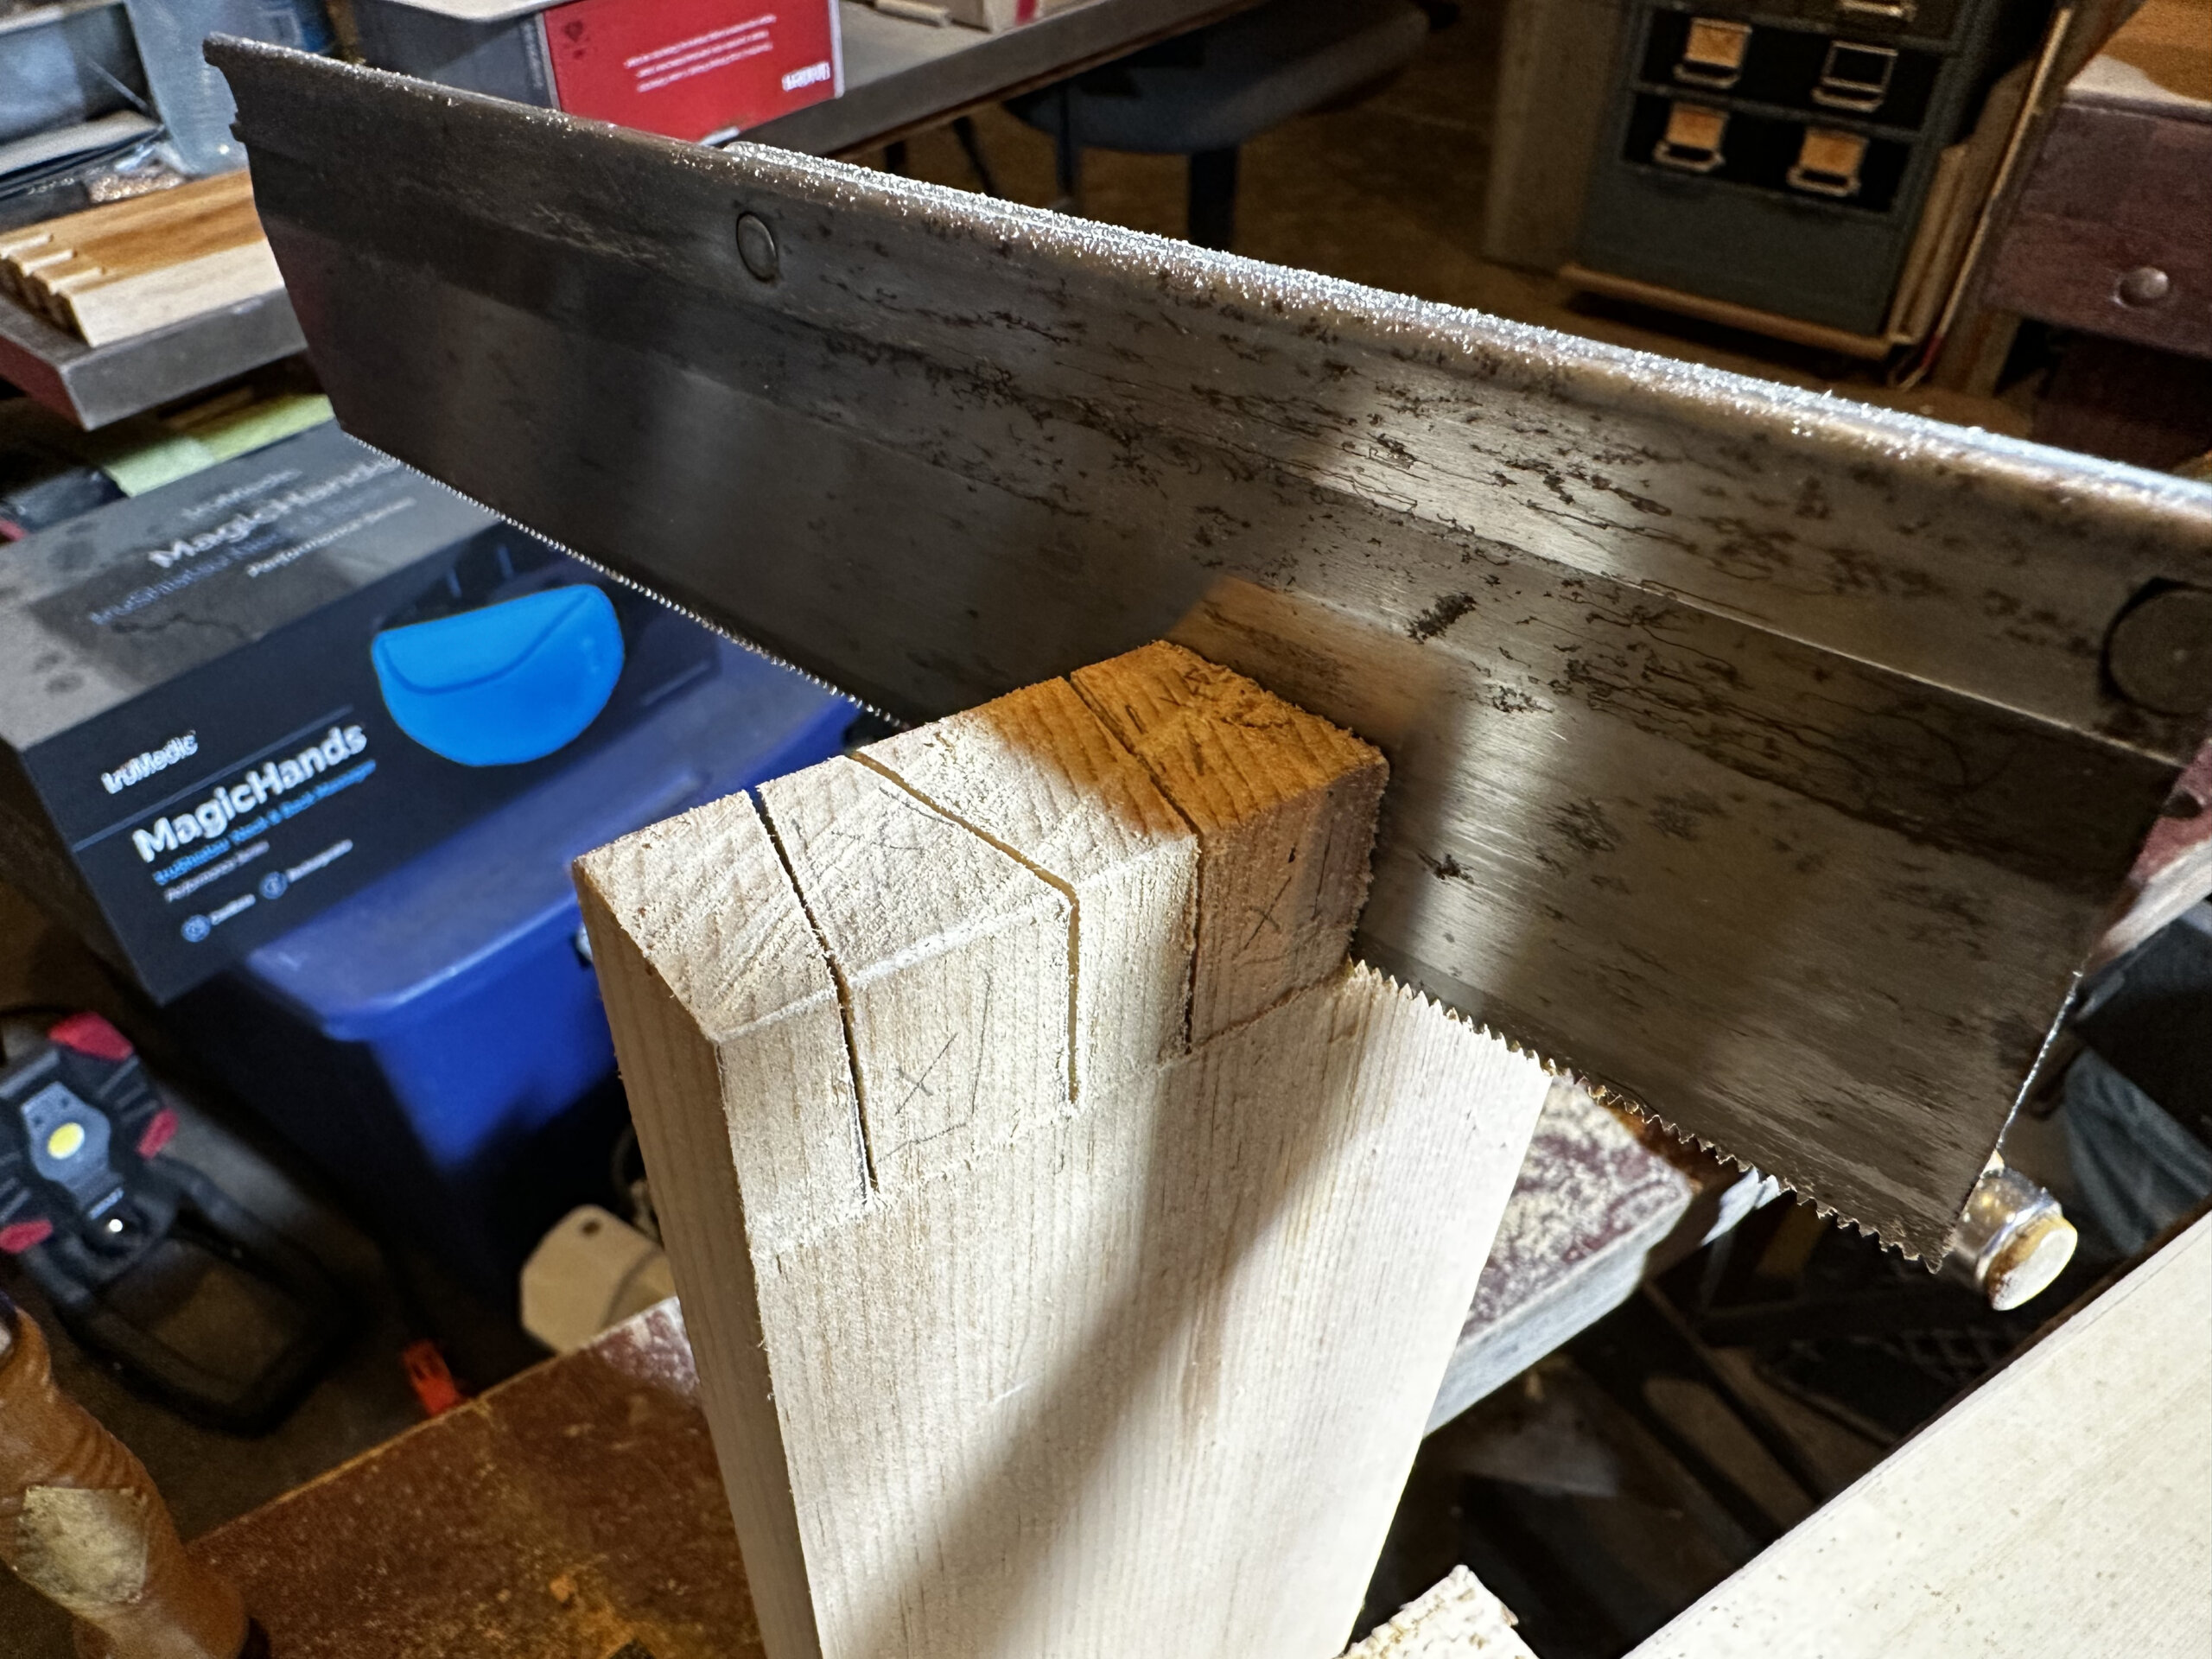
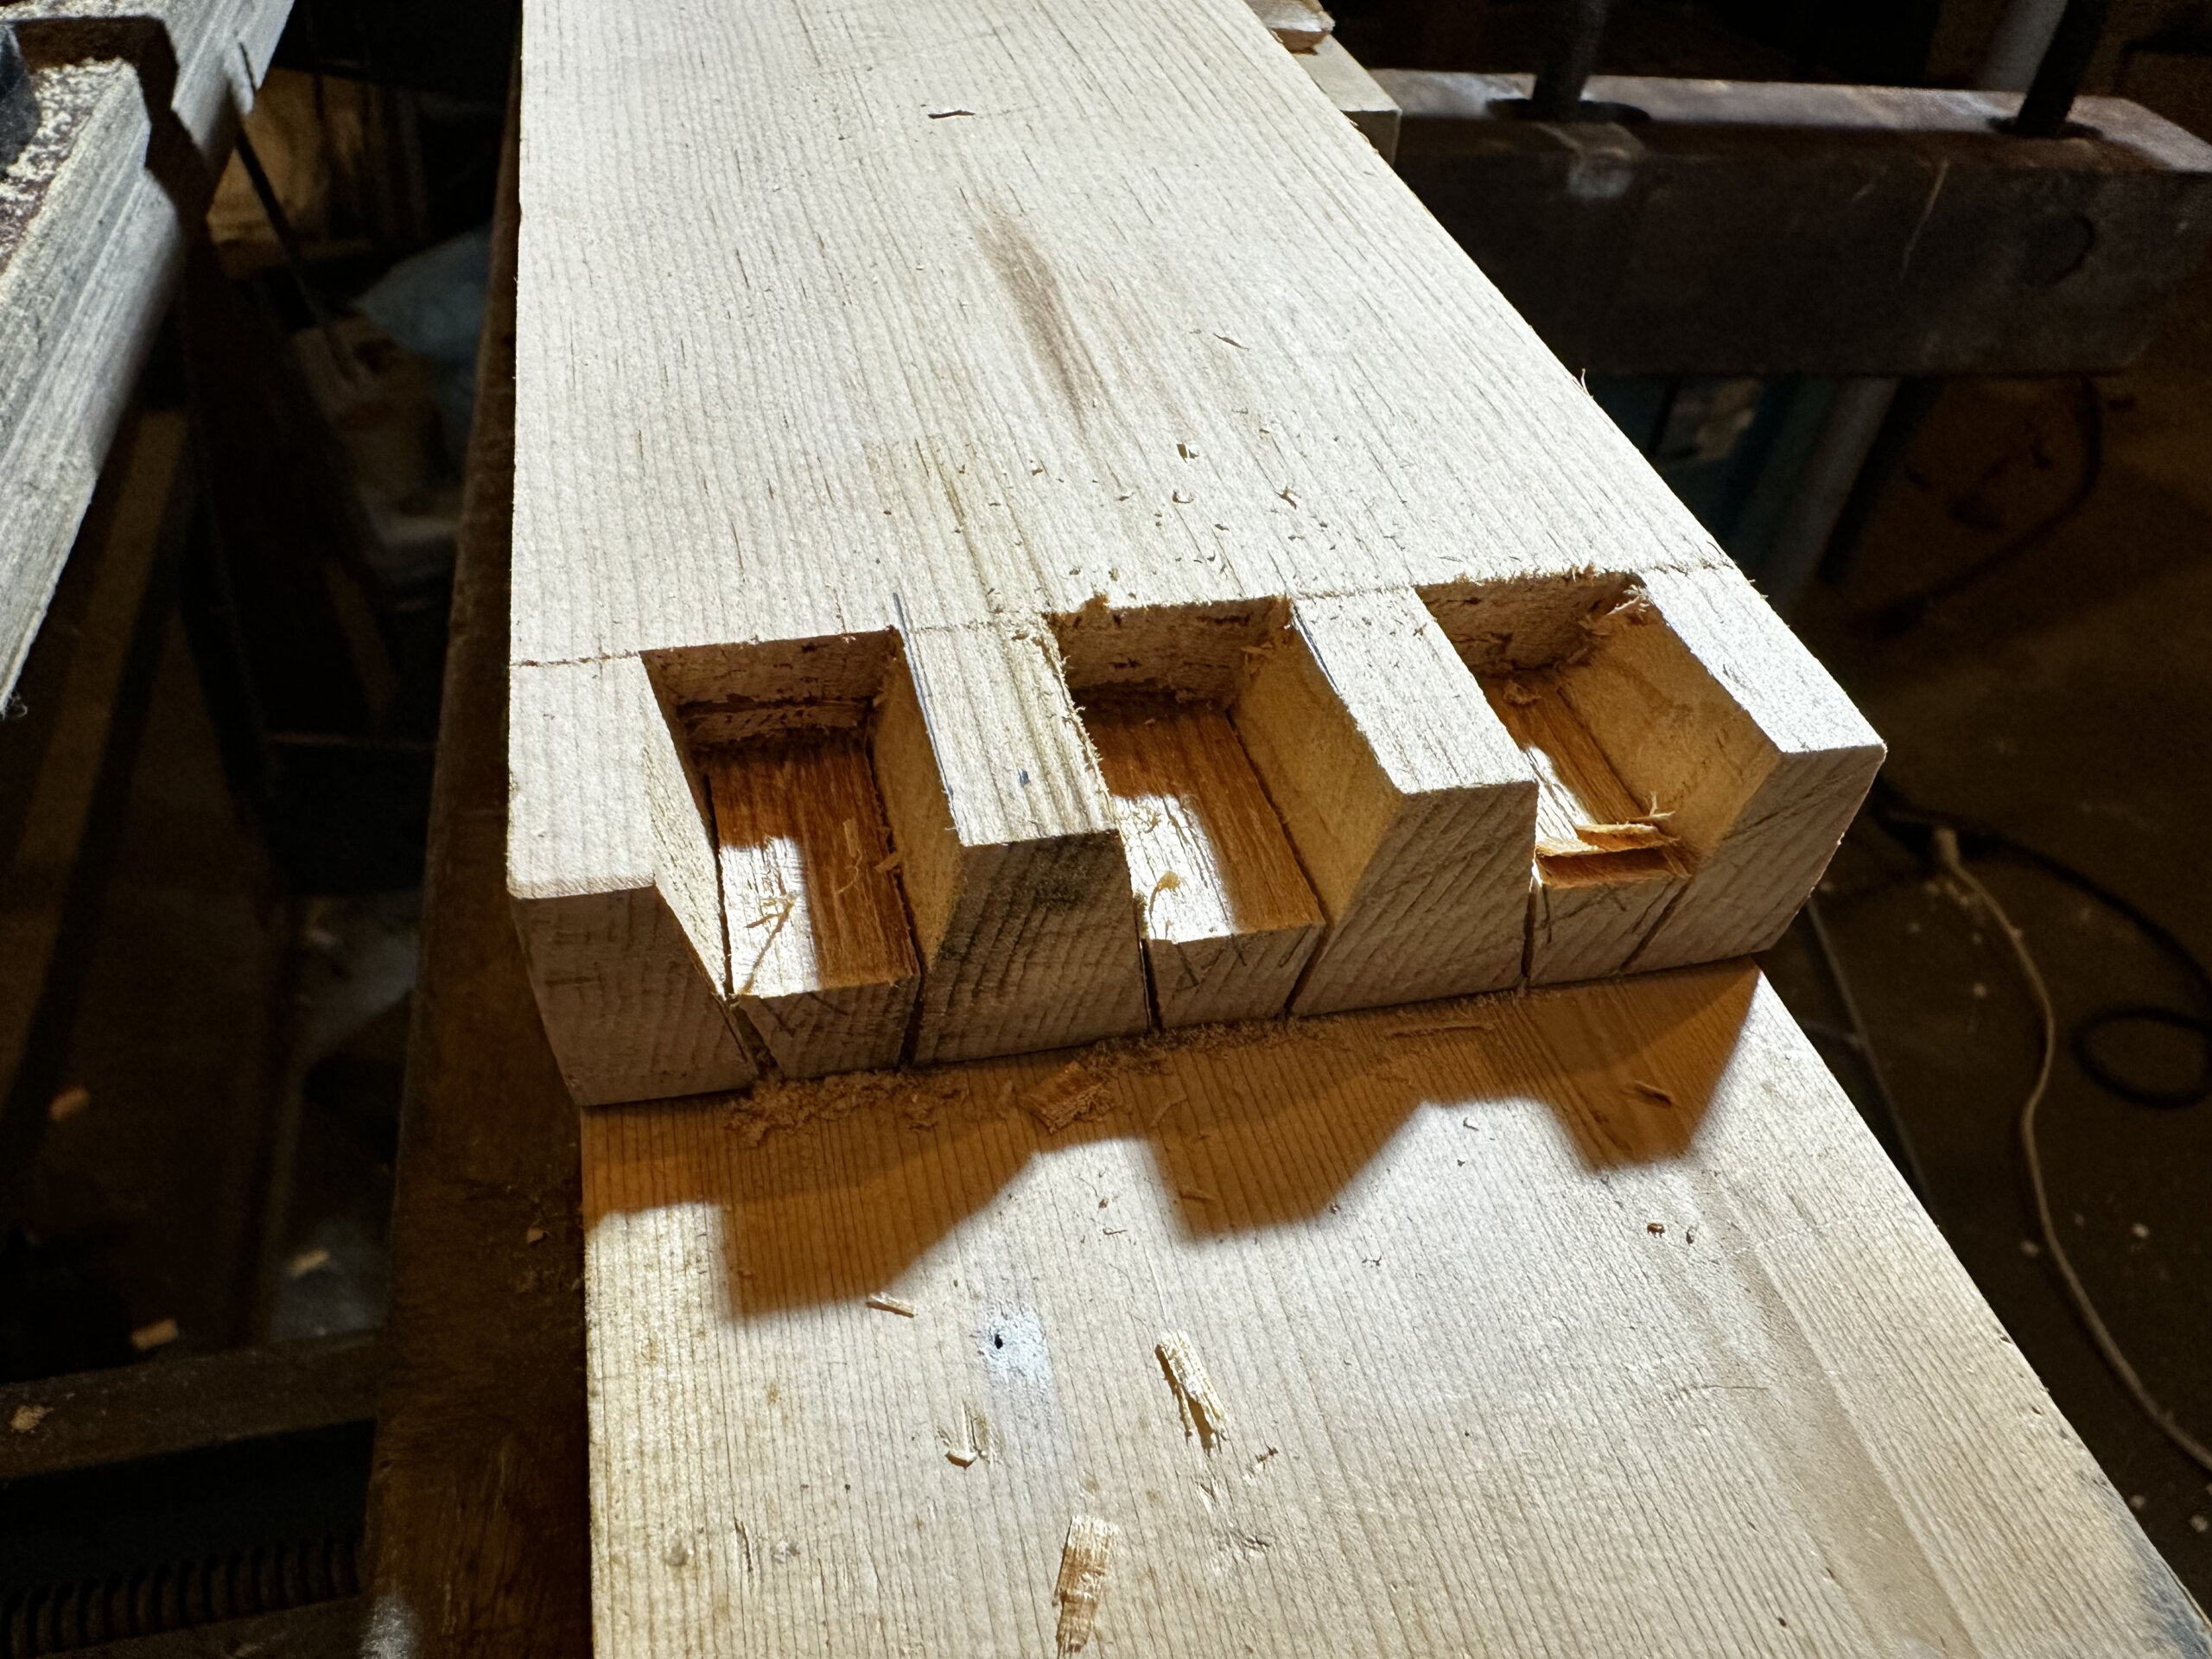
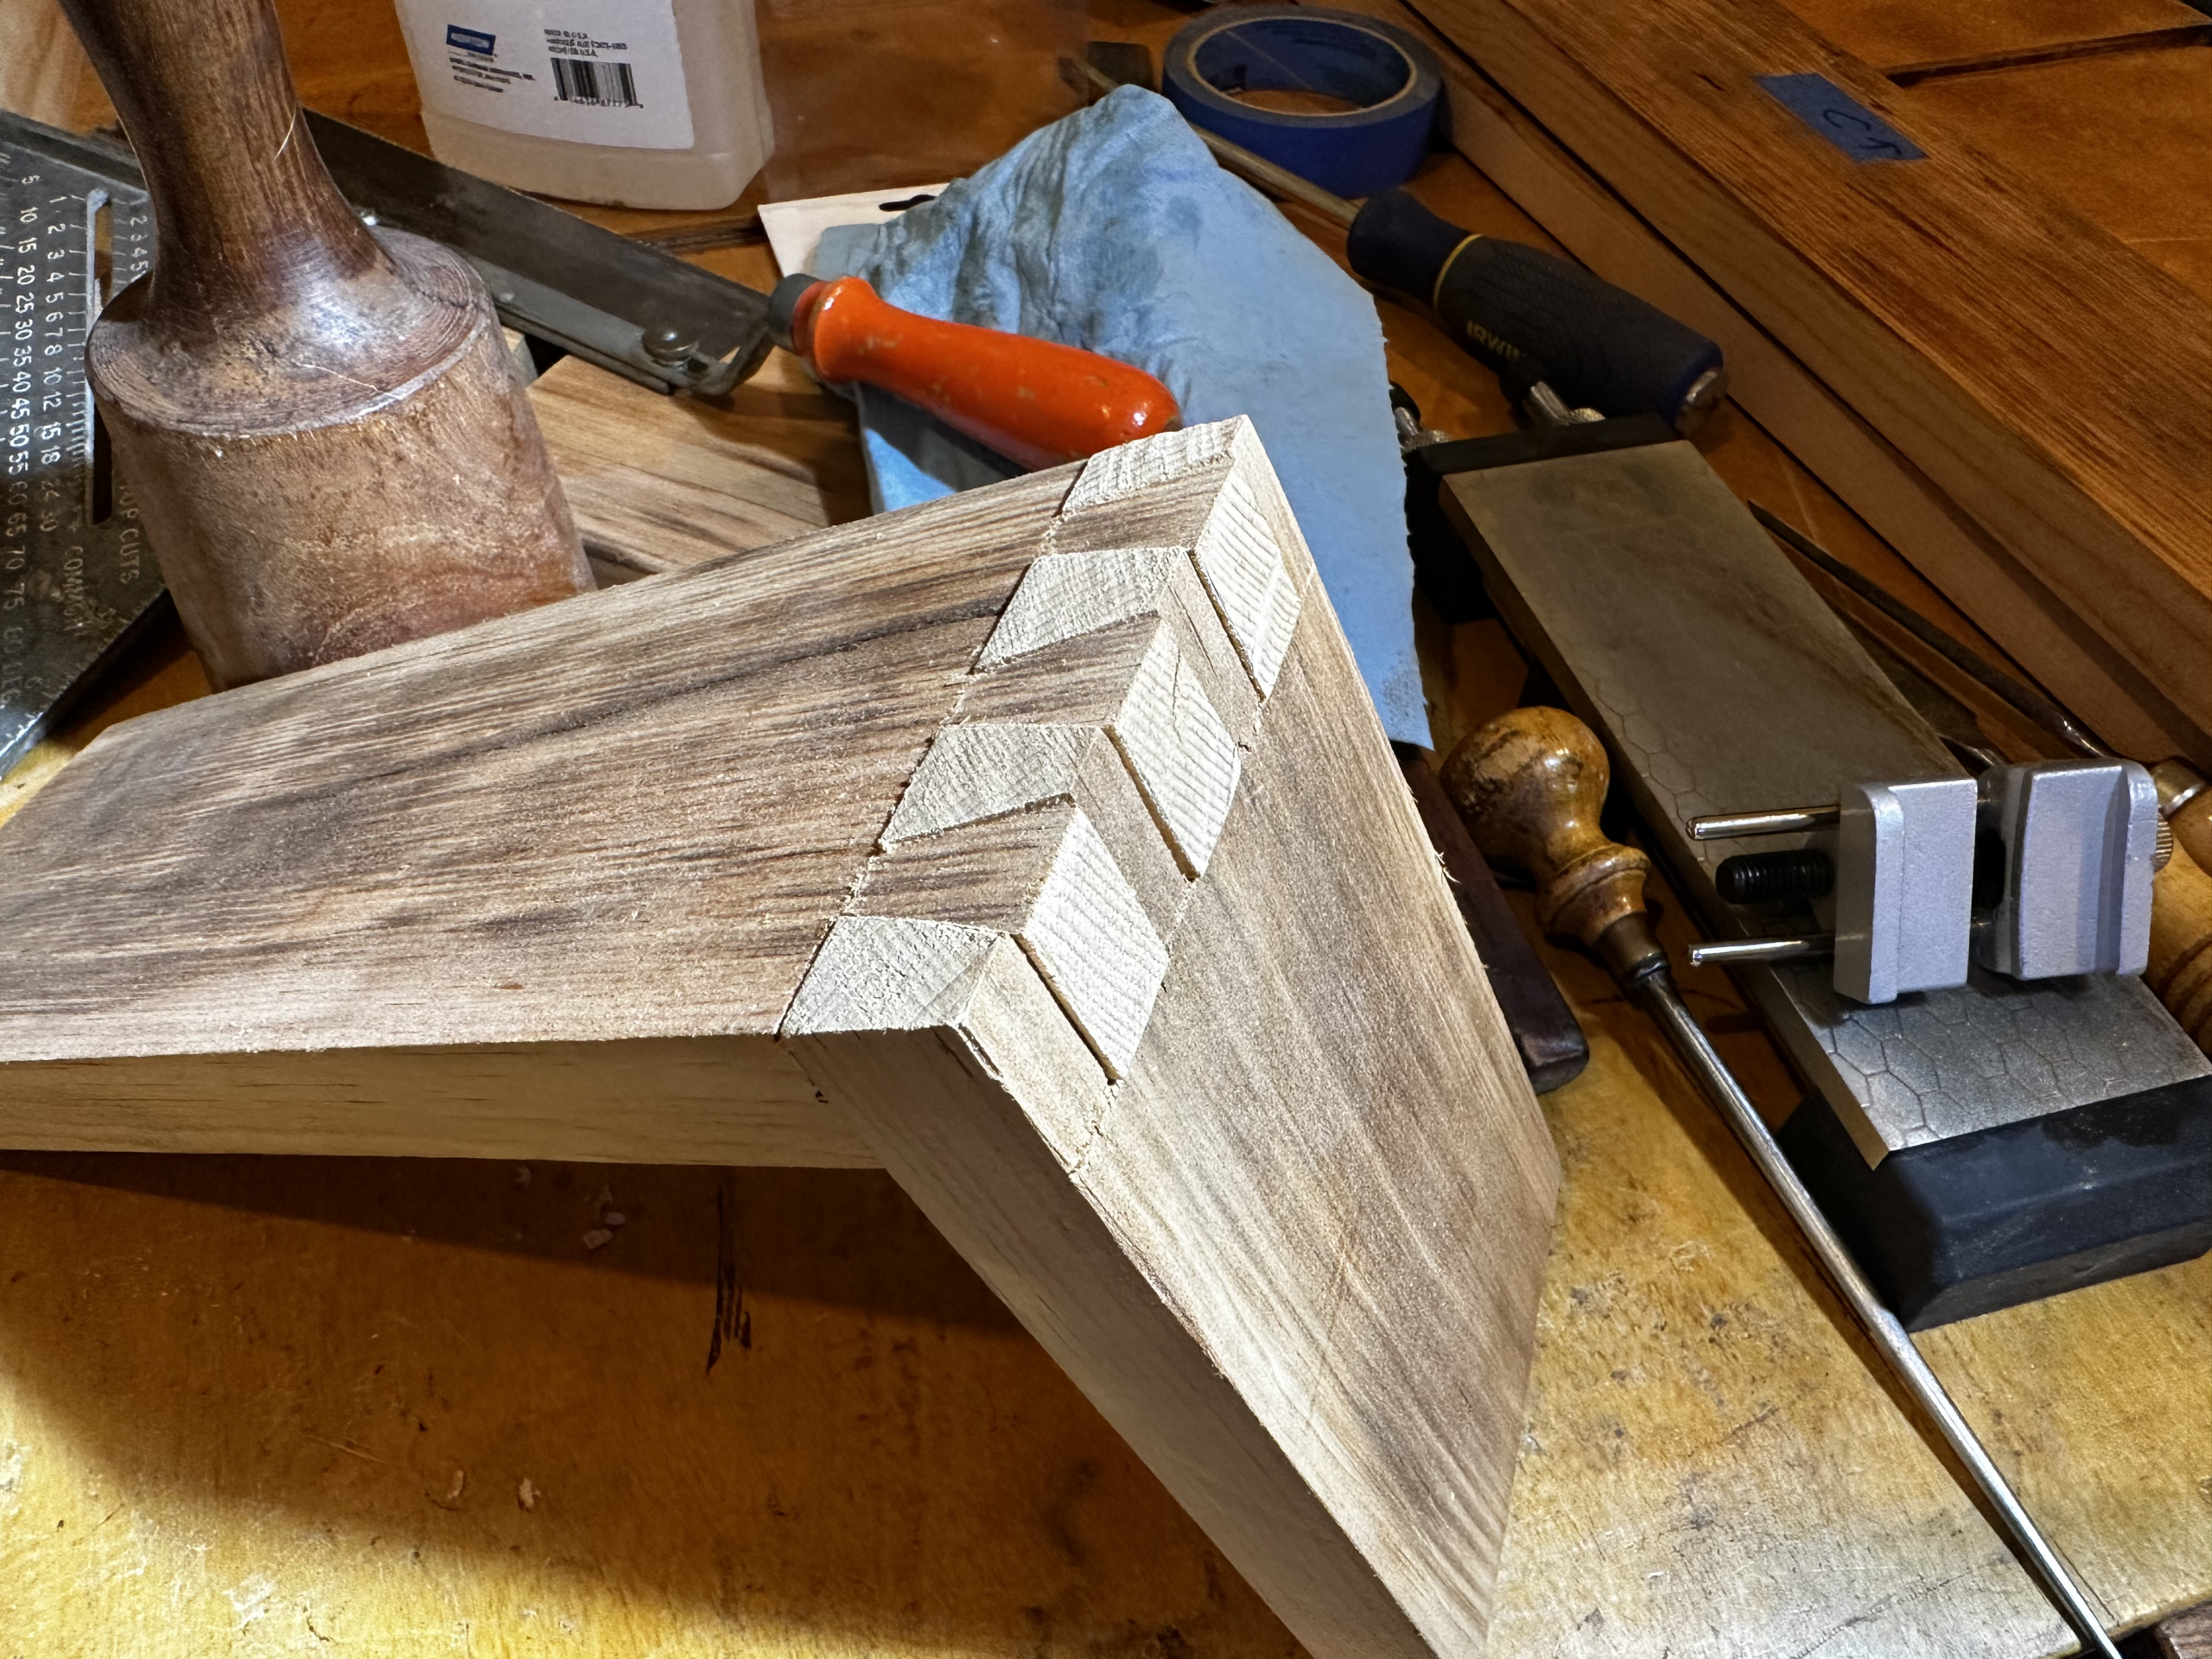
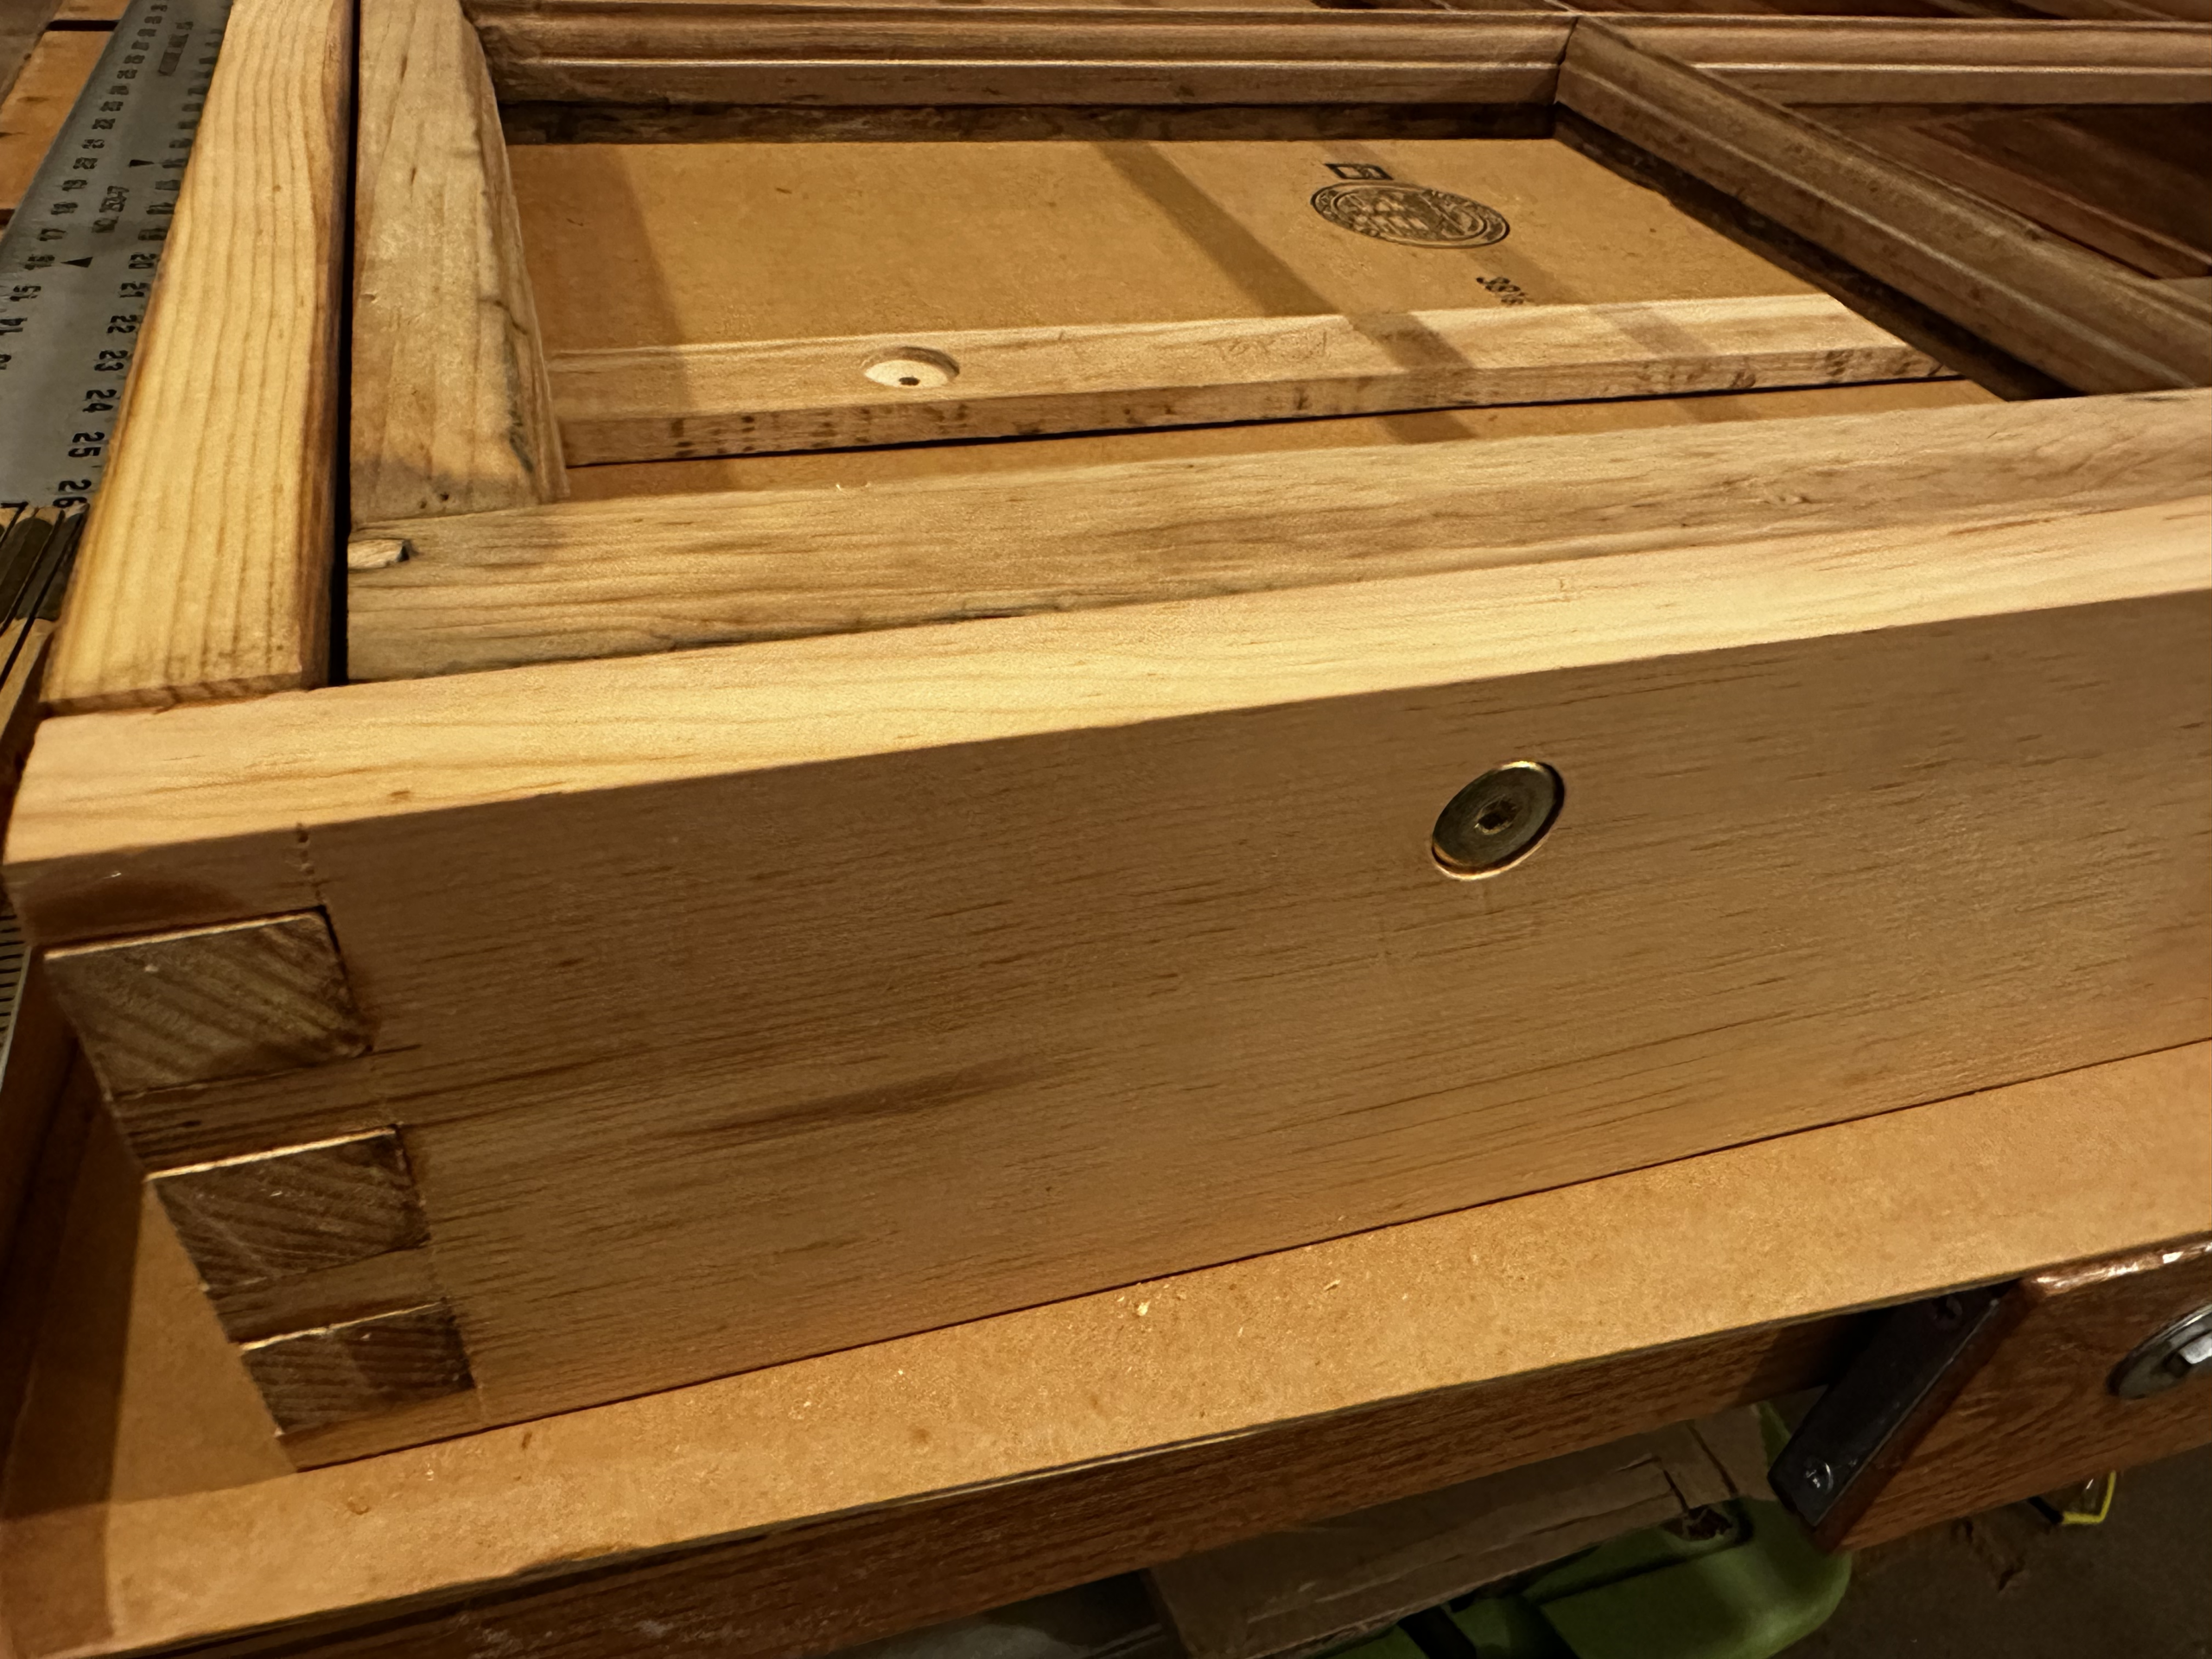
I like to hide hardware when I can, and the frame could have been fastened with screws and the screw heads hidden with wood plugs. Instead, I went in the other direction, creating dovetail joints at each corner. They are a strong hardware-less joint and have been used as traditional joinery for hundreds, if not thousands, of years. Instead of hiding, it clearly expresses how the joint works. These dovetail joints are custom-designed in their angle and spacing, and I cut them with simple hand tools: a dovetail saw, which has fine teeth and a thin, wide blade; and chisels, to remove the waste stock after the fine cuts are made. A good hand-cut dovetail joint will have slight variations between the tail and pin combinations, even when made by the most skilled craftsman. While they take a lot of practice to cut properly, there’s something really satisfying when the pins and tails slide together perfectly and tightly.
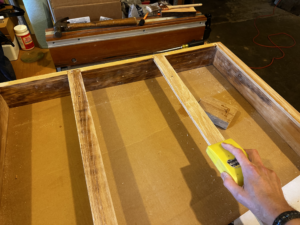
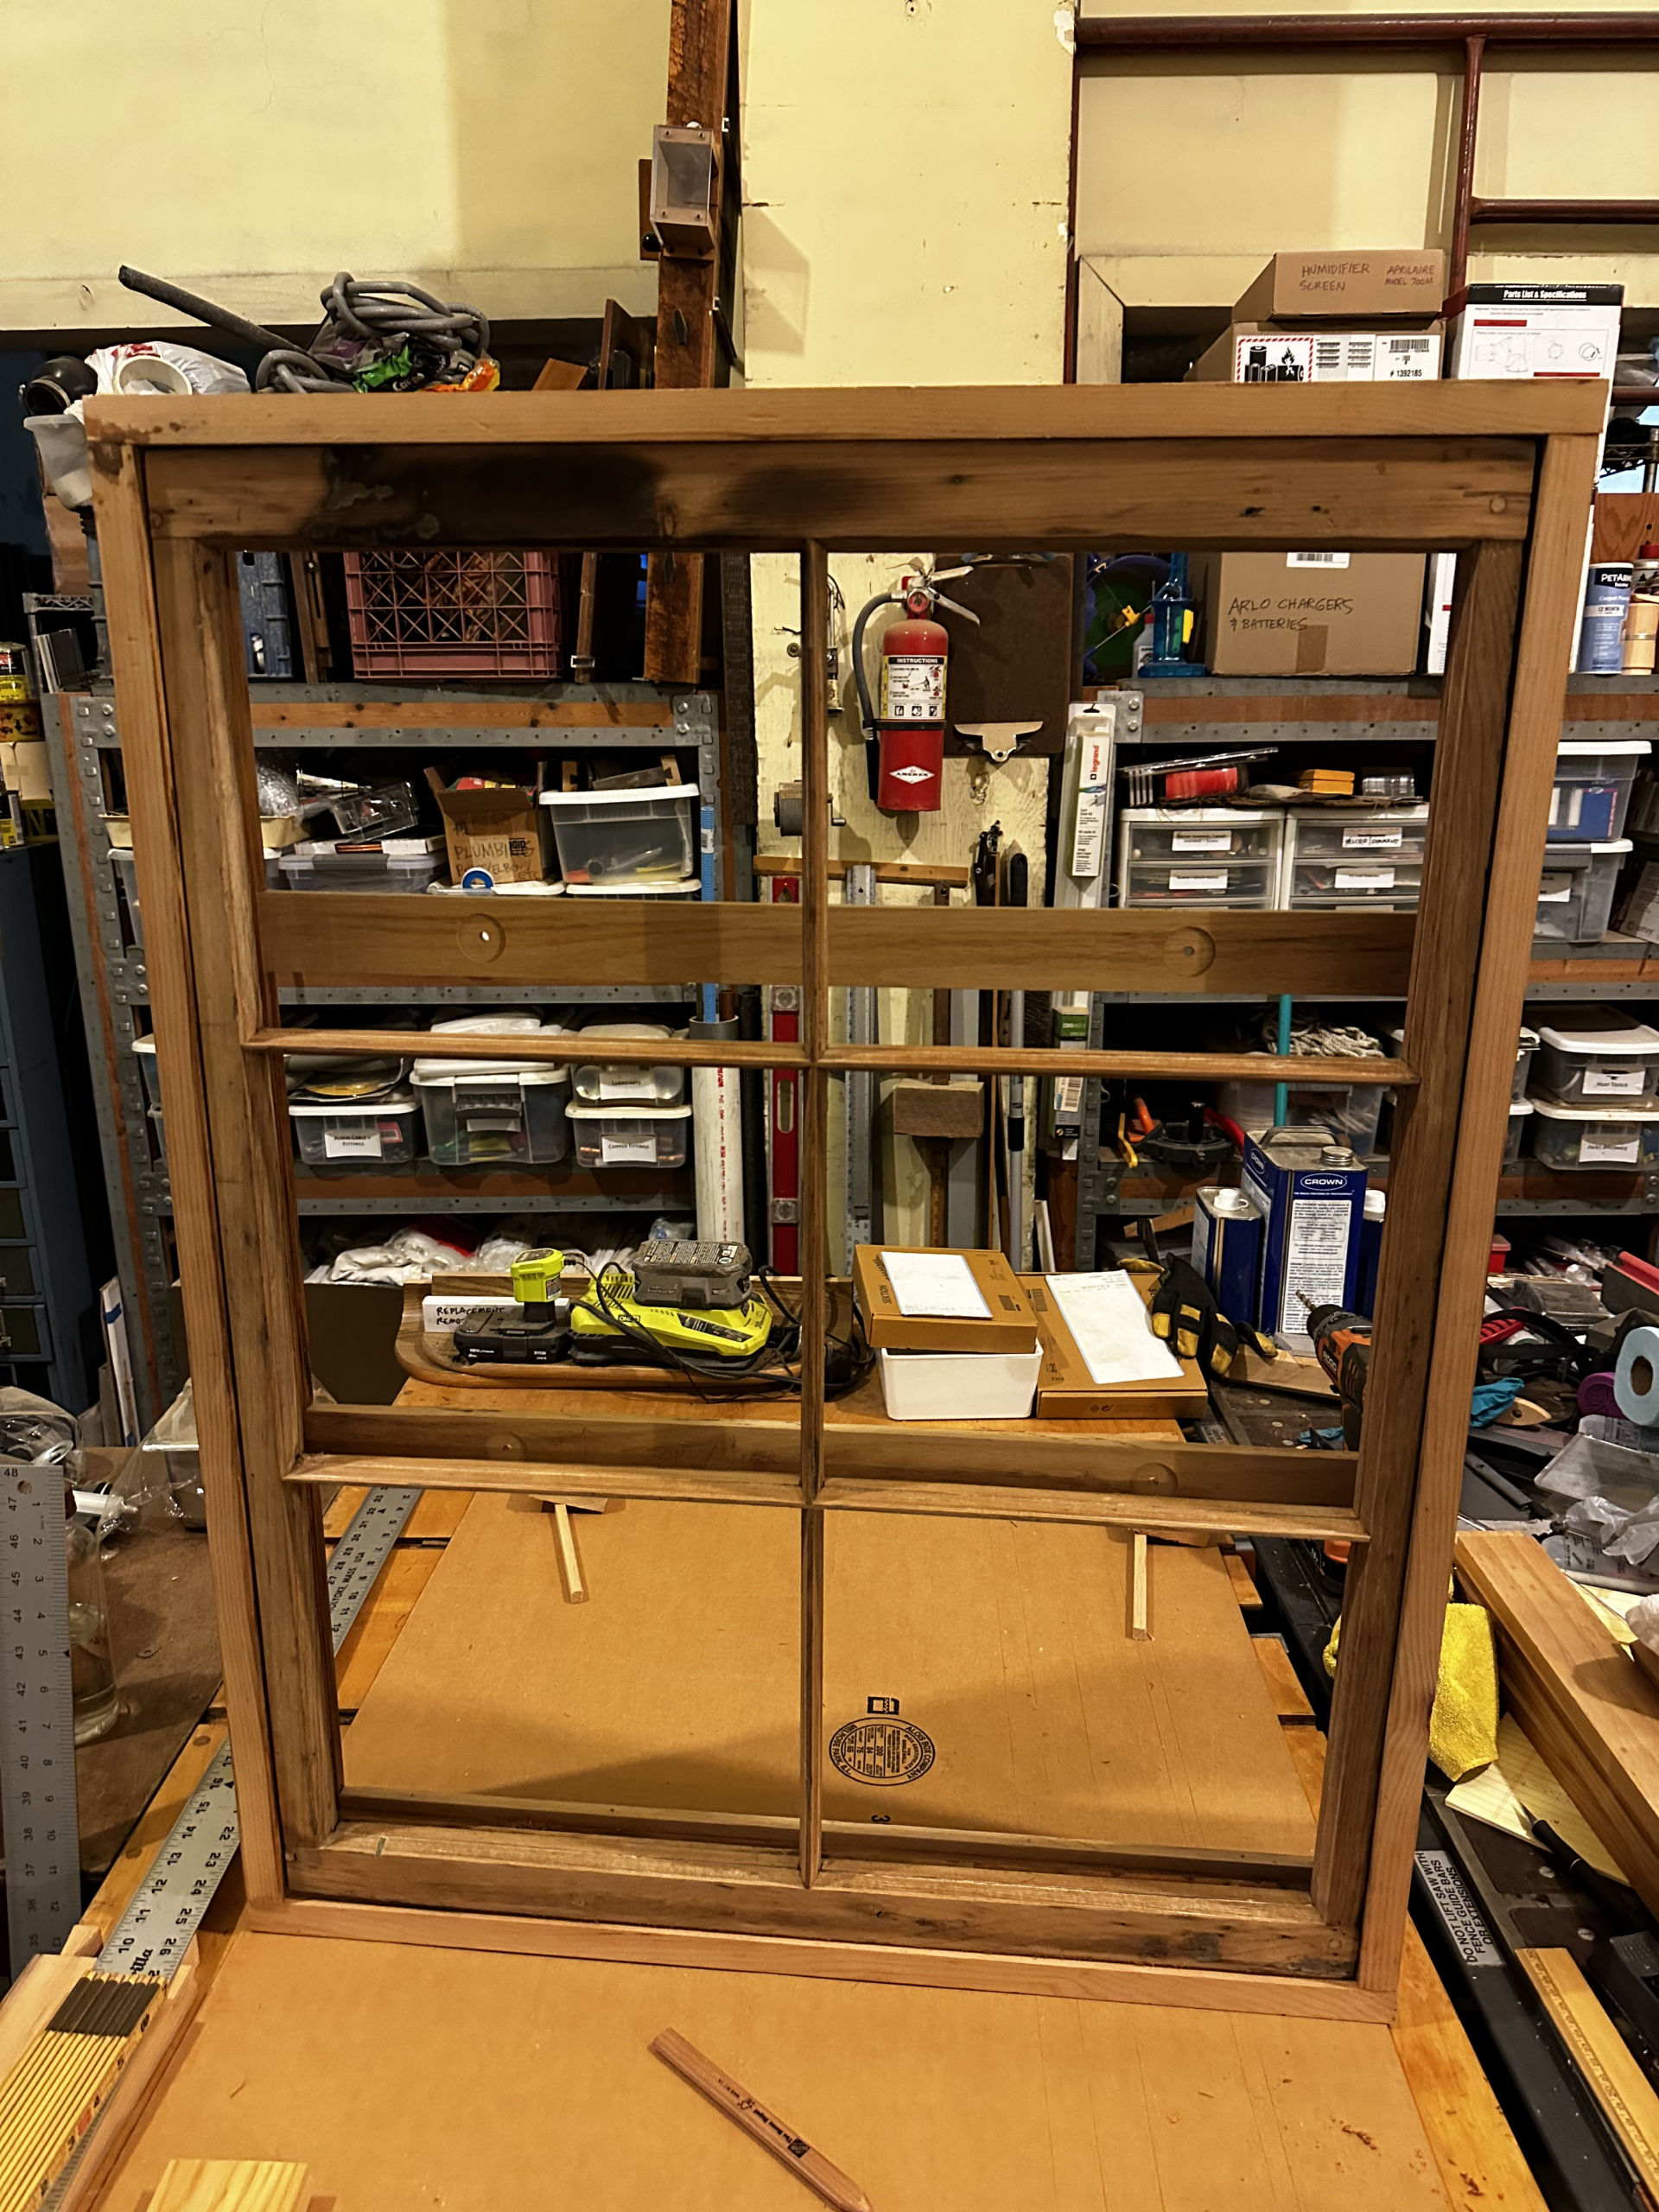
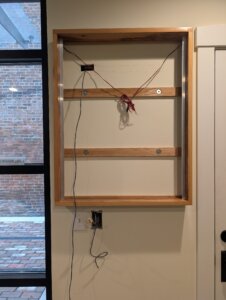
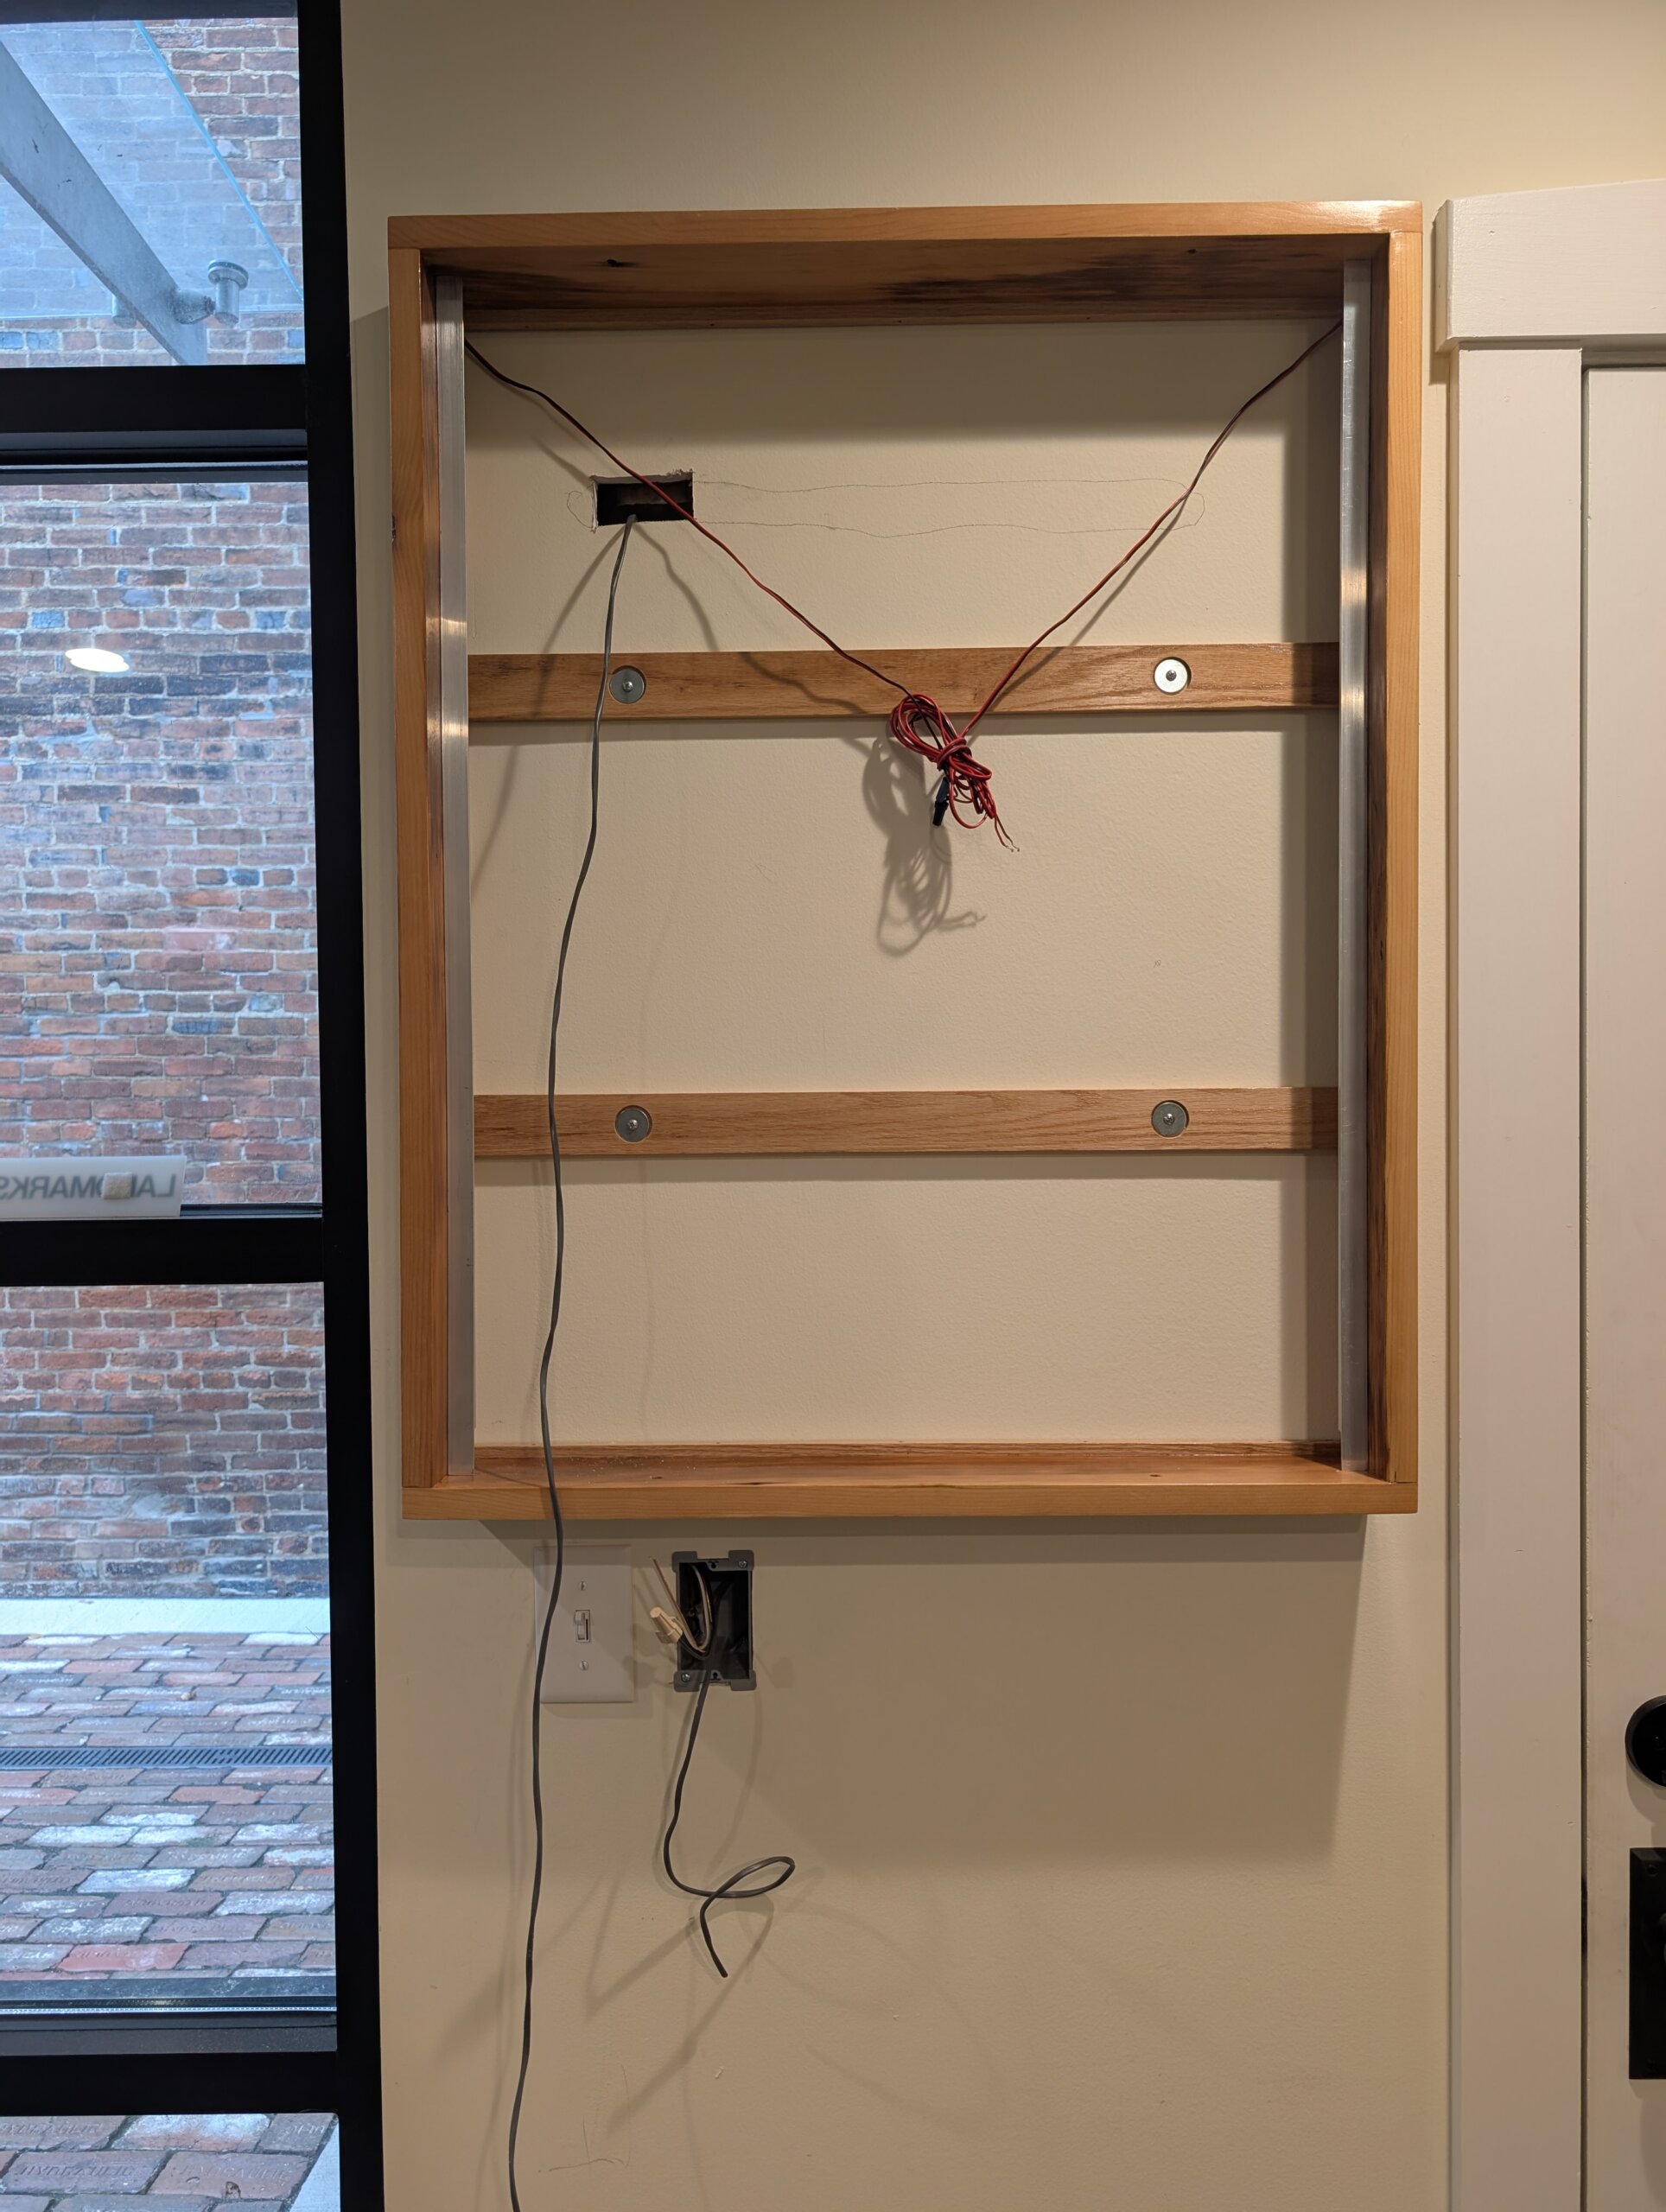
Rather than use a traditional wire hanging system for the frame, I wanted the Donor Window to be securely fastened to the wall. But I didn’t want any attachment to be visible. After assembling the frame, I took some red oak scrap and cut what I called “crossbars” and attached them to the back of the frame. In addition to strengthening the frame, these crossbars had a second purpose – I would fasten the Donor Window to the wall with screws through the crossbars.
The Photograph
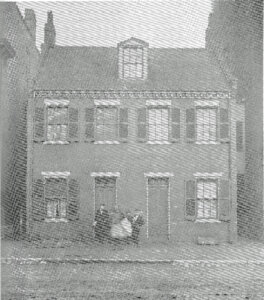
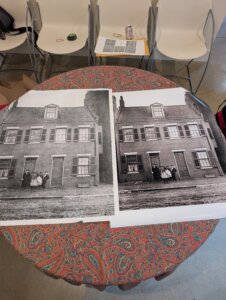
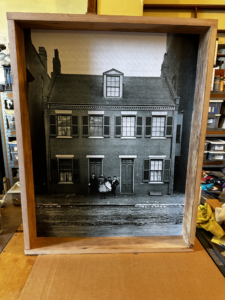
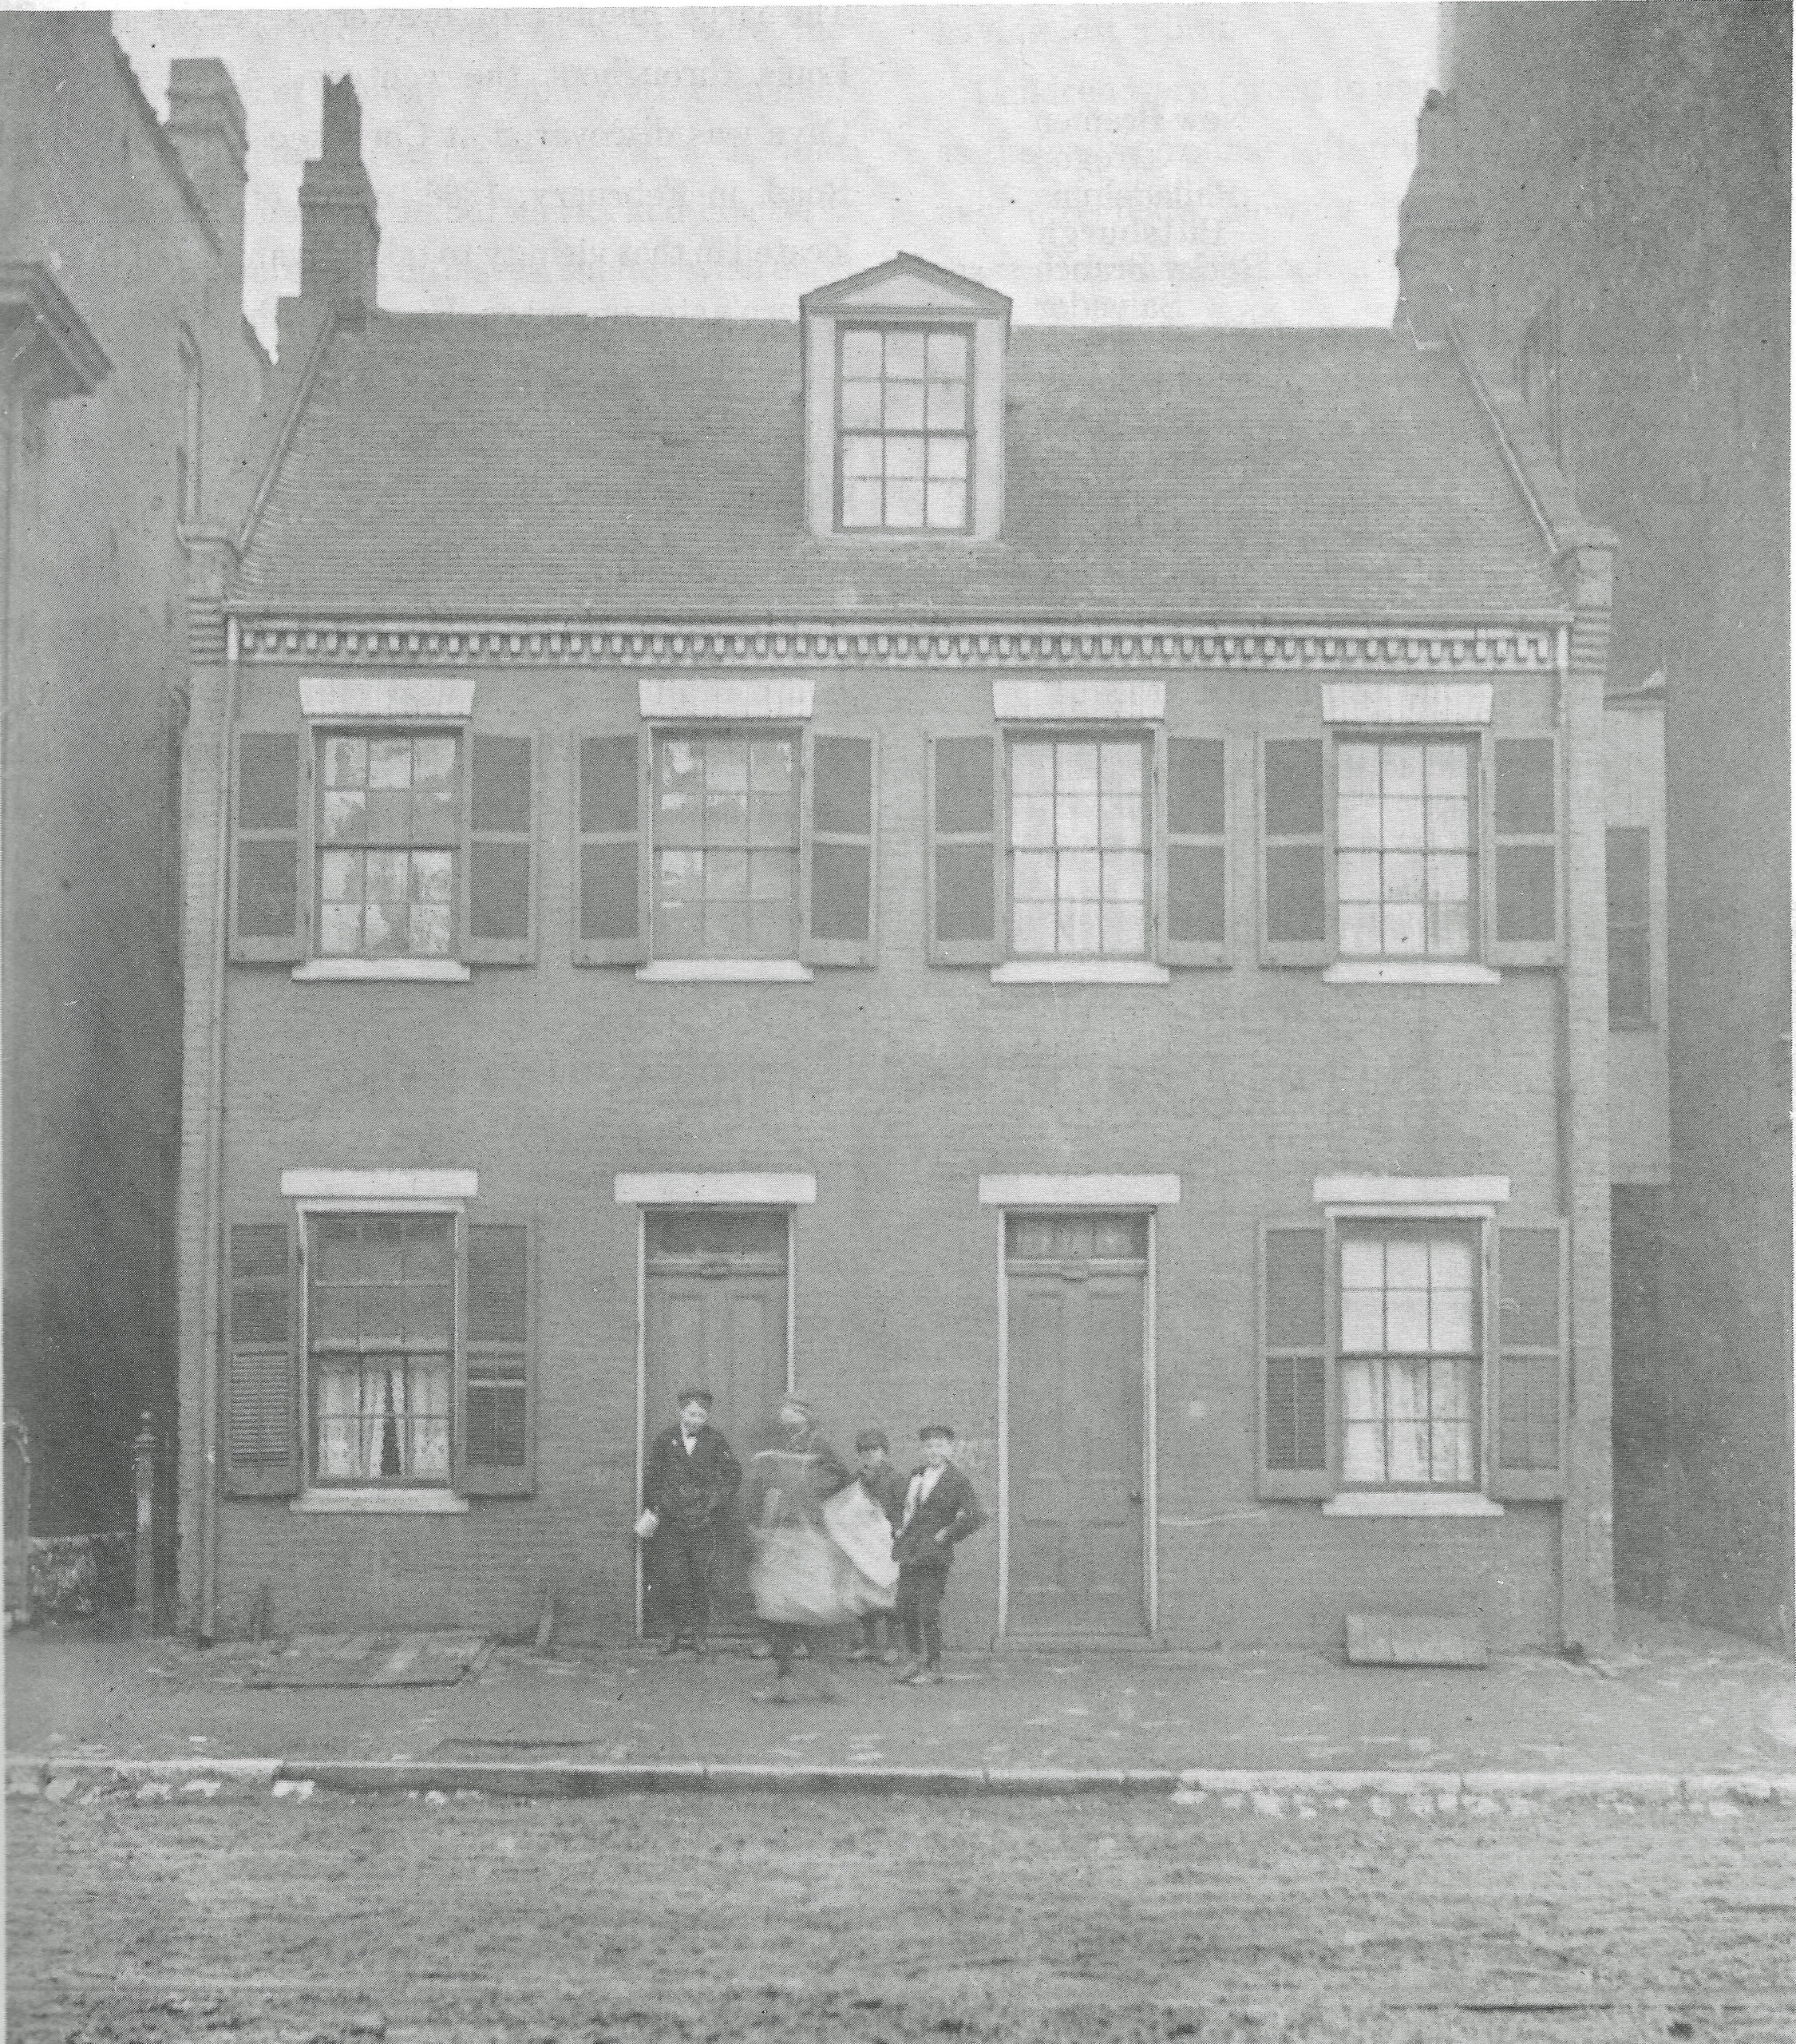
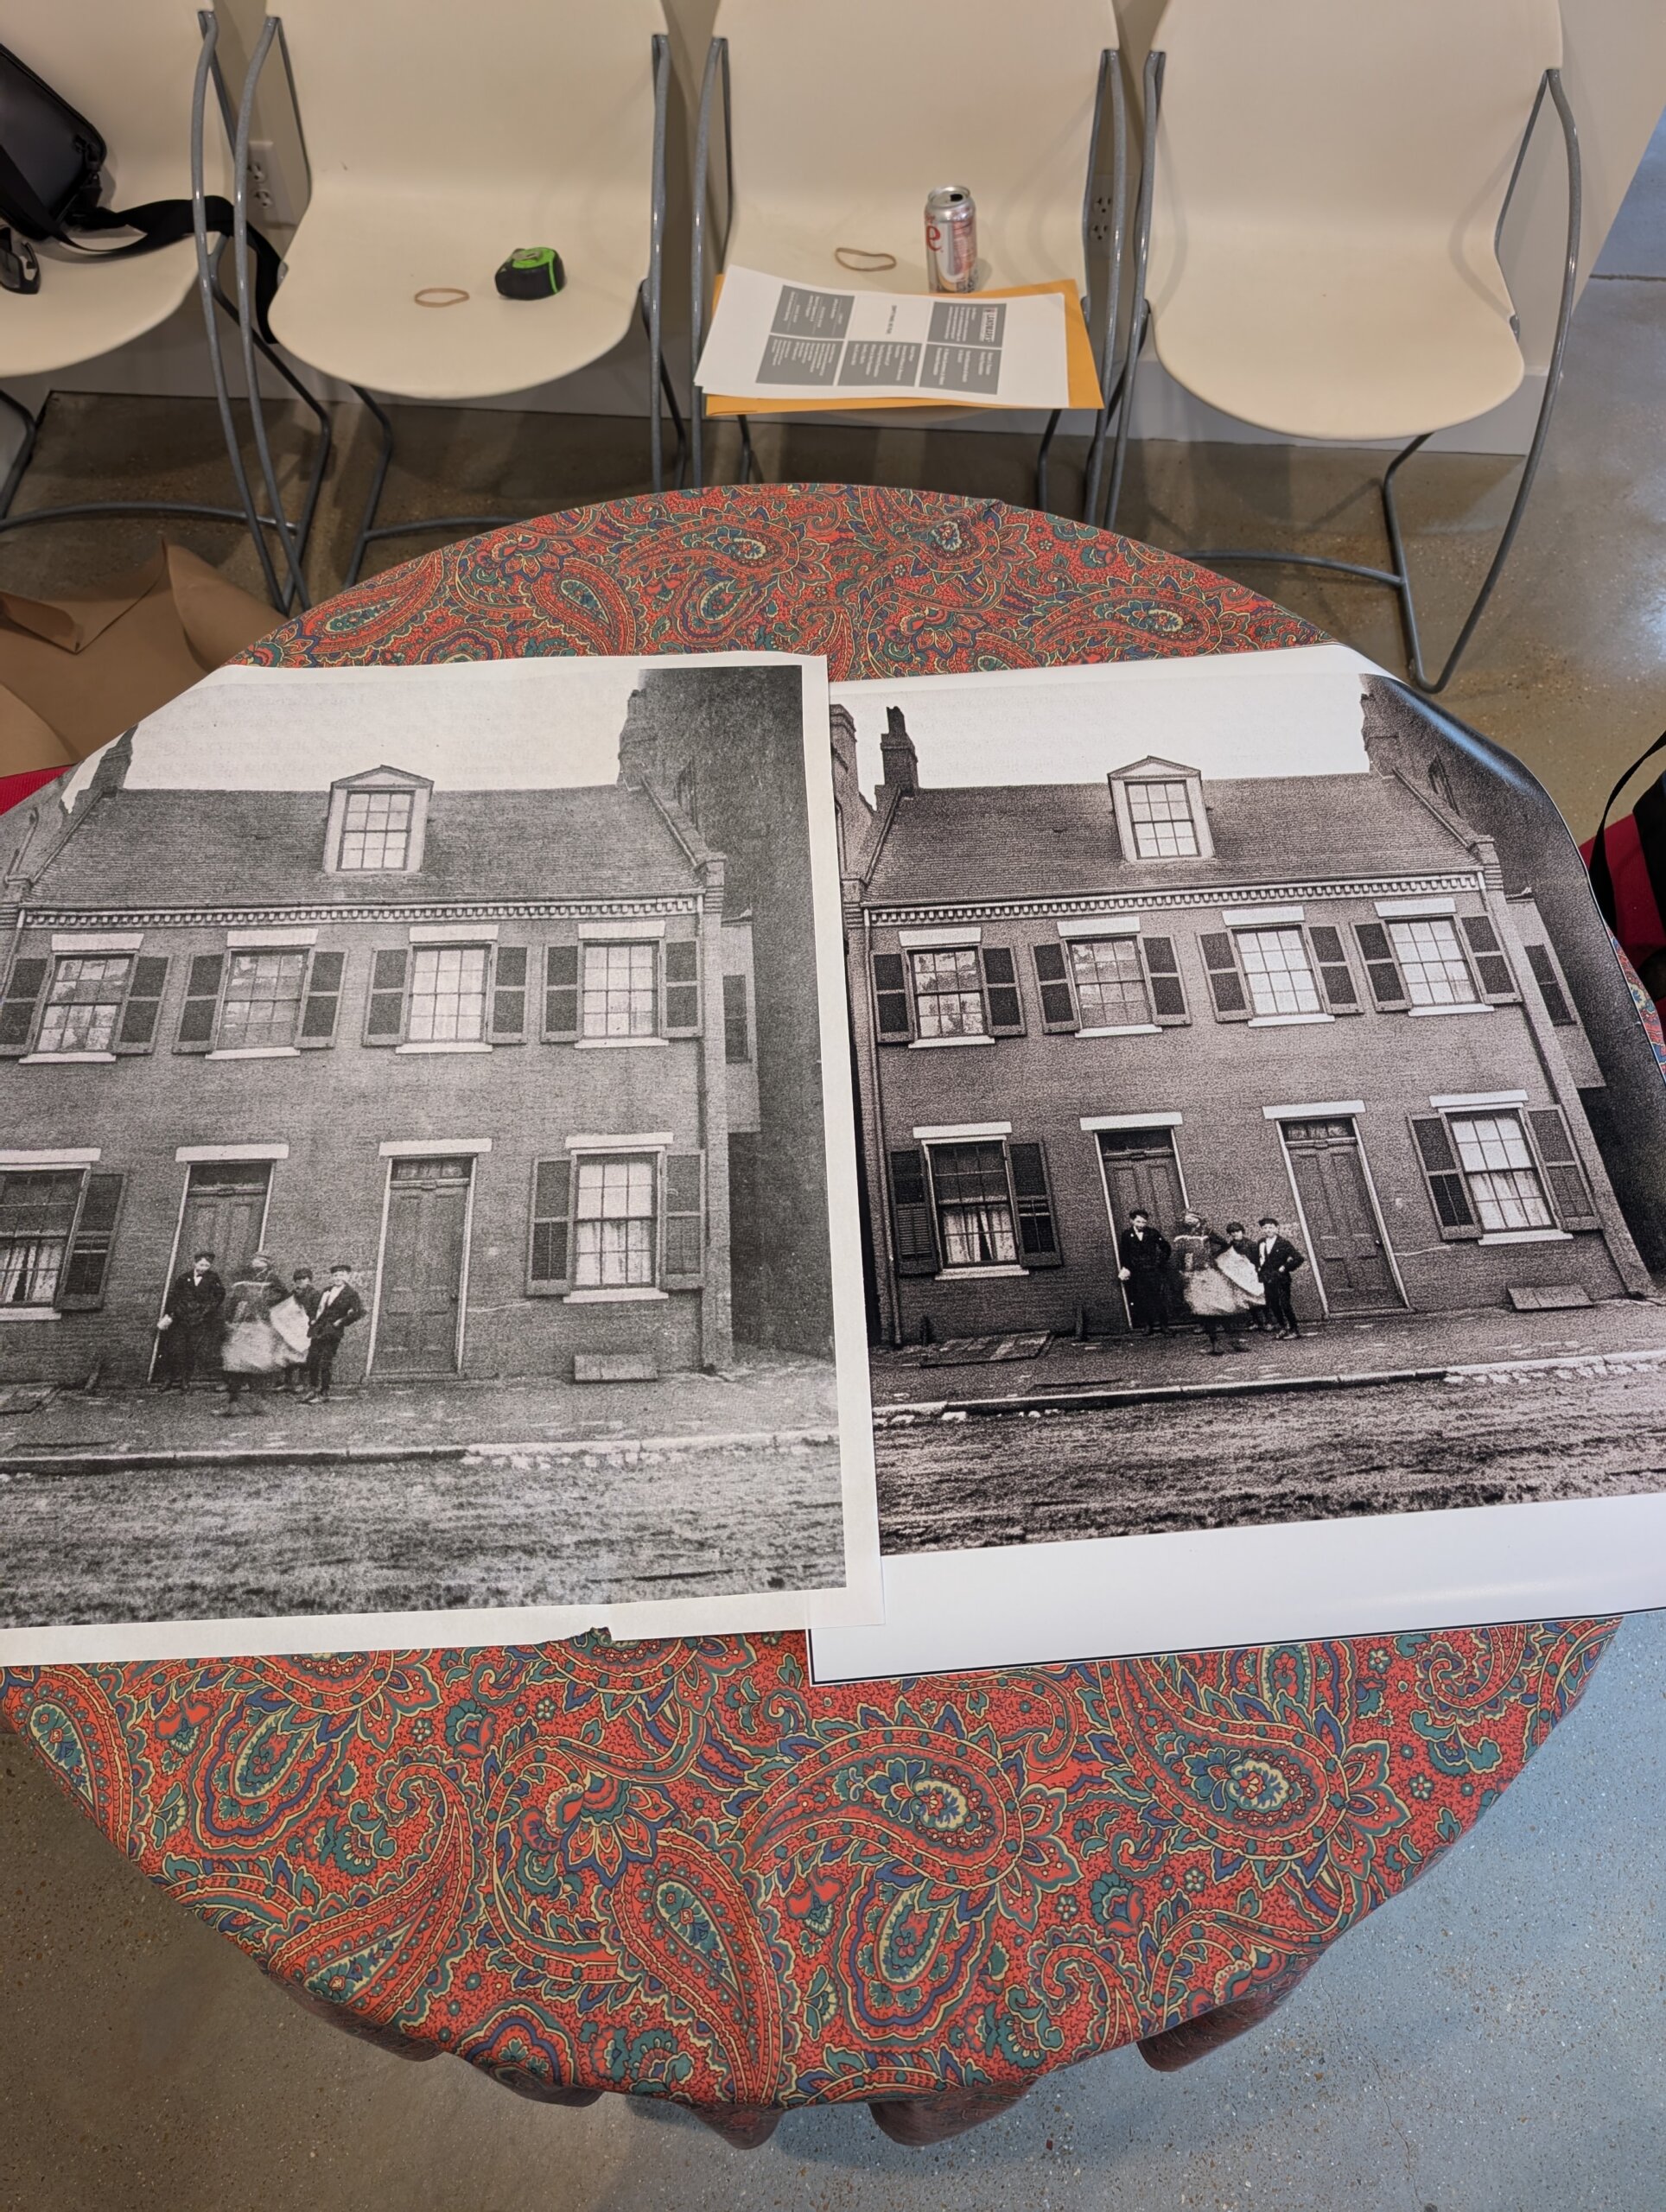
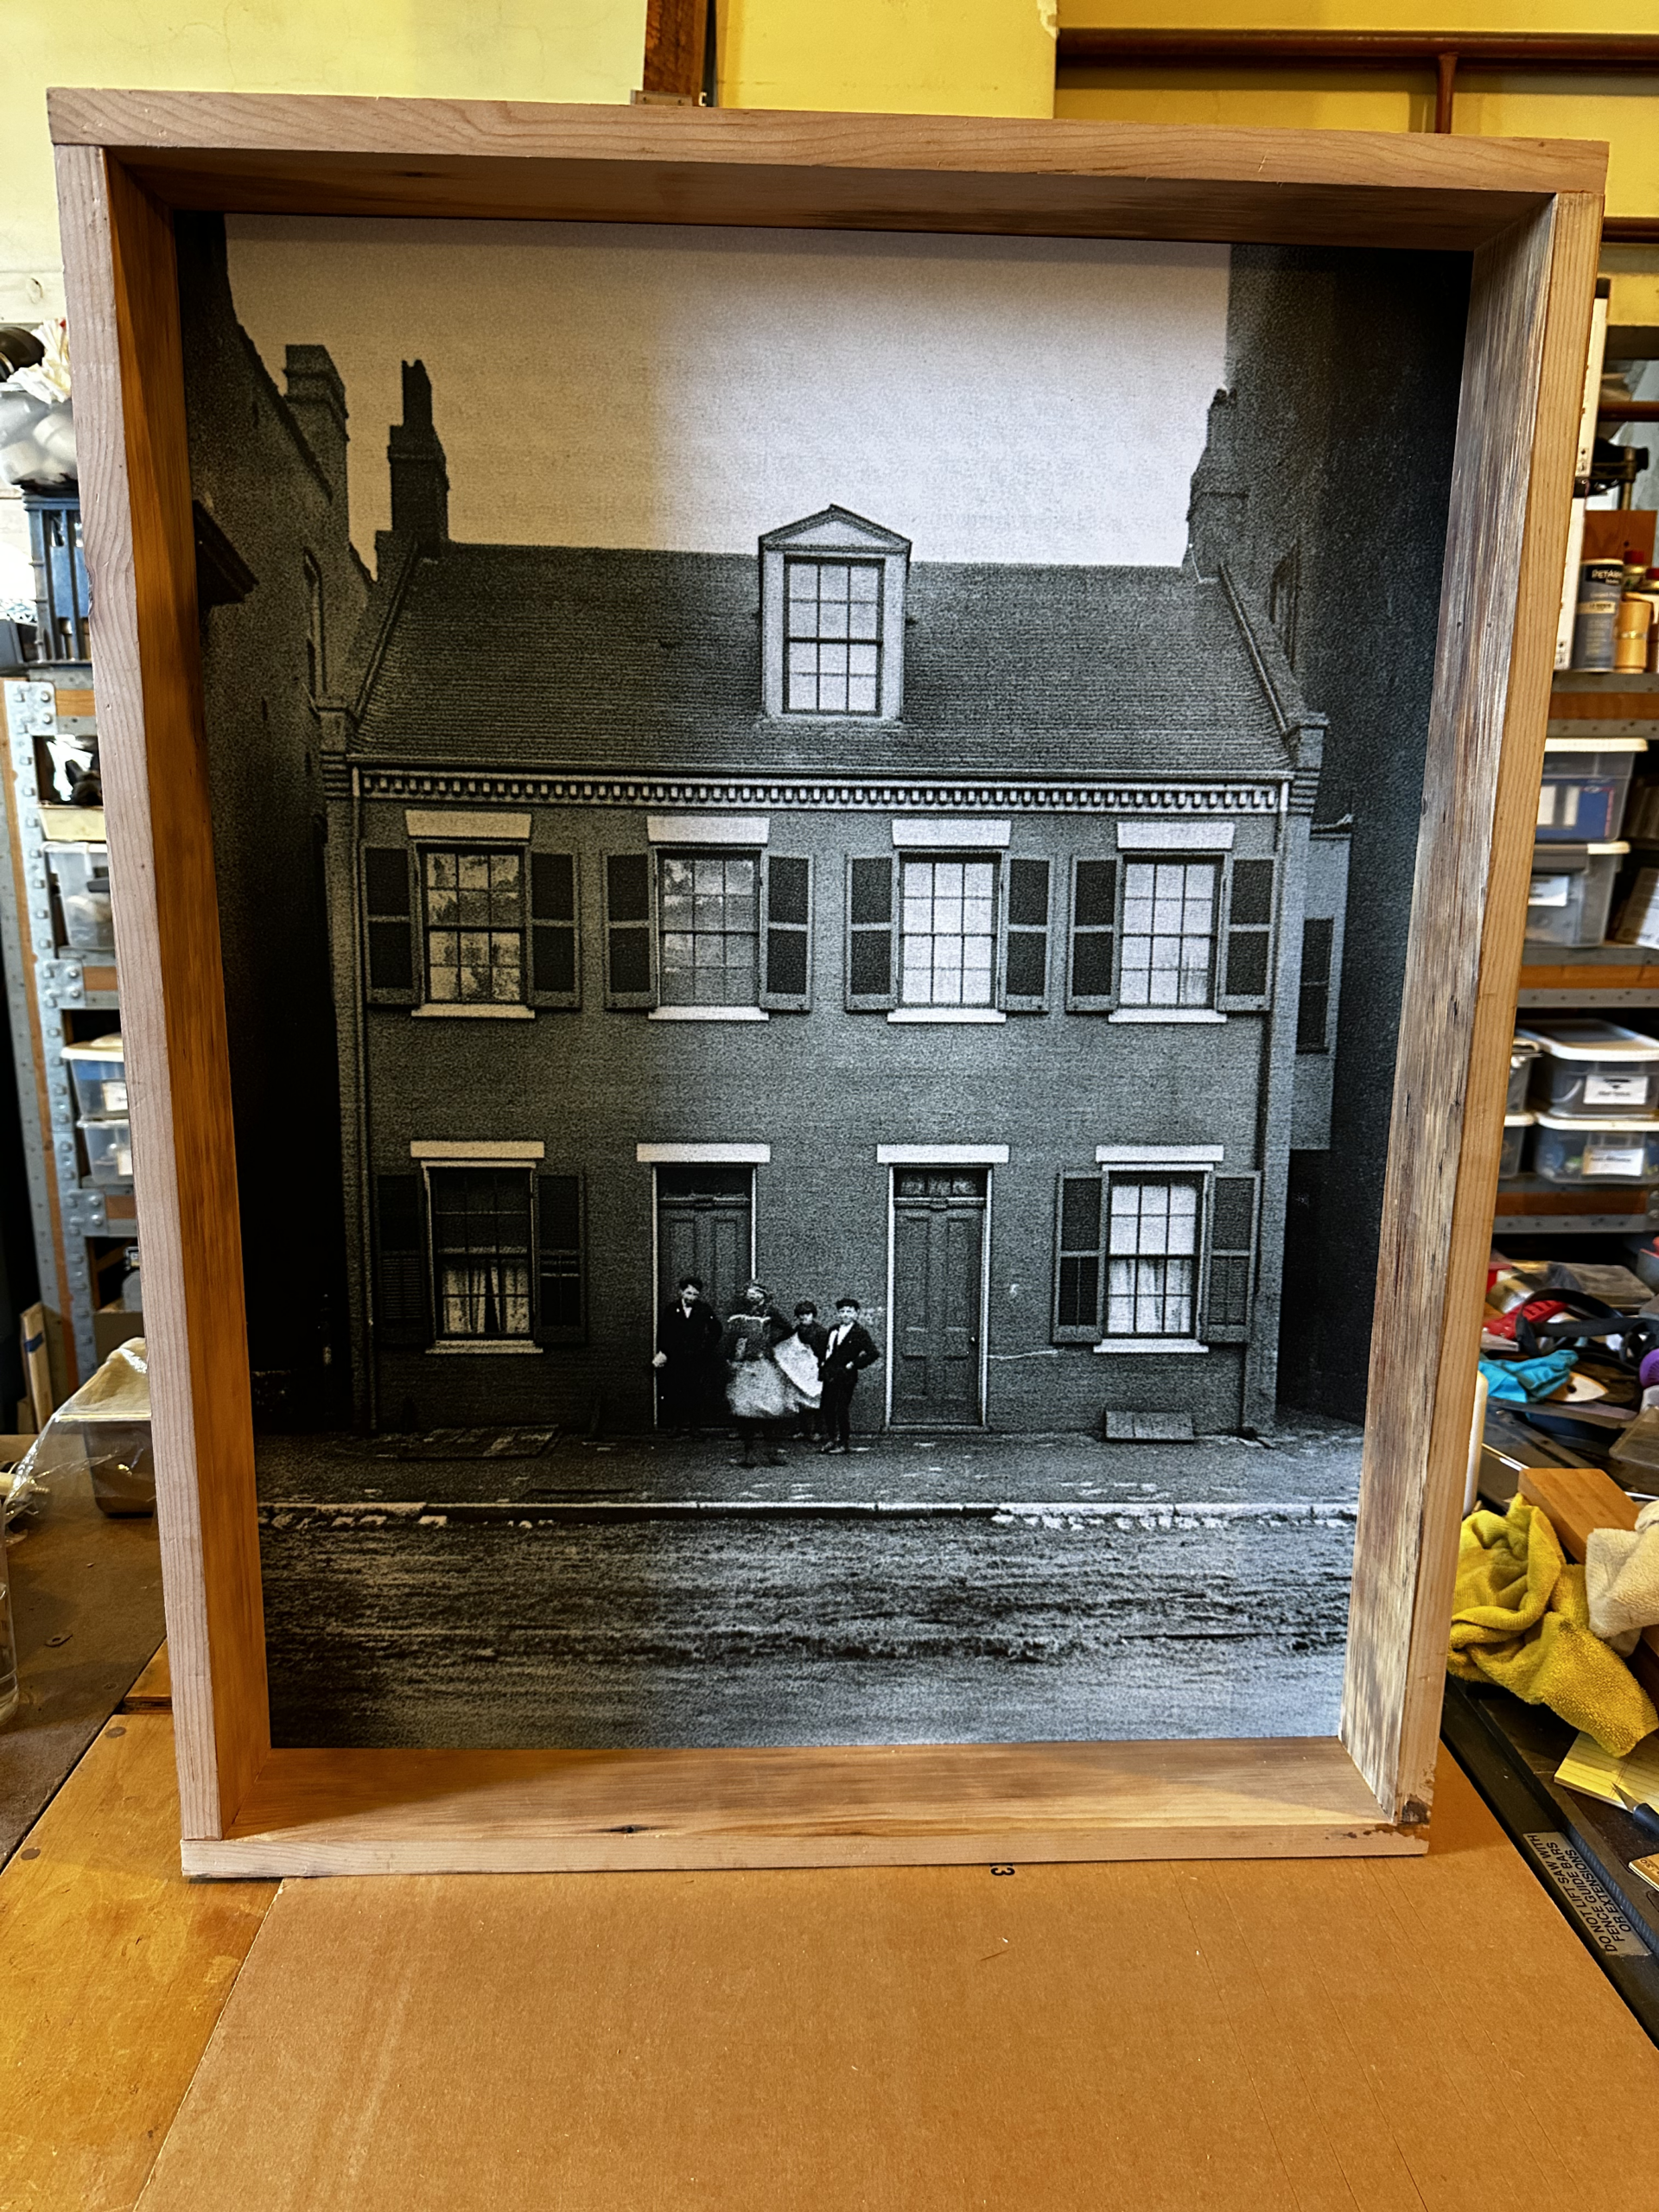
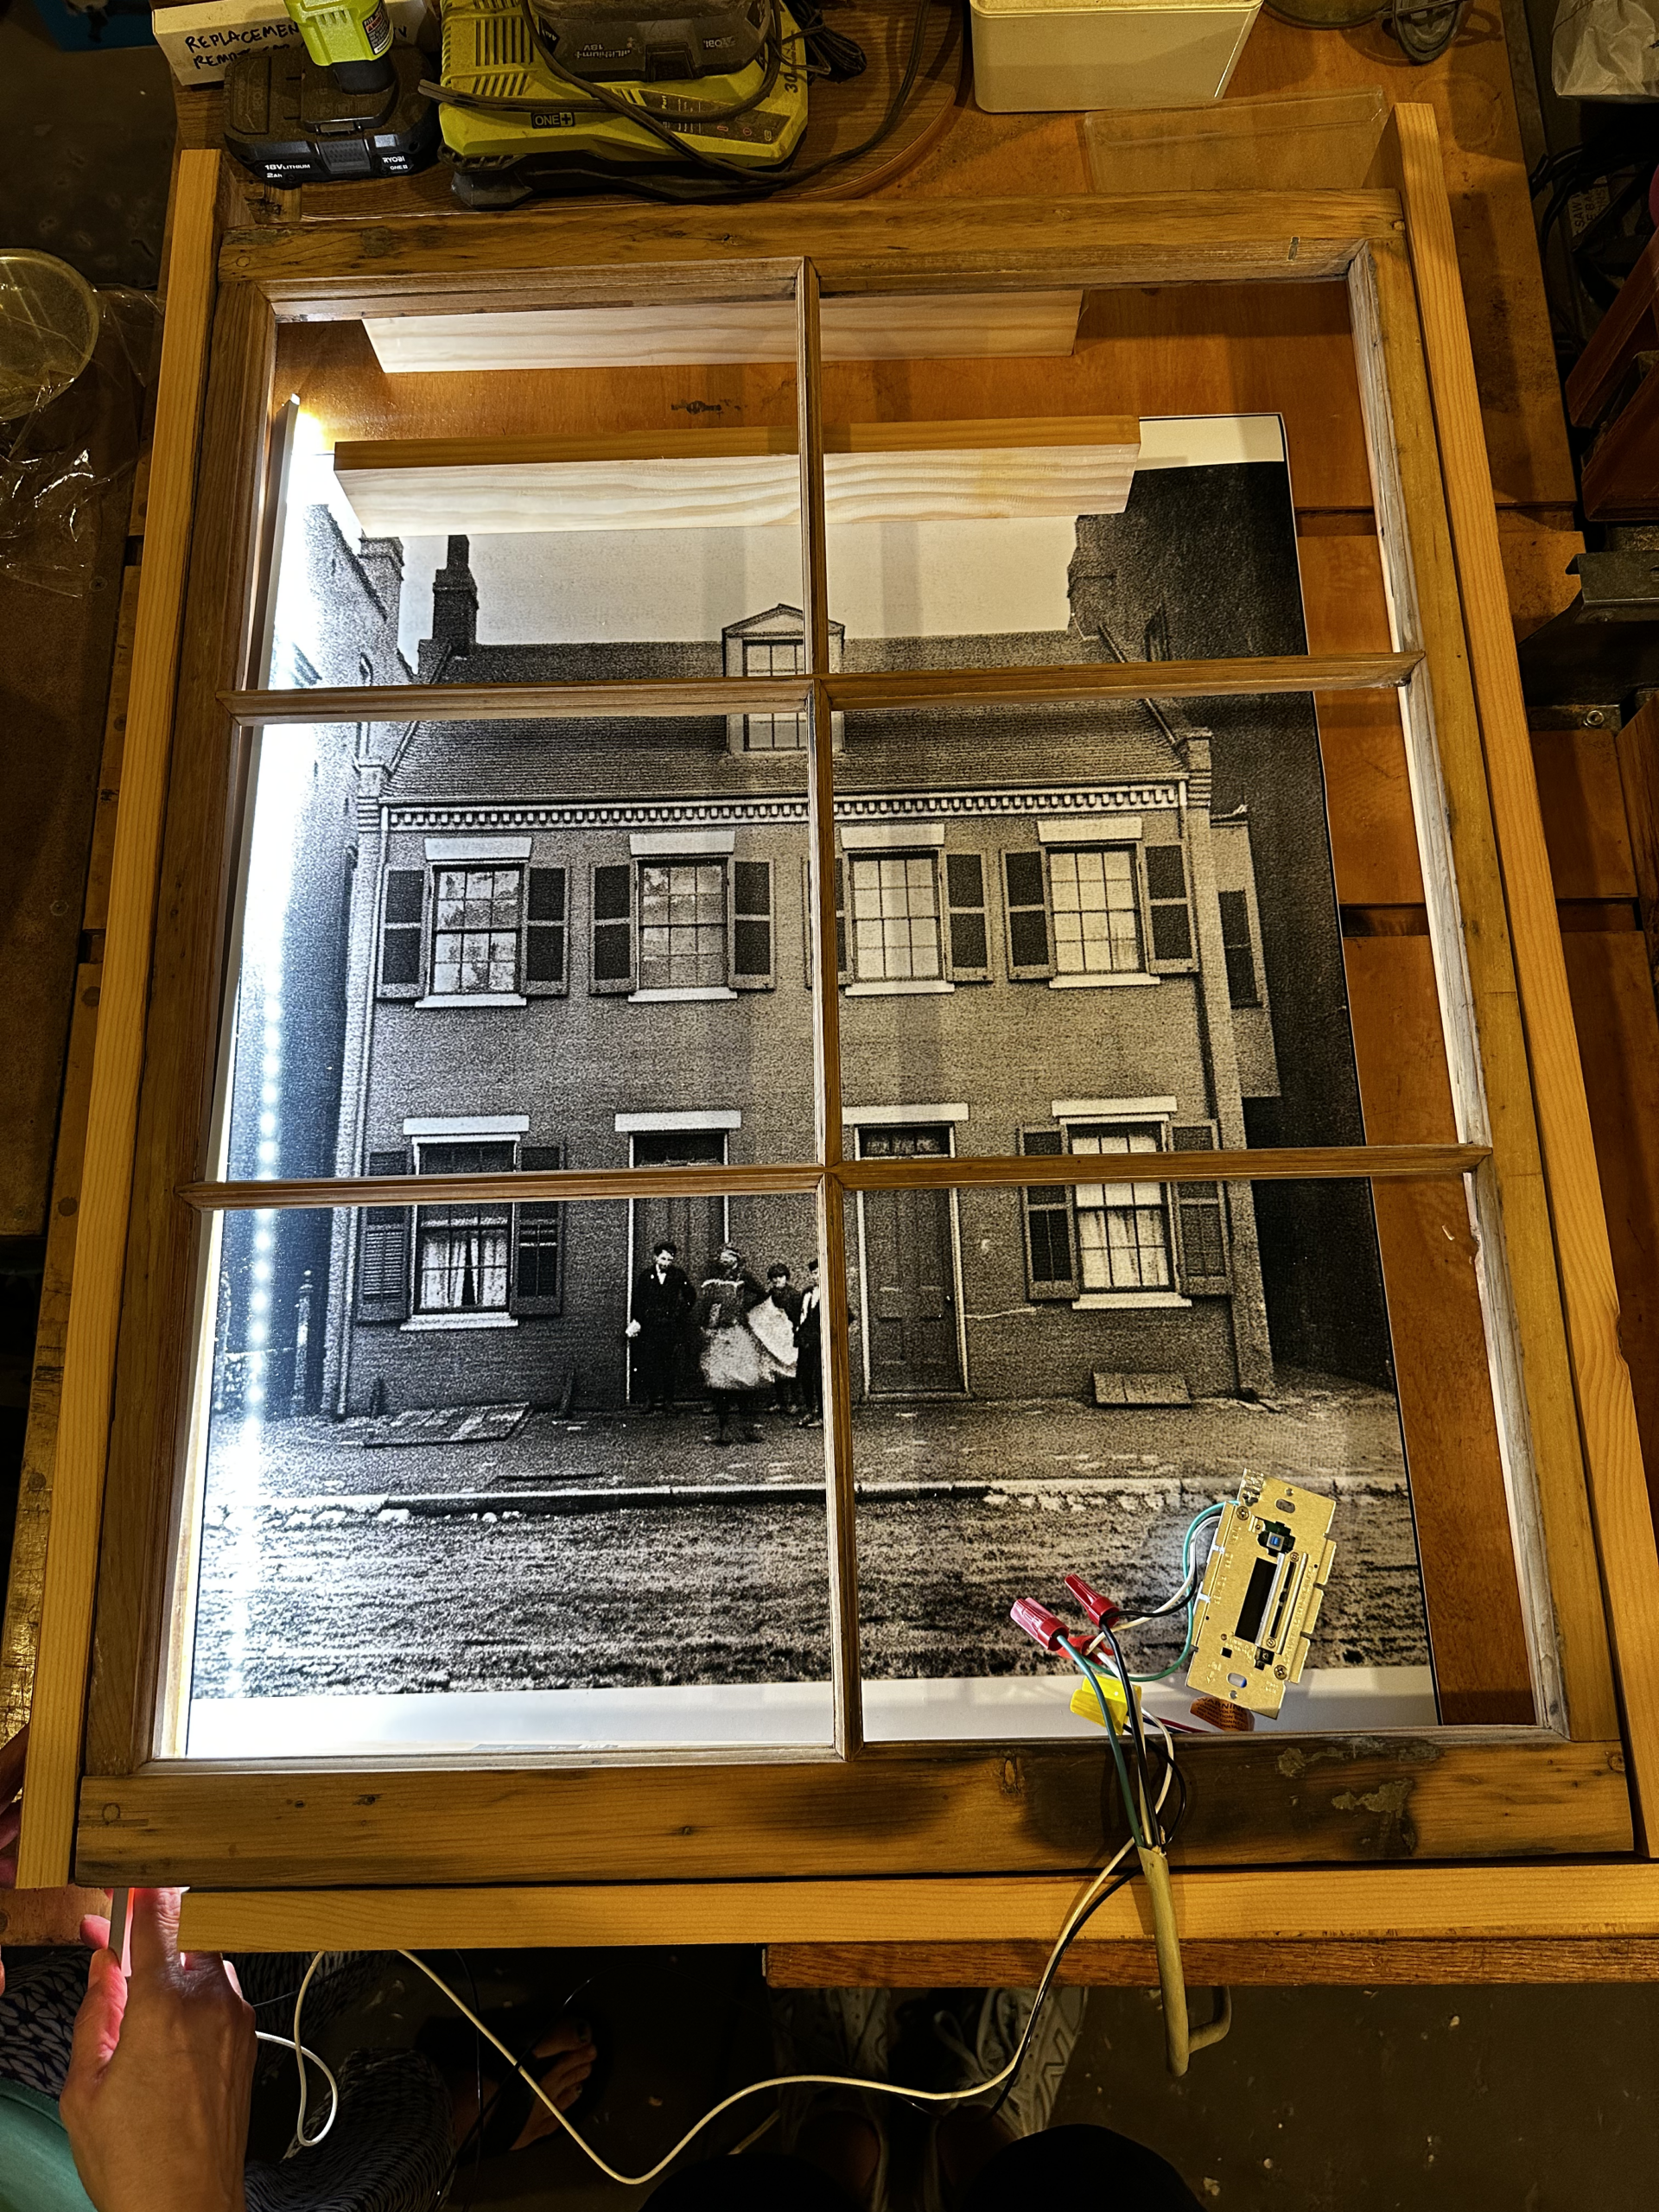
As soon as the project became a “window” (instead of a board or a wall), Katie and Andrew knew what background image the viewer would “see through” the window: a vintage photograph of Hesch House. We had several discussions about how that visual would represent the past, and the viewer sees the donor names hovering in front of the image – they are the present, and were essential to making the restoration possible. But, there were some technical issues, the biggest being that the photograph we wanted to use was scanned from a book – Katie and Andrew tried to track down the author for a higher resolution image, but no luck. Fortunately, Adobe Photoshop had just released a new feature in its beta version called “Generative Upscale”, which uses AI to increase resolution while adding realistic detail, rather than just stretching existing pixels. That helped a great deal; the children’s faces in the original photo were blurry, and AI sharpened them.
The Lighting
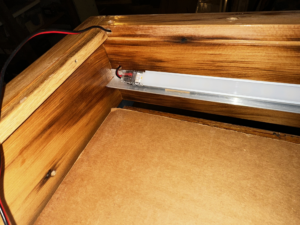
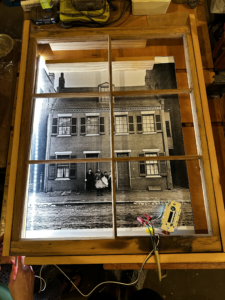
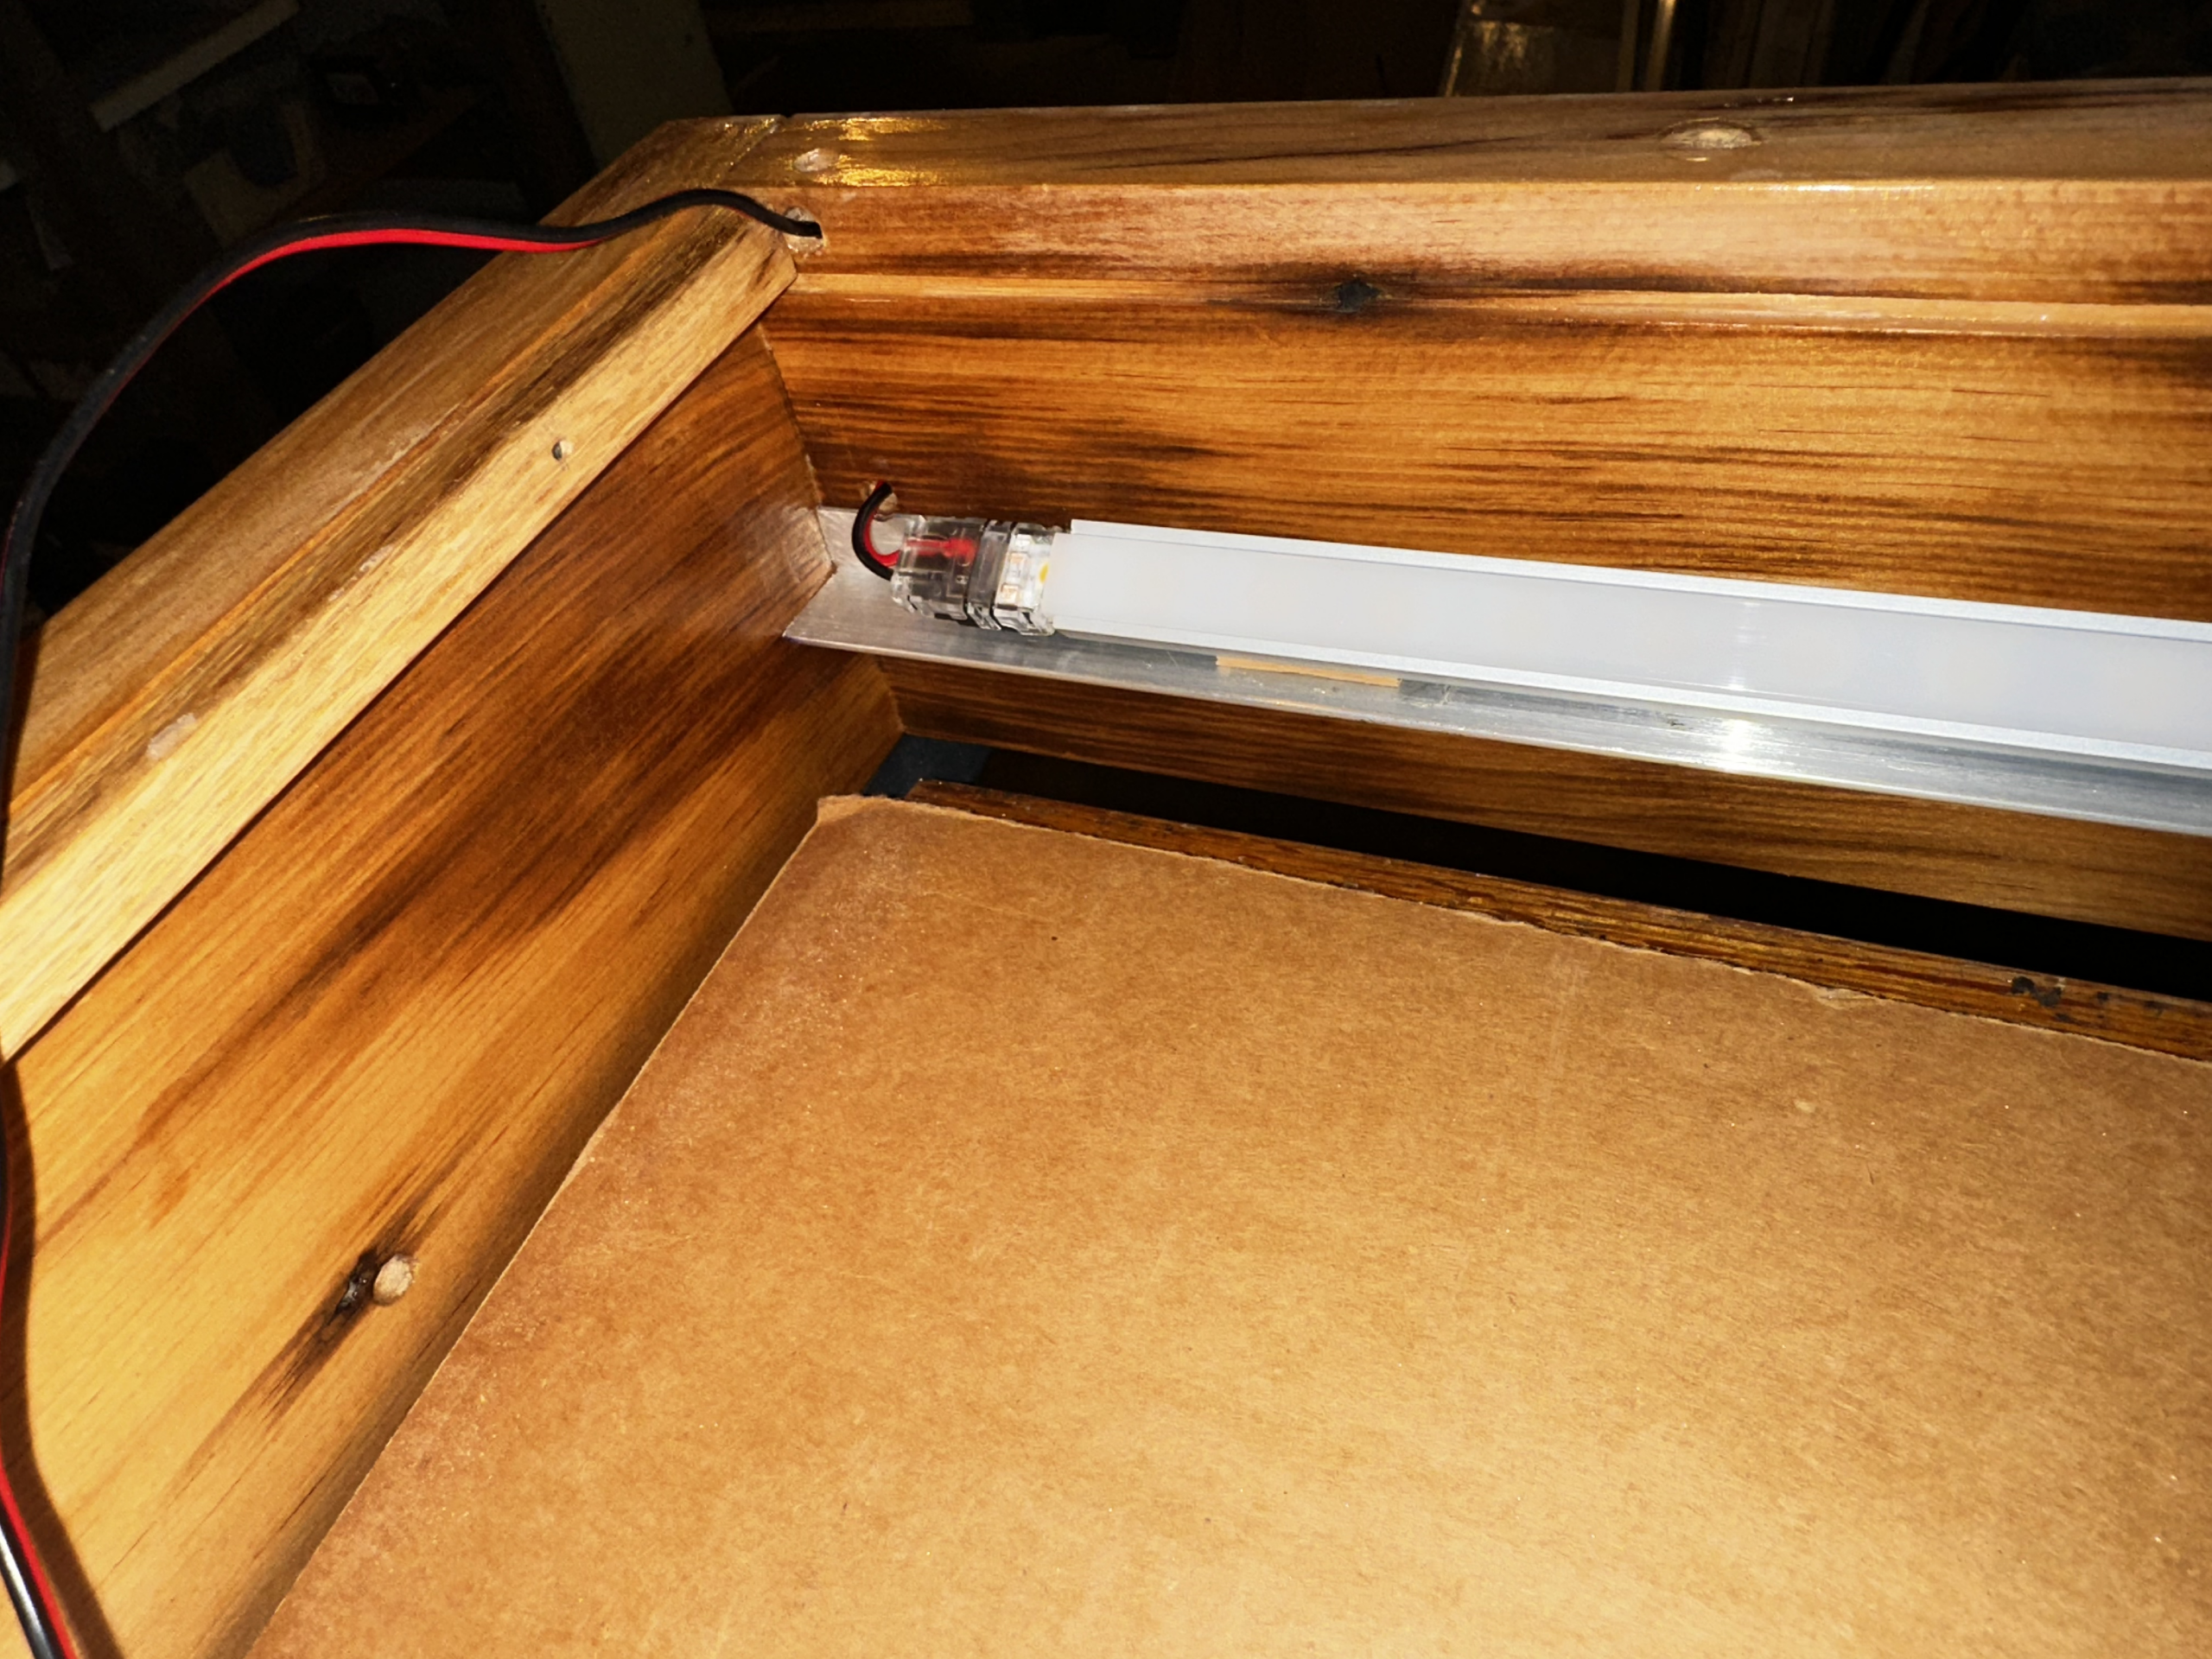
I had the majority of the Donor Window fabricated, so now we could make some decisions about lighting by seeing all of the materials in place. I set up the assembled window in Landmarks’ conference room, and the team took turns viewing it from different viewpoints as I changed the angle of the lighting strip. The consensus was that the angled light was better for the photograph, but was too visible to the viewer. So the LED strip is mounted flat on the aluminum angle.
I tried to hide the wiring as much as I could. The wires get around the photo panel via holes I drilled within the frame (think of a tiny tunnel inside the wood), and they emerge from the inside face of the frame just a fraction of an inch away from the light strip. Only the most committed observer will be able to see them.
The Words
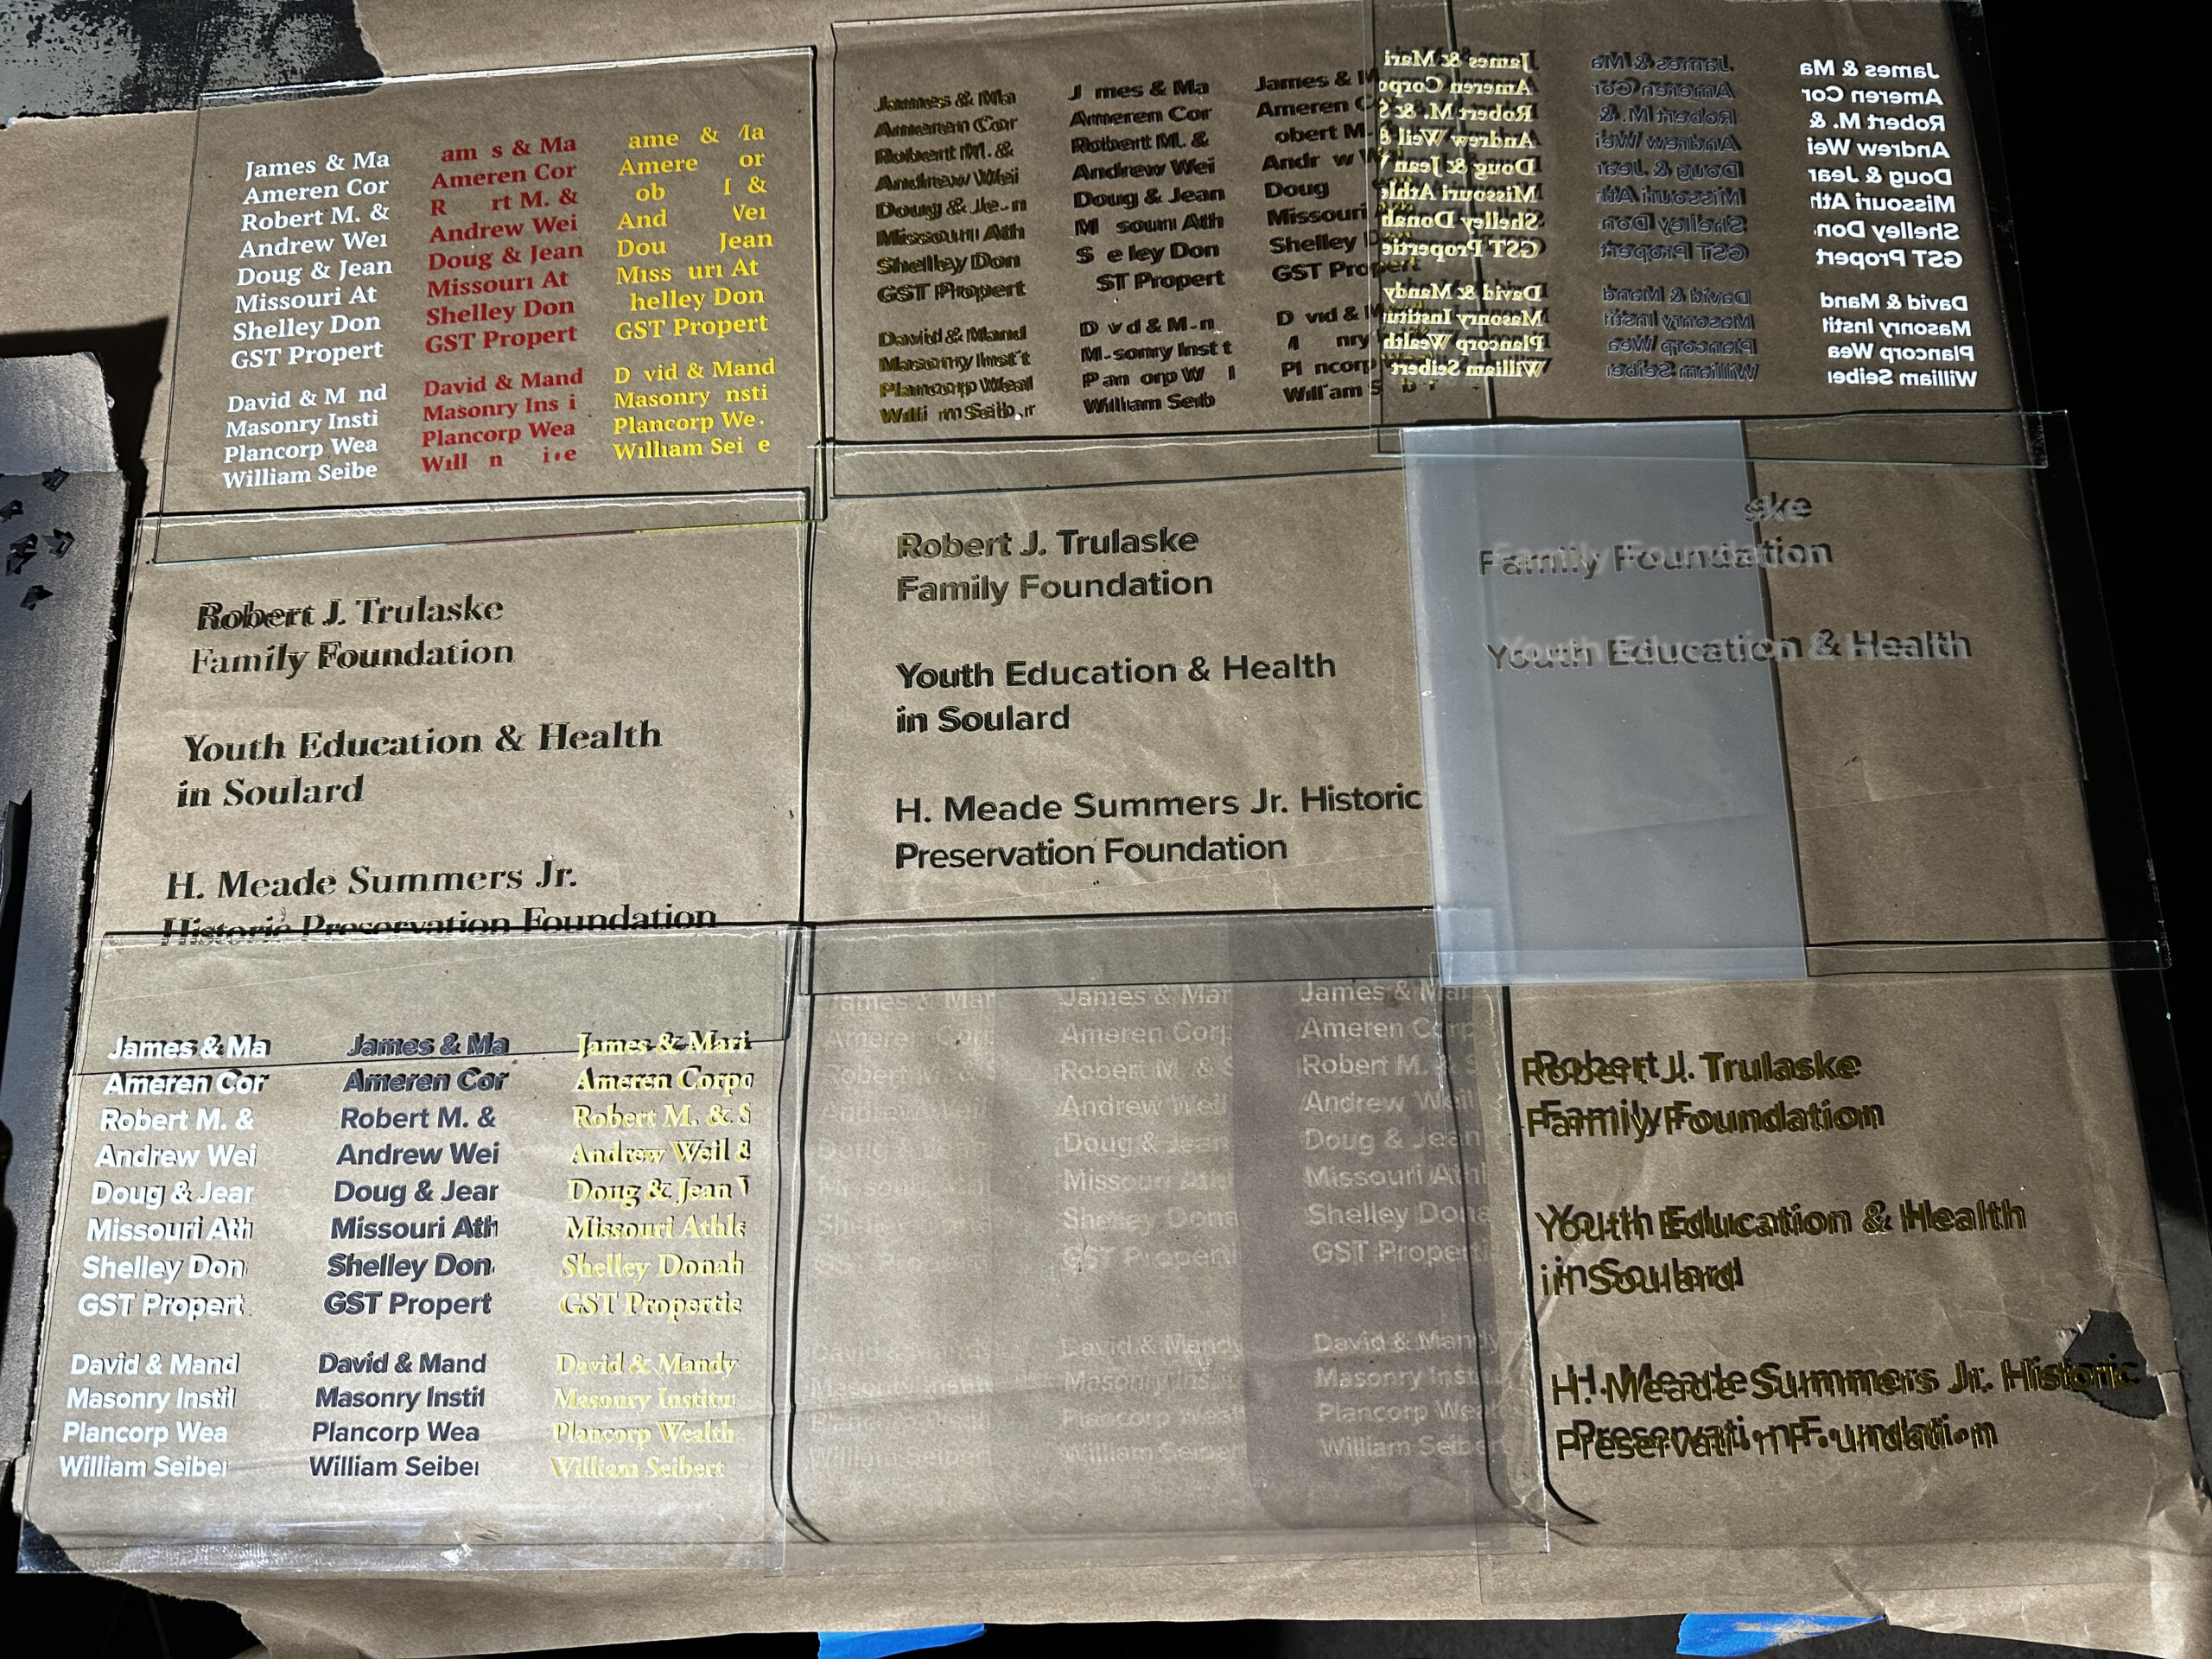
A critical component of the entire Donor Window project is how the donor names would be portrayed. Early on, we decided on the layout, but several options remained: font, color, frosted, etc. Also, what technology – vinyl cutout, direct print on glass? Which surface – the front or back of the glass?
I predicted the text on glass component would give us the greatest challenge, only because it would involve third-party vendors, either someone with a vinyl cutter or a printer service.
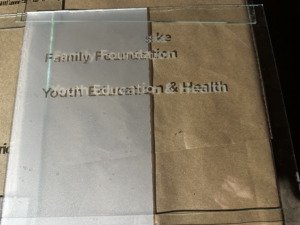
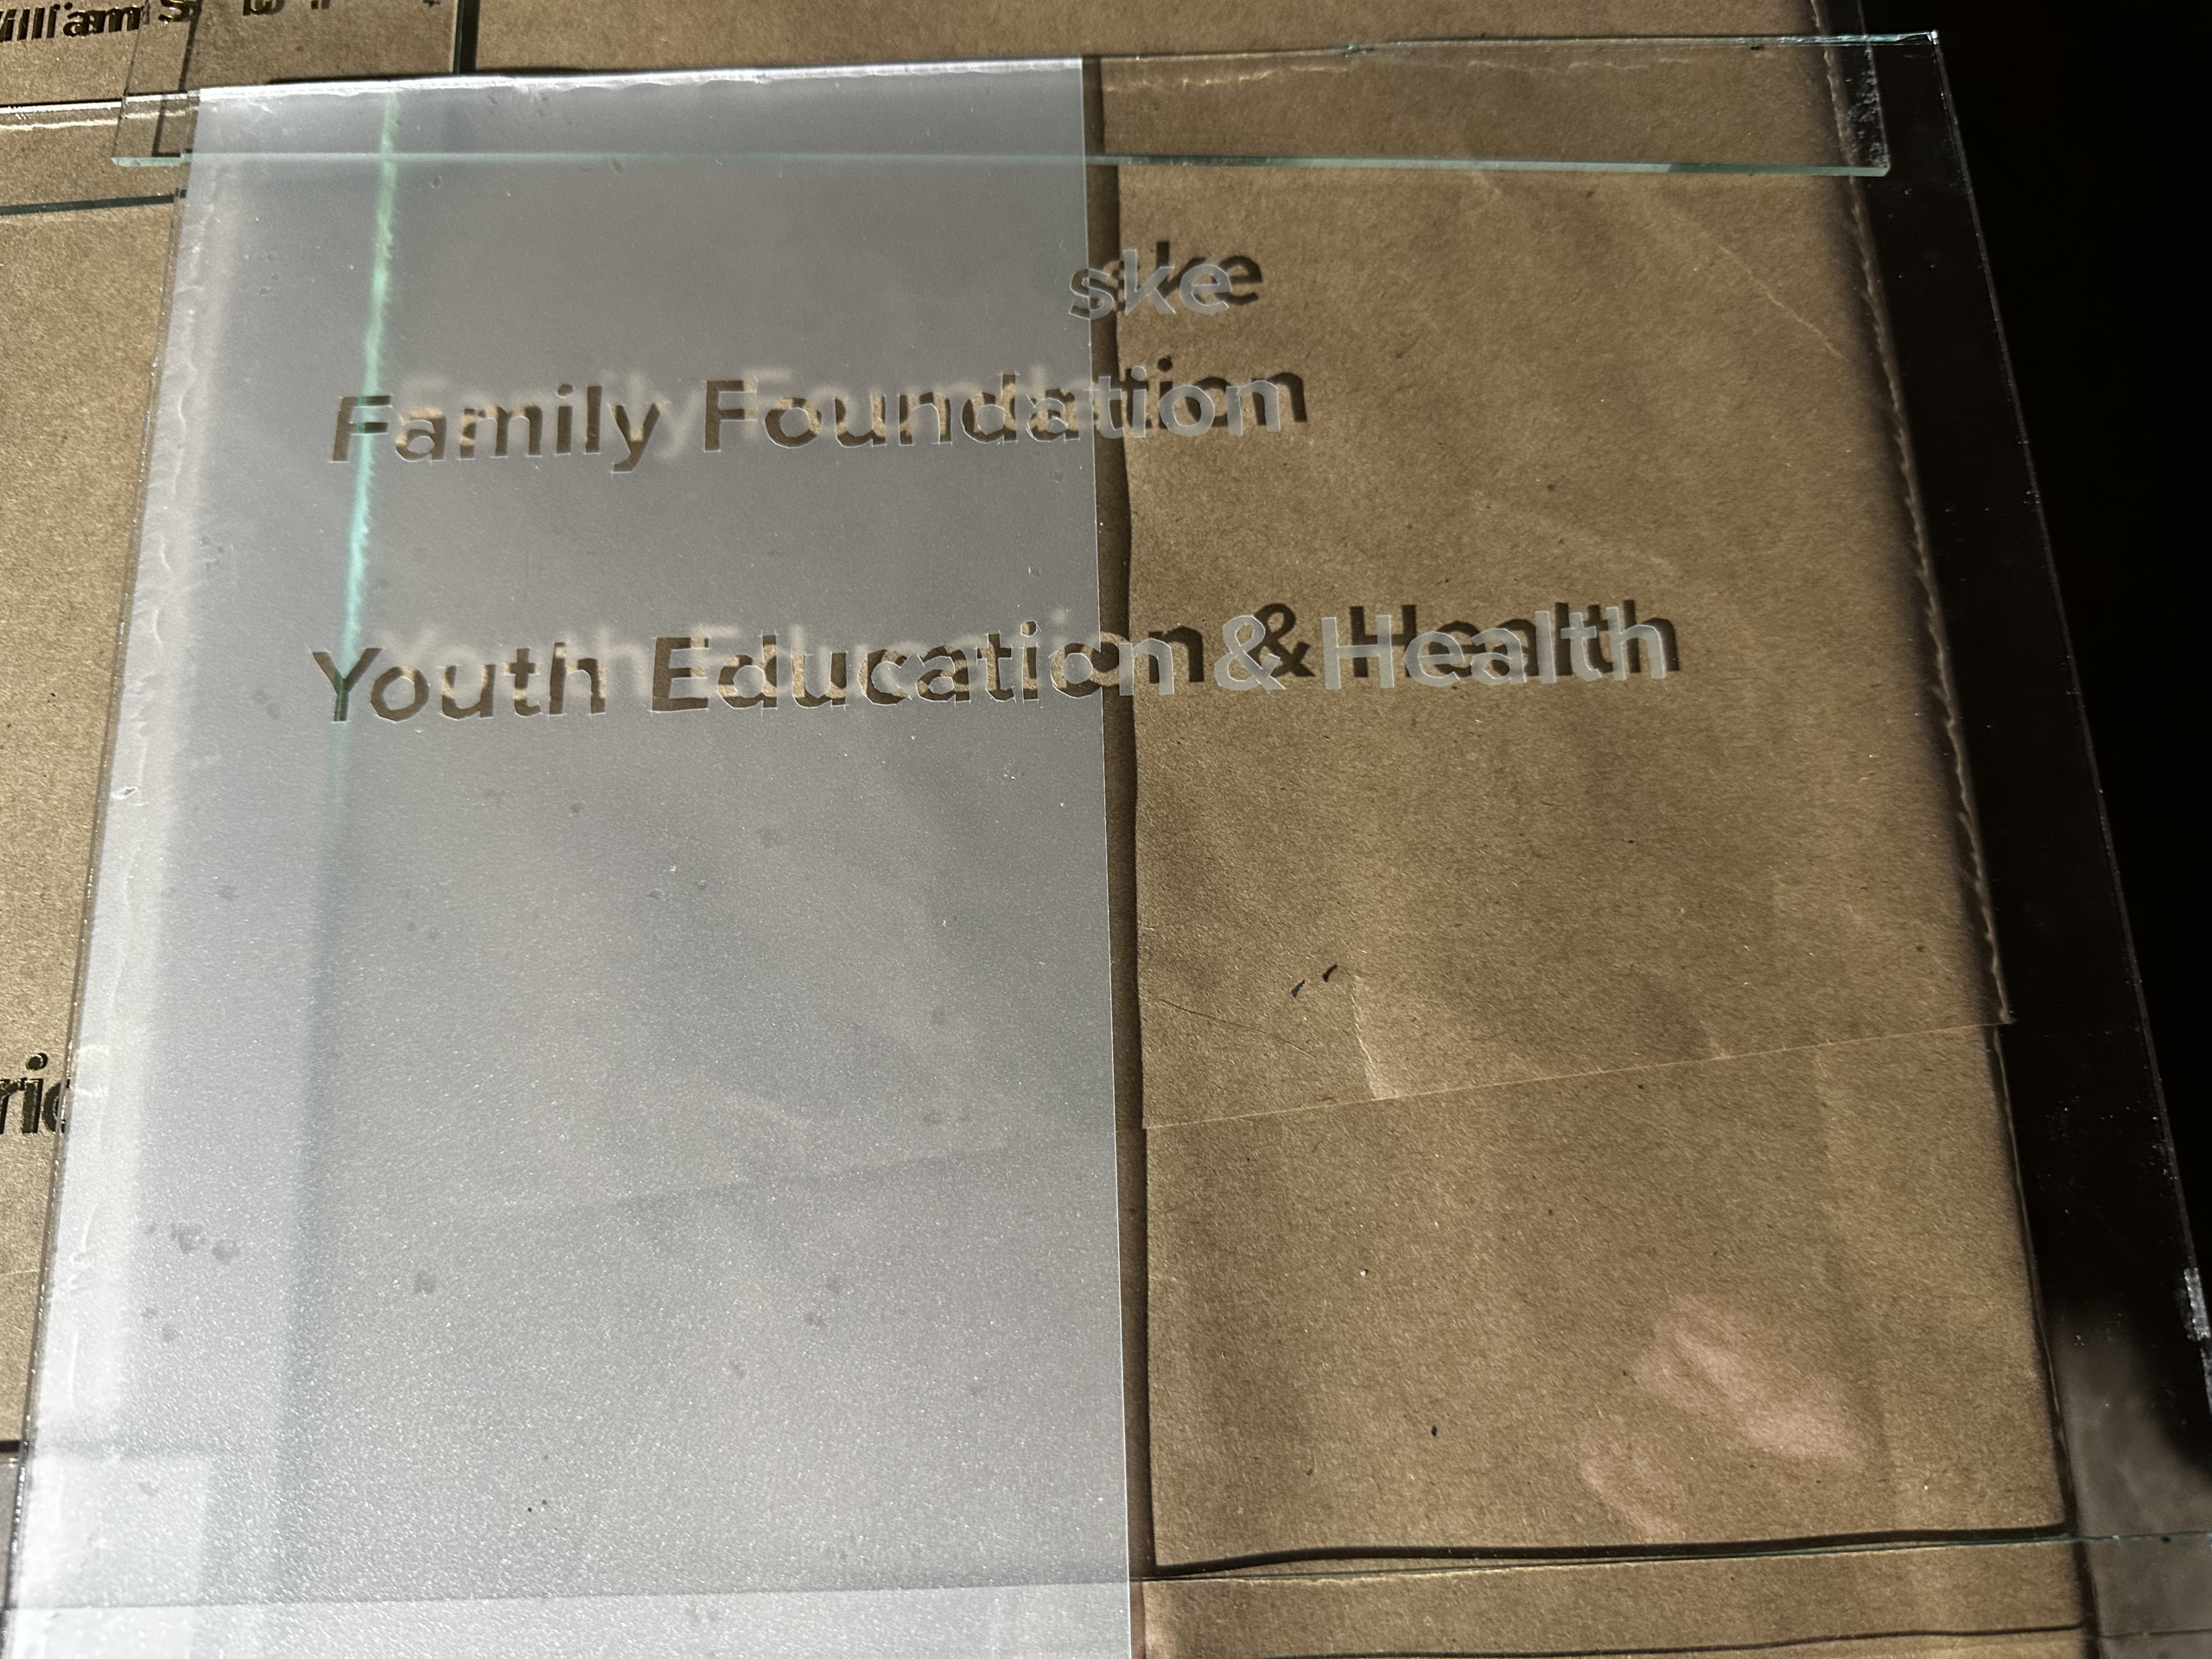
The Landmarks team liked several text-on-glass examples that are easy to find online – and a gold metallic was a favorite. Over the course of weeks, perhaps it was months, I consulted with signage vendors about our Donor Window project. The common threads of rejection were: the project was too small, they couldn’t get to it for several months, and/or the intricate process of manually removing vinyl film around words was cost-prohibitive (we had a LOT of text). Just acquiring stock samples turned out to be a challenge.
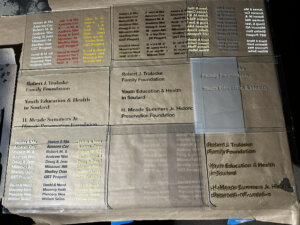
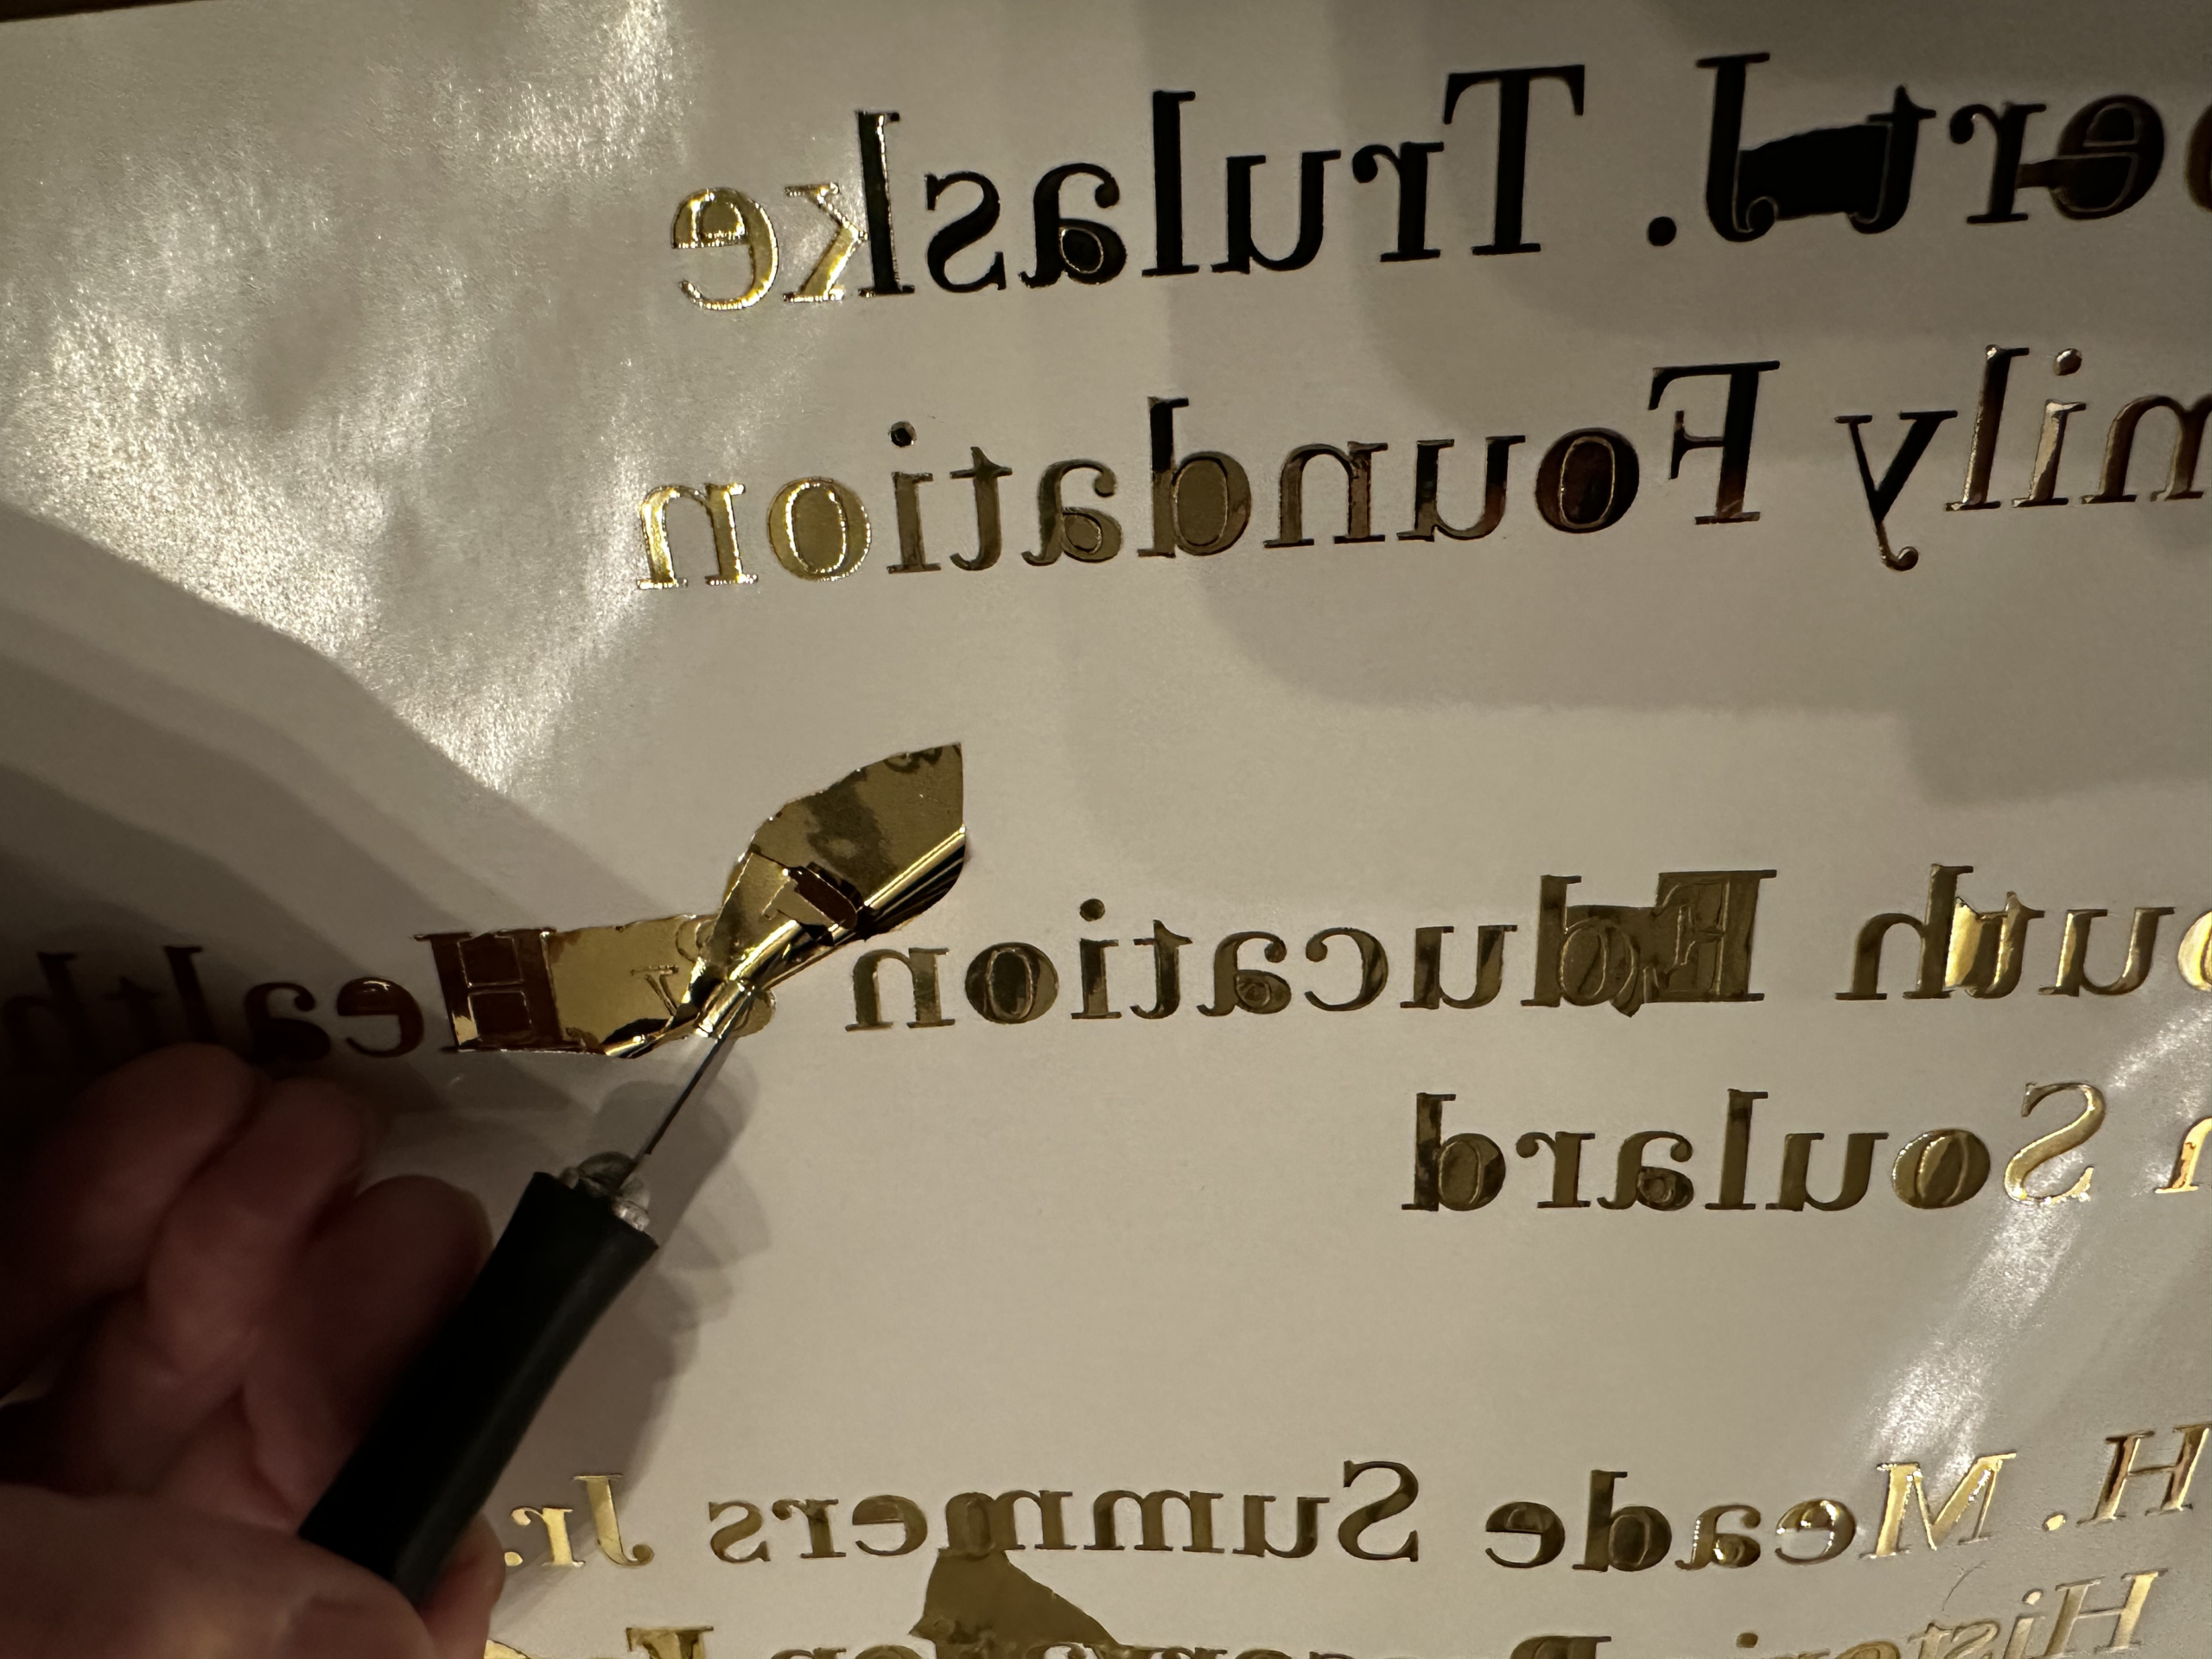
In frustration, I bought myself a Cricut, which is a small-scale cutting machine, and something I’ve wanted for a few years. Within a couple of evenings, I was able to produce half a dozen different samples, from colored and metallic vinyls, and brought those samples back to the team. Everyone liked the gold metallic lettering the best – just one problem – the gold is on the non-sticky side, and we wanted the lettering on the inside of the sash, for easier maintenance and to keep guests from picking at it. It took another day or two to find a gold film with the metallic color on BOTH sides. But eventually we had the products we all liked!
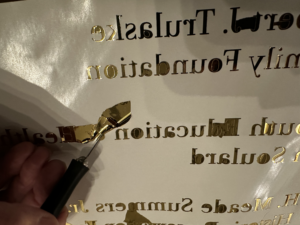
I mentioned earlier that some vendors stated that, due to our large amount of text, the removal of unwanted film (called “weeding”) would be cost-prohibitive, because that is still a manual process, even though the cutting process is by machine. Every center of a letter “a”, “e”, and “o”, and any other undesired film, needs to be picked out with a sharp implement. Fortunately, I spent many years in the 70’s and 80’s cutting silkscreen stencils out of film by hand, so I did not mind spending a few hours sitting in my favorite chair, “weeding” the gold lettering while catching up on episodes of Shrinking.
The Finishes
Pun intended, the “finishing” touches were to decide on the finishes for the wood – both the sash and the frame. A window sash would normally be painted on the exterior side, but we went back to our mantra that this would not be a true restoration, and leaving the sash looking freshly sanded would be appropriate. We didn’t need to protect it from weather, but a finish would help with maintenance, so I brushed on several coats of a “dead flat” clear polyurethane, one that dried perfectly clear with no amber cast, so it looks like there is no finish at all. In contrast, we wanted a bit more gloss for the frame, so it was coated with a medium-gloss polyurethane.
Installation
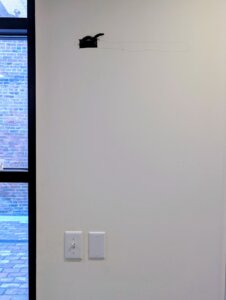
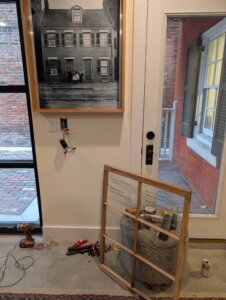
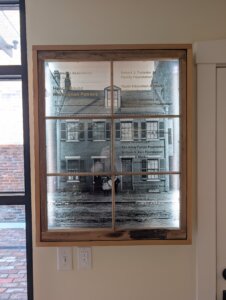
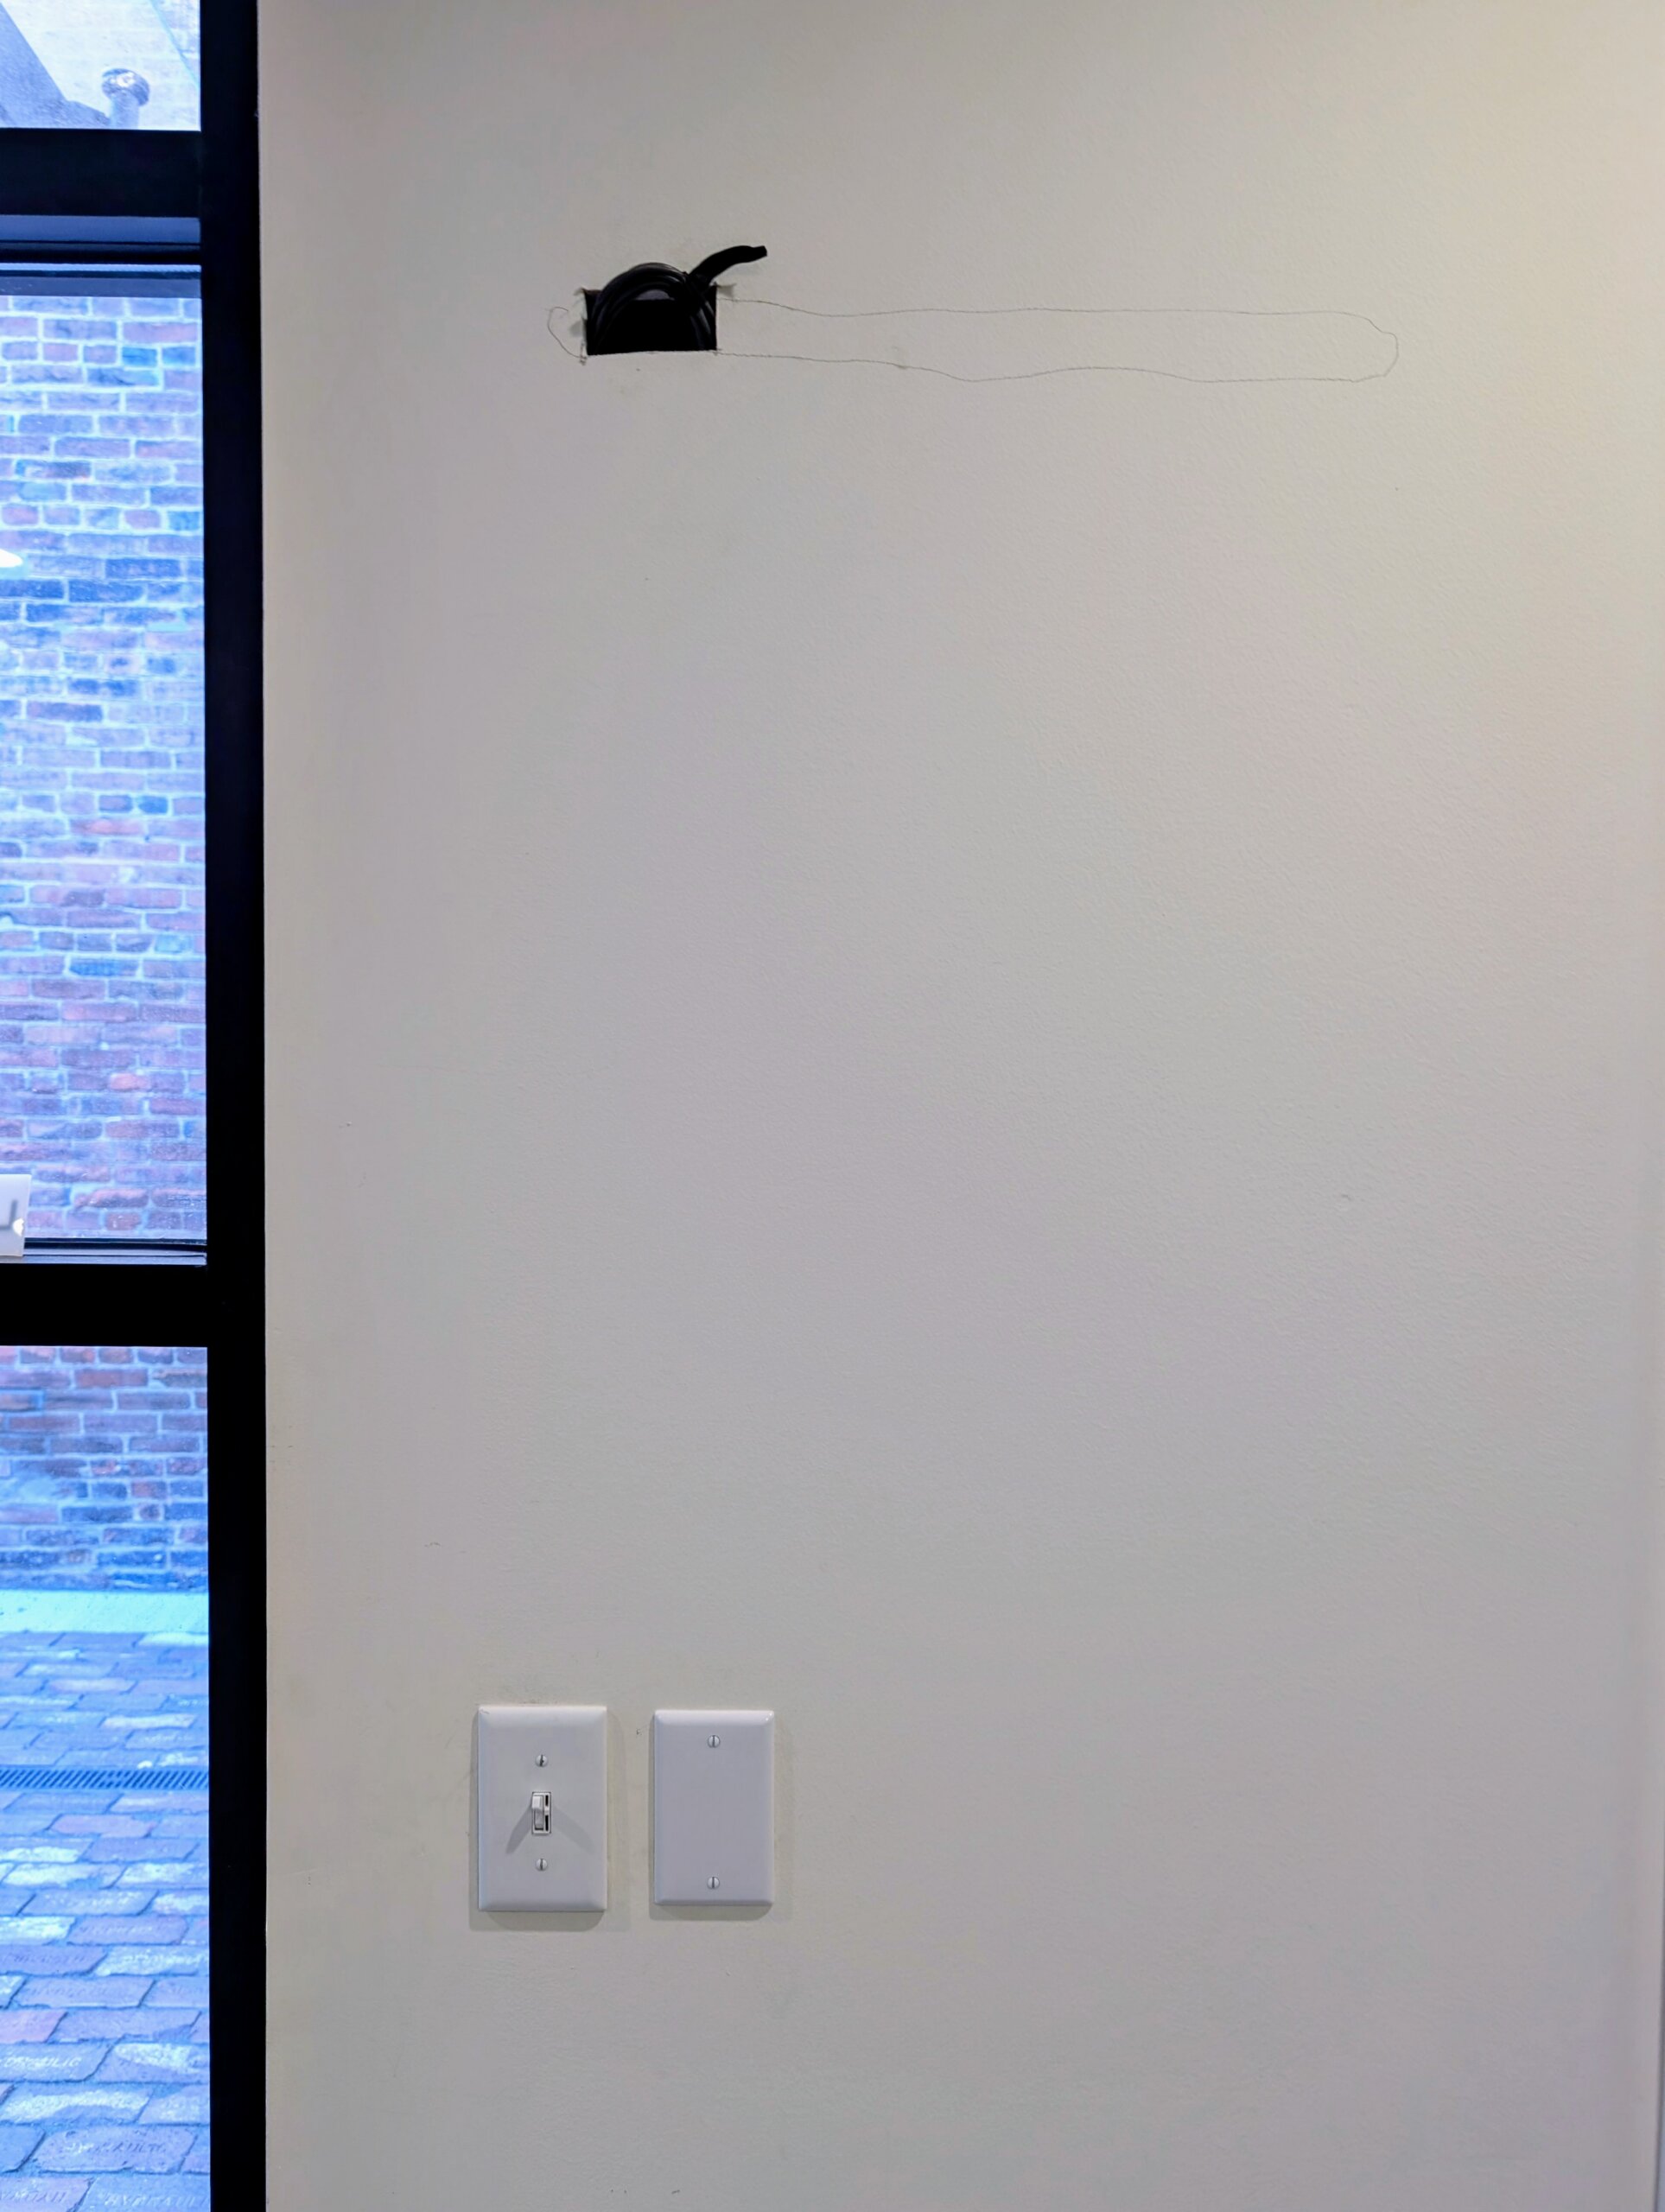
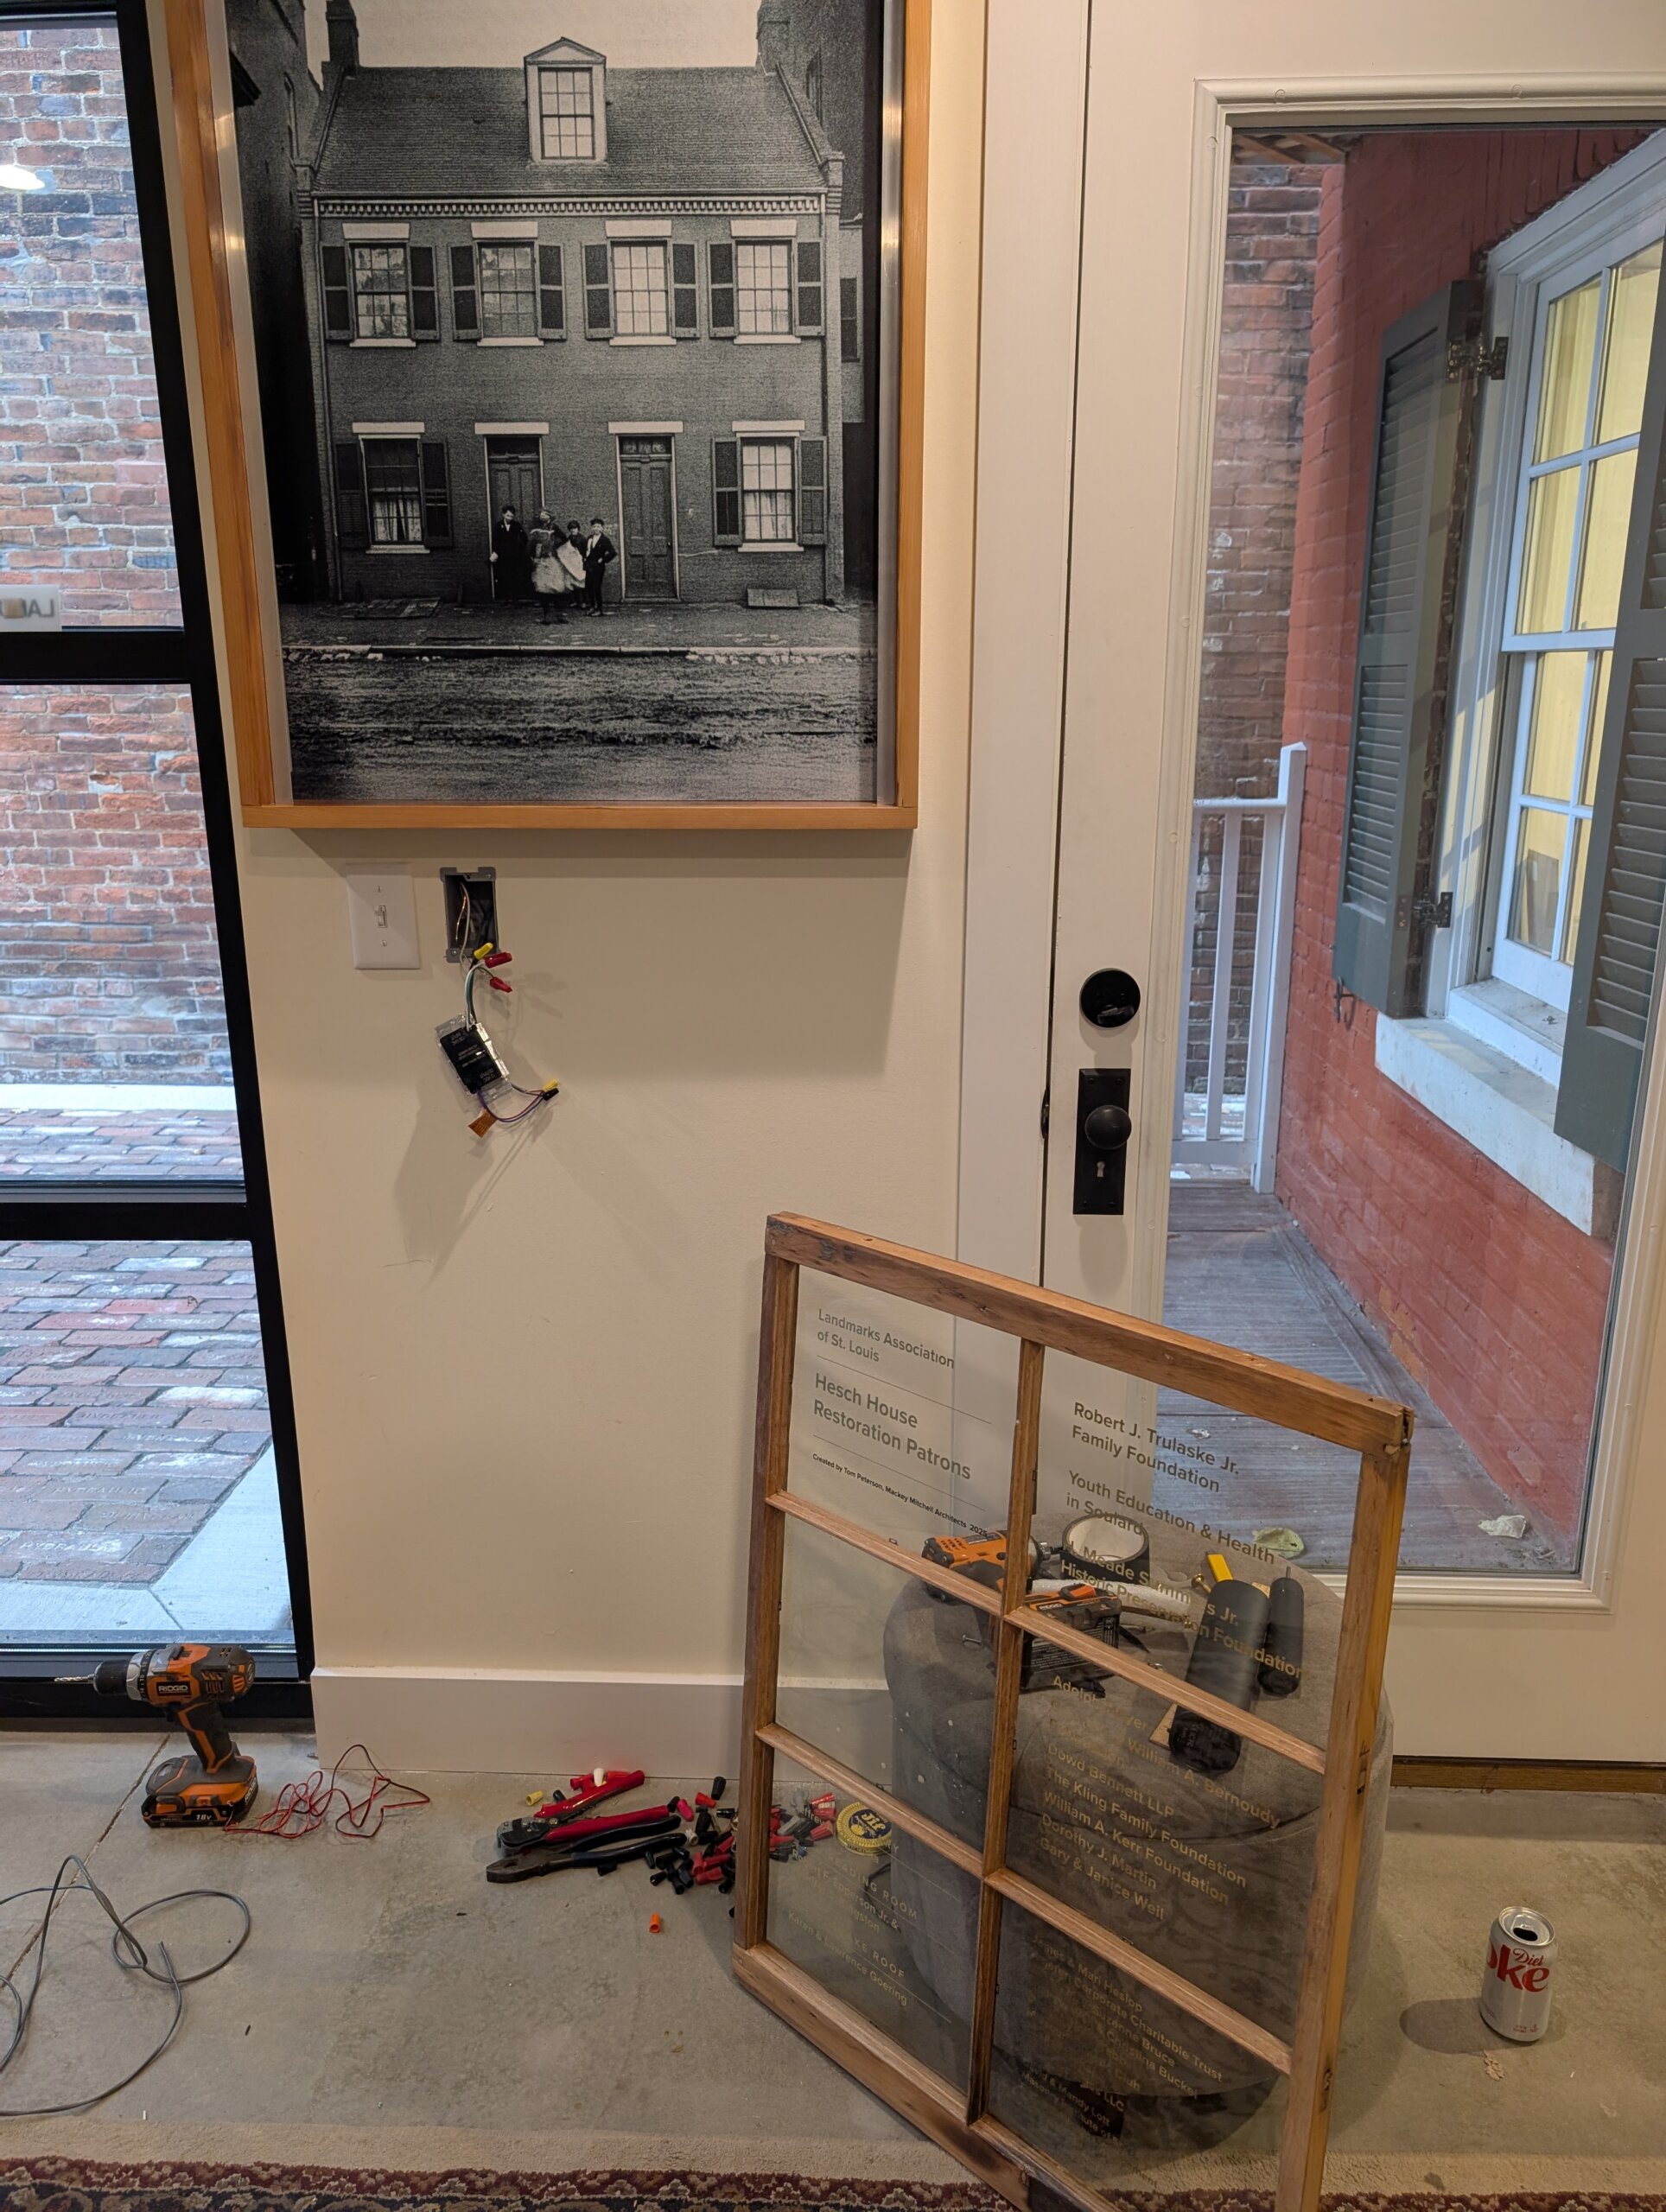
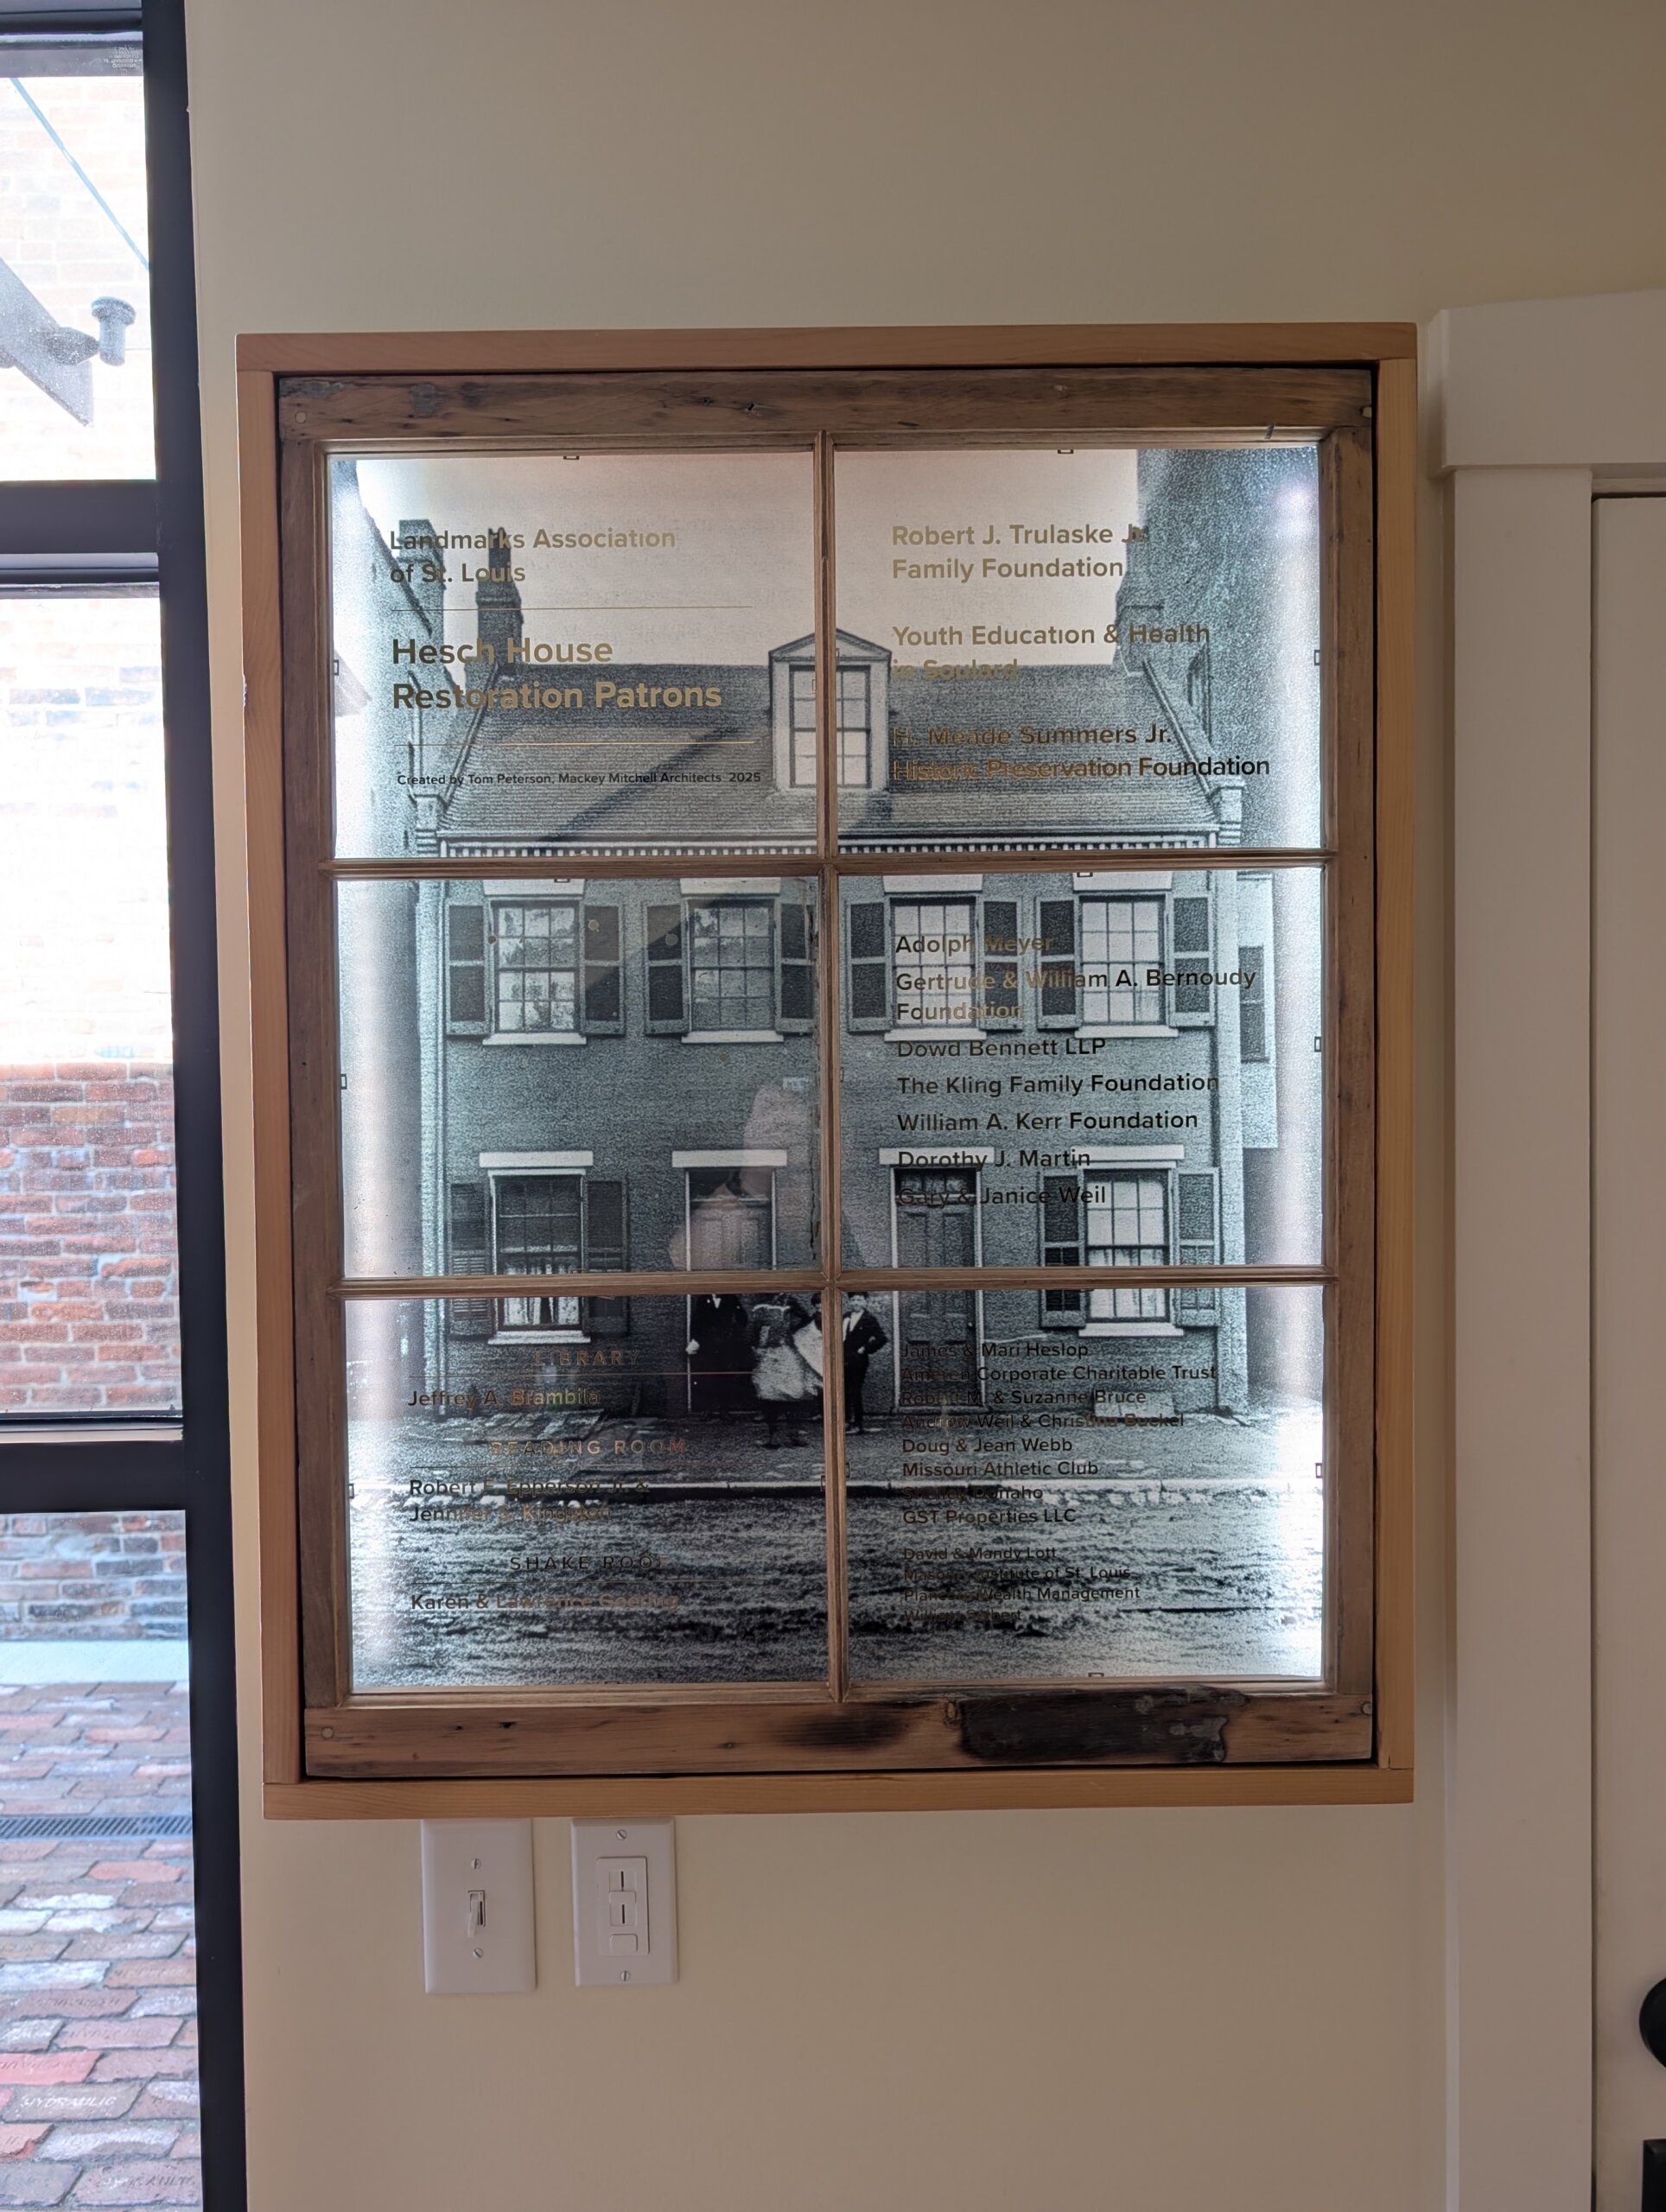
Months of careful planning and decision-making paid off, and the installation went smoothly. A couple of days before, the electrician installed a new junction box with building power coiled within, and a low-voltage wire running from the box to the pre-determined exit point behind the photograph. We were able to set two of the four anchors into studs – I estimate the Donor Window will withstand 500 pounds on it. I think the frame wood will fail before it comes off the wall. Wiring, installation, and cleaning went off without a hitch. We turned on the lights, and I breathed a sigh of relief.
Closing
I thoroughly enjoy making things with my hands, and I especially like projects where I get to repurpose old and forgotten materials. The Landmarks team was a pleasure as a “client” – they were very collaborative throughout the whole process, and the project turned out better because of their input and feedback. As a long-time supporter of Landmarks, I’m proud to be able to contribute my talents and expertise in my own way.